Alpine iLX-F309TND Installation Manual - Page 4
Programming the iDatalink Maestro Module - review
 |
View all Alpine iLX-F309TND manuals
Add to My Manuals
Save this manual to your list of manuals |
Page 4 highlights
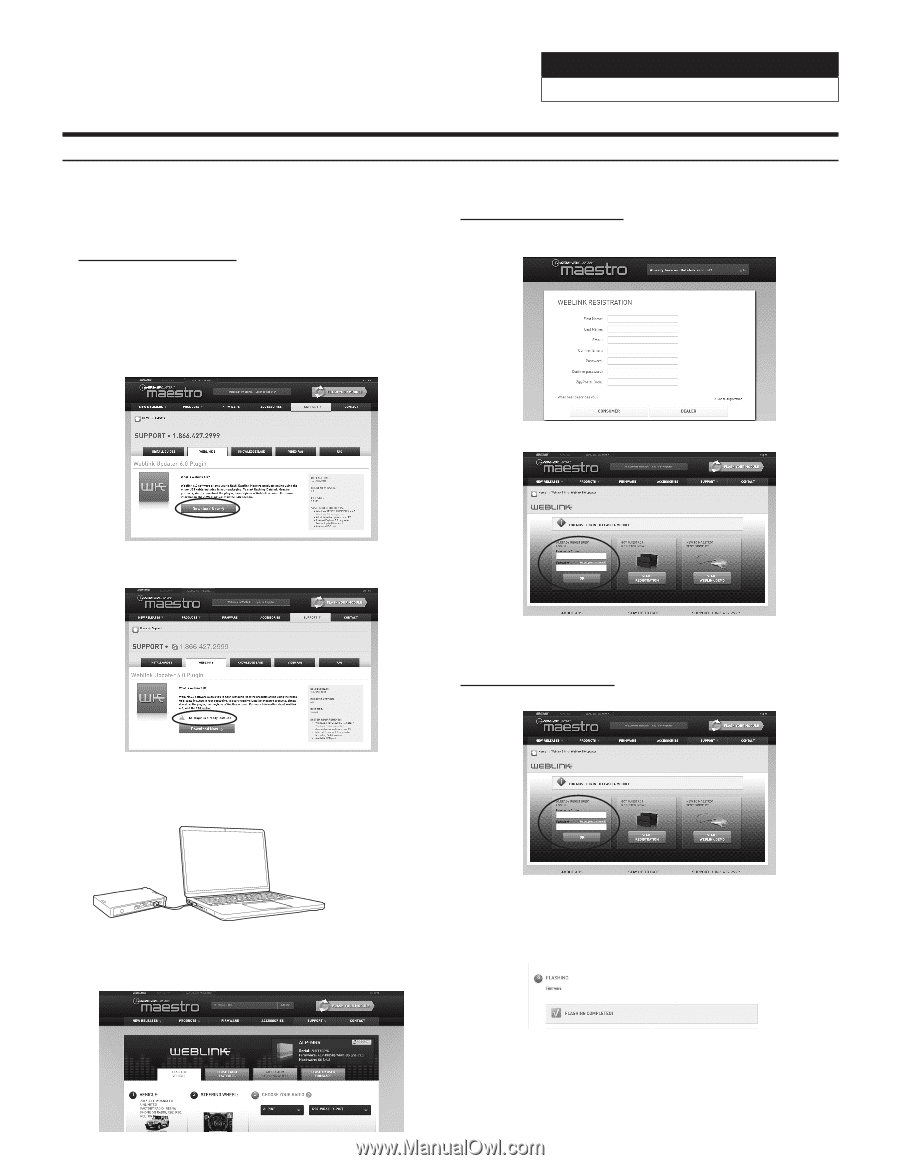
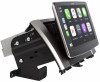
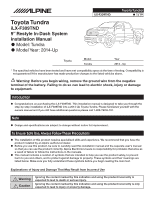
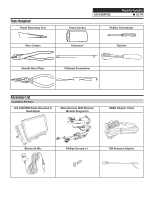
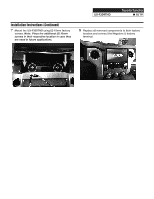
iLX-F309TND Toyota Tundra ˜ 4/19 Programming the iDatalink Maestro Module The Maestro module is pre-flashed already. This page is here in case the module needs to be flashed again. 1 INSTALL THE WEBLINK PLUG-IN Go to: idatalinkmaestro.com/plugin and follow the installation steps. The Maestro module must be programmed specifically for each vehicle and radio. Take care to enter the correct vehicle information, factory options, head unit model, and head unit serial number. The head units serial number is an alphanumeric value which is found on the head units label, underneath the bar code. Review the System Requirements before installing. 2 REGISTER A WEBLINK ACCOUNT Go to: idatalinkmaestro.com/register and complete the registration process. A confirmation email will be sent to you requiring validation. For existing customers, click log in. If the plugin is already installed, the caution, "The plugin is already installed" appears. Please skip to step 2. 4 LOG INTO WEBLINK Go to: idatalinkmaestro.com/login. Enter your username and password, then click OK. 3 CONNECT YOUR MAESTRO MODULE Use your Maestro module to connect to your PC. 5 PROGRAM YOUR MODULE Follow the programming steps for your vehicle. 6 Once Programing is complete "FLASHING COMPLETED!" will be displayed. Proceed to the next page to complete installation. NOTE: If serial number is invalid, Call ADS at 1-866-427-2999 with the serial number.
-
 1
1 -
 2
2 -
 3
3 -
 4
4 -
 5
5 -
 6
6 -
 7
7 -
 8
8 -
 9
9 -
 10
10 -
11
-
12
-
13
-
14
-
15
-
16
-
17
-
18
-
19
 |
 |