Alpine iLX-F409 Owners Manual - Page 15
Clock Setup, Display Off Setting, About iLX-F411/iLX-F409, Installation Setup
 |
View all Alpine iLX-F409 manuals
Add to My Manuals
Save this manual to your list of manuals |
Page 15 highlights
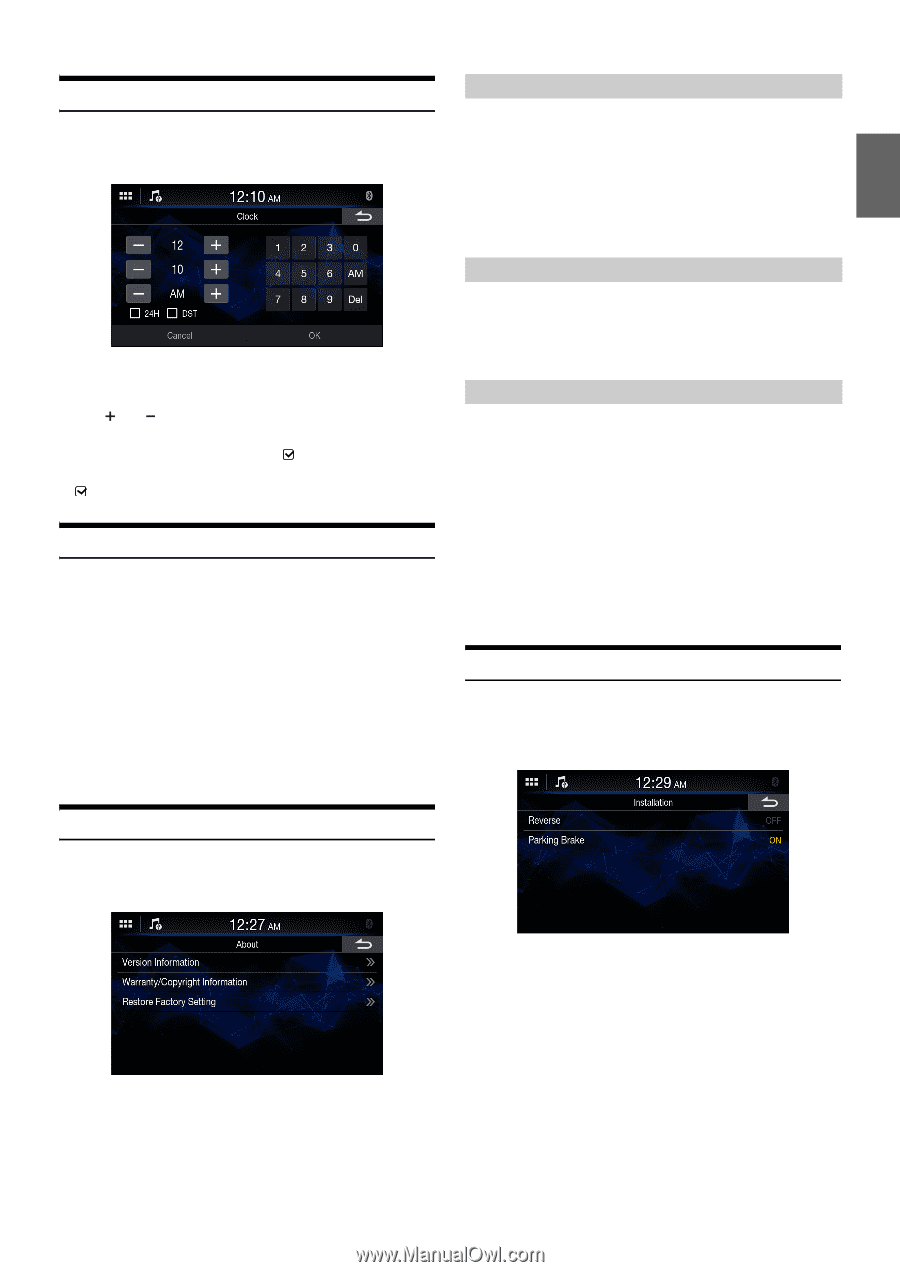
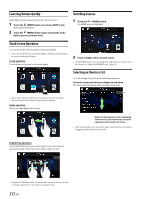
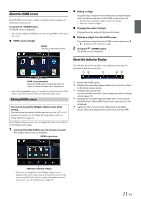
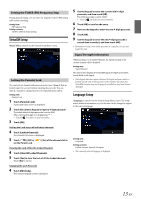
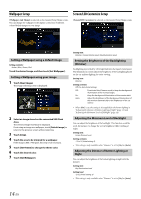
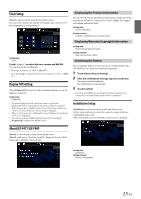
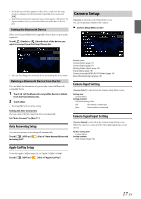
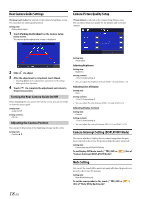
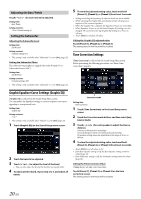
Clock Setup [Clock] is selected on the General Setup Menu screen. You can set the current time and the clock display type, 12-hour or 24hour, depending on your preference. Setting item: Clock Touch [ ] or [ ] to adjust the hour, minute and AM/PM. You can also use the number keys. * To change to 24-hour, set "24H" to [On] ( ). * To set the daylight saving time (Summer Time mode), set "DST" to [On] ( ). Display Off Setting When [Display Off] is selected on the General Setup Menu screen, the display is turned Off. Setting item: Display Off • To cancel Display Off mode, touch the screen or any button. • Display Off mode is canceled when the power or ACC is turned off. • When the gear lever is shifted to the reverse (R) position and the rear camera is connected, the rear camera image is displayed. • When a call is received on a Bluetooth-connected phone, the incoming call screen is displayed. • You can also activate Display Off mode directly by touching the [Display Off] widget on the HOME screen. Displaying the Product Information You can view the version information of this product. Make note of this information and refer to it whenever you contact Alpine Tech Support or an Alpine-authorized dealer. Setting item: Version Information Setting contents: Serial No. / SYSTEM version / Firmware Version Displaying Warranty/Copyright Information Setting item: Warranty/Copyright Information Setting contents: Open source licenses / Notice Initializing the System You can initialize all data, to restore the factory settings. Remove the USB flash drive, etc. from the system before operation 1 Touch [Restore Factory Setting]. 2 After the confirmation message appears, touch [Yes]. The system starts initialization. The confirmation screen appears. 3 Touch [Confirm]. • Do not turn on/off the power, change the ignition key position or remove the screen panel until system restart is completed. Installation Setup [Installation] is selected on the General Setup Menu screen. Vehicle Setup enables you to check the connection status of Reverse Lead/Parking Brake Lead. When selecting the item, the Installation check screen is displayed. About iLX-F411/iLX-F409 [About] is selected on the General Setup Menu screen. [About] enables you to check the Serial No., Firmware Version, Model Name, and to initialize various settings. Setting item: Installation Setting contents: Reverse / Parking Brake 15-EN
-
 1
1 -
2
-
3
-
4
-
5
-
6
-
7
-
8
-
9
-
 10
10 -
 11
11 -
 12
12 -
 13
13 -
 14
14 -
 15
15 -
 16
16 -
 17
17 -
 18
18 -
 19
19 -
 20
20 -
21
-
22
-
23
-
24
-
25
-
26
-
27
-
28
-
29
-
30
-
31
-
32
-
33
-
34
-
35
-
36
-
37
-
38
-
39
-
40
-
41
-
42
-
43
-
44
-
45
-
46
-
47
-
48
 |
 |