Bissell PowerGlide Platinum Vacuum User Guide - English - Page 12
Replace Drive Belt Continued, Replace Lightbulb
 |
View all Bissell PowerGlide Platinum Vacuum manuals
Add to My Manuals
Save this manual to your list of manuals |
Page 12 highlights
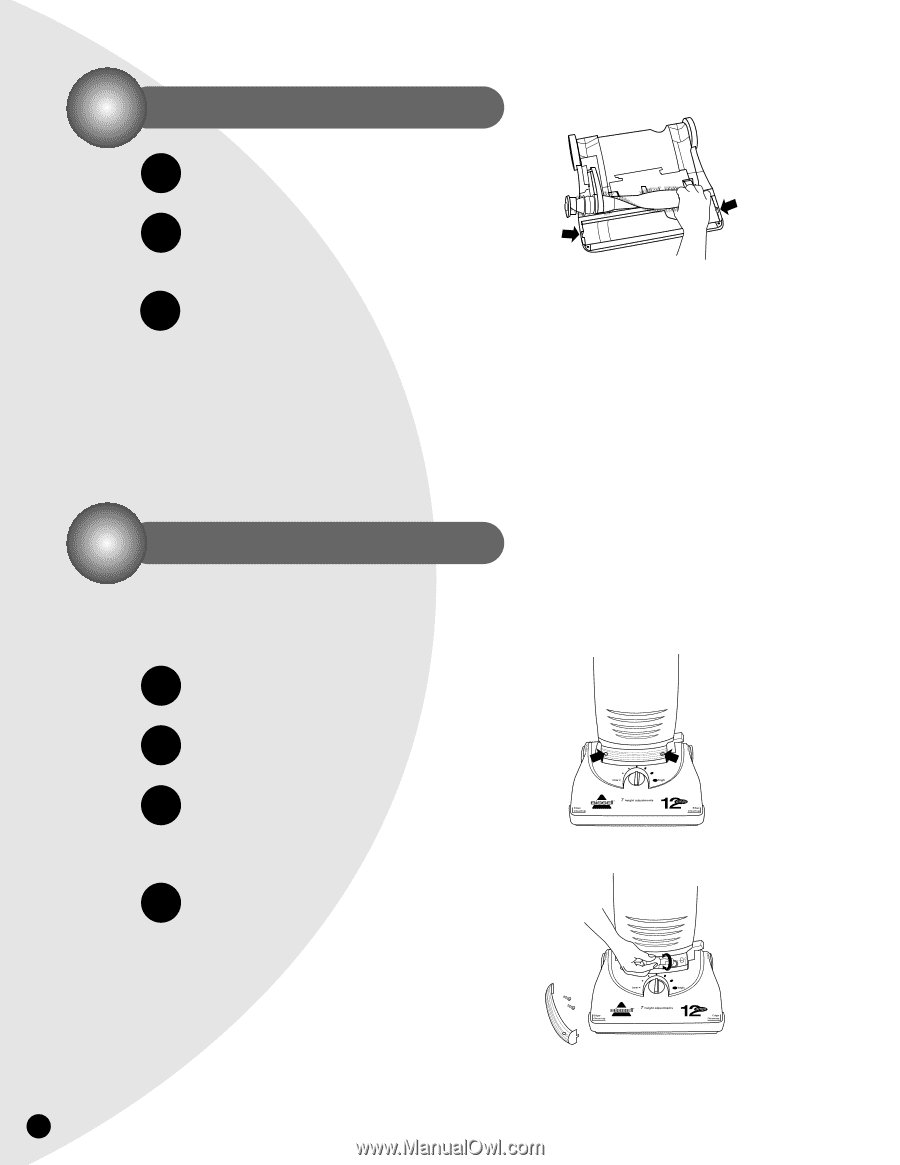
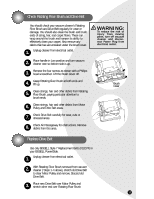
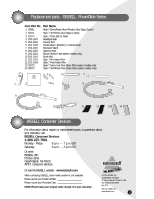
Replace Drive Belt Continued 4. Place ends of Rotating Floor Brush down into slots on sides as shown. 5. Turn Rotating Floor Brush by hand several times in direction of Motor Pulley. If properly installed, Drive Belt will center itself on Rotating Brush crown. 6. Reposition Brush Cover and four screws. Tighten screws securely. Replace Lightbulb Use only BISSELL Replacement Bulb (#203-1007) in your BISSELL PowerGlide. 1. Unplug cleaner from electrical outlet 2. Using a screwdriver, remove the two screws as shown and lift off the lens. 3. Remove the bulb from the socket by pushing in gently and turning it counterclockwise. Install the new bulb by pushing it gently into the socket and turning clockwise. 4. Reposition lens and secure with the two screws. 12
-
 1
1 -
2
-
3
-
4
-
5
-
6
-
 7
7 -
 8
8 -
 9
9 -
 10
10 -
 11
11 -
 12
12 -
 13
13 -
 14
14 -
 15
15 -
 16
16
 |
 |