Bose Cinemate Owner's guide - Page 9
Making system connections - speaker stands
 |
UPC - 017817372336
View all Bose Cinemate manuals
Add to My Manuals
Save this manual to your list of manuals |
Page 9 highlights
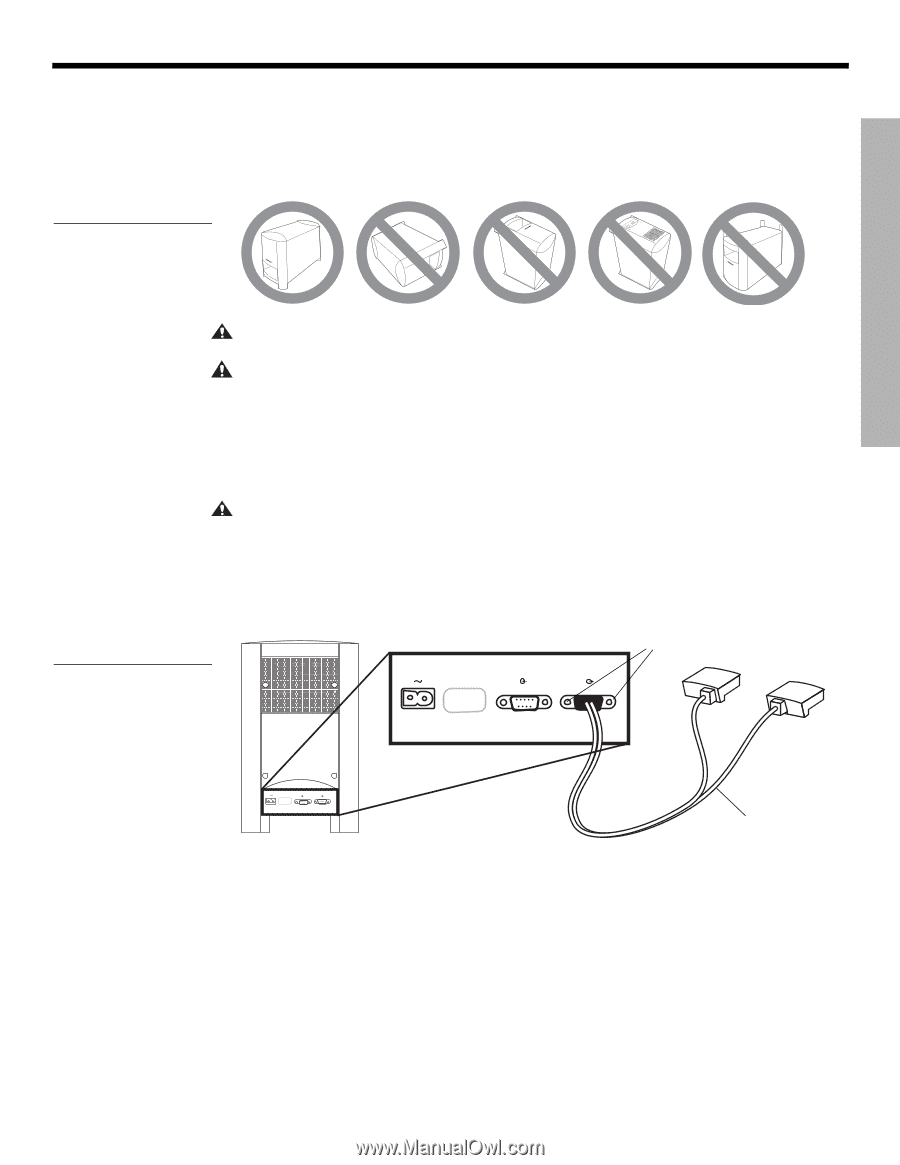
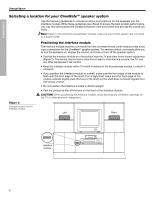
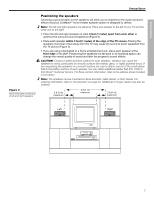
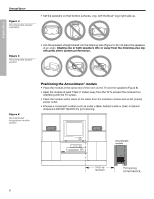
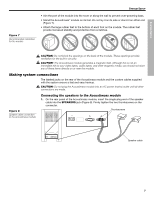
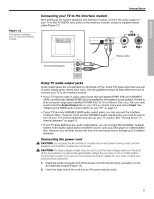
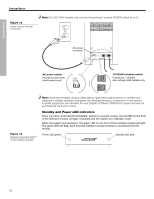
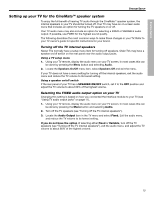
SYSTEM SETUP English Español Français SYSTEM SETUP Figure 7 Recommended orientation for the module • Aim the port of the module into the room or along the wall to prevent over-powering bass. • Stand the Acoustimass® module on its feet. Do not lay it on its side or stand it on either end (Figure 7). • Attach the large rubber feet to the bottom of each foot on the module. The rubber feet provide increased stability and protection from scratches. MUSIC CENTER AC INPUT CAUTION: Do not block the openings on the back of the module. These openings provide ventilation for the built-in circuitry. CAUTION: The Acoustimass module generates a magnetic field. Although this is not an immediate risk to your video tapes, audio tapes, and other magnetic media, you should not store any of these items directly on or near the module. Making system connections The labeled jacks on the rear of the Acoustimass module and the custom cables supplied with the system ensure a fast and easy hookup. CAUTION: Do not plug the Acoustimass module into an AC power (mains) outlet until all other connections are made. Figure 8 Speaker cable connection to the Acoustimass module Connecting the speakers to the Acoustimass module 1. On the rear panel of the Acoustimass module, insert the single-plug end of the speaker cable into the SPEAKERS jack (Figure 8). Firmly tighten the two thumbscrews on the connector. Thumbscrews Speaker cable 9
-
 1
1 -
2
-
3
-
 4
4 -
 5
5 -
 6
6 -
 7
7 -
 8
8 -
 9
9 -
 10
10 -
 11
11 -
 12
12 -
 13
13 -
 14
14 -
15
-
16
-
17
-
18
-
19
-
20
-
21
-
22
-
23
-
24
 |
 |