Brother International Entrepreneur Pro PR-1000 Kit 1 Installation Guide - Mult - Page 8
When using USB media to perform the installation
 |
View all Brother International Entrepreneur Pro PR-1000 manuals
Add to My Manuals
Save this manual to your list of manuals |
Page 8 highlights
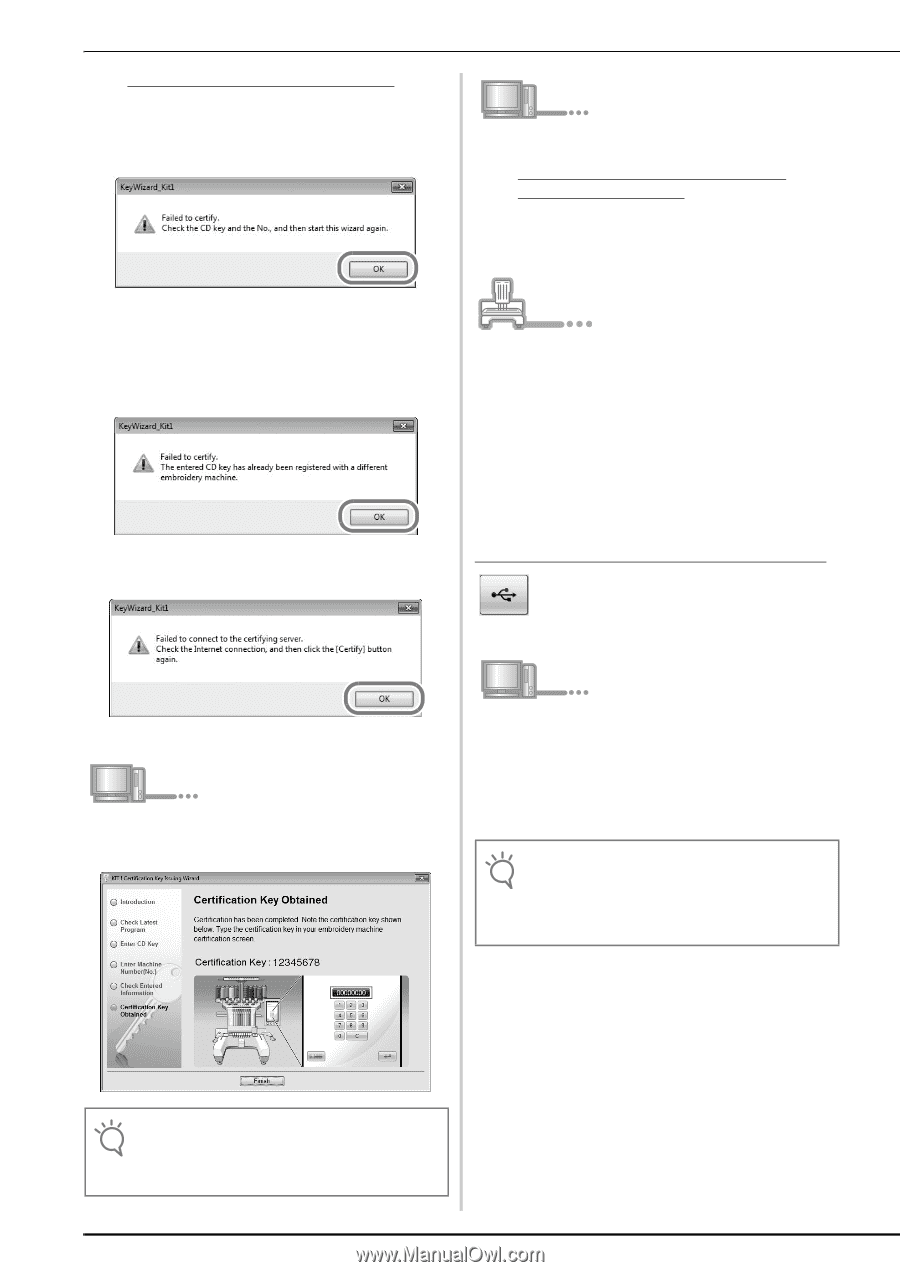
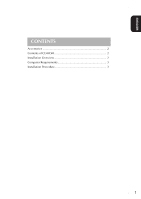
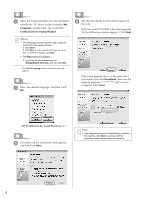
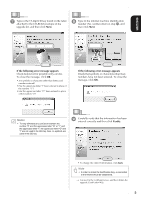
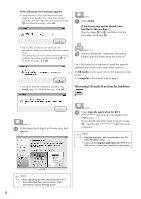
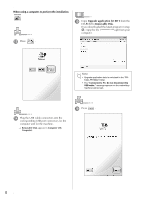
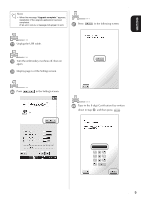
If the following error message appears • Verify that the CD key and internal machine identification number (No.) have been entered correctly, and then repeat the procedure from step c. To close the message, click OK. k Click Finish. If the latest program has already been installed in the machine Skip the steps l to q, and then start the procedure from step r. • The CD Key is valid for use with only one designated internal machine identification number (No.). Check that the CD key has been entered correctly, and then repeat the procedure from step c. To close the message, click OK. l While pressing the "Automatic Threading" button, turn the embroidery machine on. Use USB media or a computer to install the upgrade application for KIT I on the embroidery machine. If USB media is to be used, refer to the instructions that follow. If a computer is to be used, refer to page 8. • Check the Internet connection, and then click Certify again. To close the message, click OK. When using USB media to perform the installation j Write down the 8-digit Certification Key that appears. m Copy Upgrade application for KIT I upf) from the CD-ROM to the USB media. If you downloaded the latest program in step f, copy the file upf) from your computer. Note • Upgrade application data is contained in the "PR1000_PR1000e" folder. • Copy only the Upgrade application for KIT I to the USB media; no other files should be on the media. Note • After upgrading the embroidery machine to KIT I, the Certification Key must be entered in the embroidery machine Settings screen. 6
-
 1
1 -
2
-
 3
3 -
 4
4 -
 5
5 -
 6
6 -
 7
7 -
 8
8 -
 9
9 -
 10
10 -
 11
11 -
 12
12 -
 13
13 -
14
-
15
-
16
-
17
-
18
-
19
-
20
-
21
-
22
-
23
-
24
-
25
-
26
-
27
-
28
-
29
-
30
-
31
-
32
-
33
-
34
-
35
-
36
-
37
-
38
-
39
-
40
-
41
-
42
-
43
-
44
-
45
-
46
-
47
-
48
-
49
-
50
-
51
-
52
-
53
-
54
-
55
-
56
-
57
-
58
-
59
-
60
-
61
-
62
-
63
-
64
-
65
-
66
-
67
-
68
-
69
-
70
-
71
-
72
-
73
-
74
-
75
-
76
-
77
-
78
-
79
-
80
-
81
-
82
-
83
-
84
 |
 |