Brother International HL 1270N Quick Setup Guide - English - Page 8
Step 3 Print a test Step 4 Connect the printer to your PC, the test has printed correctly.
 |
UPC - 012502526001
View all Brother International HL 1270N manuals
Add to My Manuals
Save this manual to your list of manuals |
Page 8 highlights
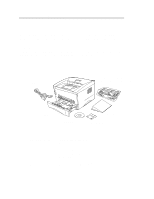
Step 3 Print a test page 1. Make sure that the power switch is off. Connect the AC power cord to the printer. 2. Plug the AC power cord into an AC outlet. Turn on the power switch. 3. After the printer has warmed up, the Ready LED stops blinking and stays lit. 4. Press the control panel button. The printer will print a test page. Check that the test page has printed correctly. Step 4 Connect the printer to your PC 1. Turn the printer power off. 2. Connect the parallel interface cable to your PC then connect it to the printer. 3. Use the clips on the printer connector to secure the parallel interface cable. 4. Turn on the printer power.
-
 1
1 -
2
-
 3
3 -
 4
4 -
 5
5 -
 6
6 -
 7
7 -
 8
8 -
 9
9 -
 10
10 -
 11
11 -
 12
12 -
 13
13 -
14
-
15
-
16
 |
 |

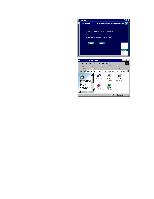
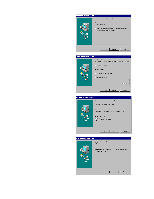
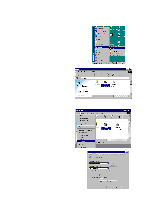
Step 3 Print a test page
1.
Make sure that the power switch is off. Connect the AC power cord to the
printer.
2.
Plug theAC power cord into an AC outlet. Turn on the power switch.
3.
After the printer has warmed up, the
Ready
LED stops blinking and stays lit.
4.
Press the control panel button. The printer will print a test page. Check that
the test page has printed correctly.
Step 4 Connect the printer to your PC
1.
Turn the printer power off.
2.
Connect the parallel interface cable to your PC then connect it to the printer.
3.
Use the clips on the printer connector to secure the parallel interface cable.
4.
Turn on the printer power.