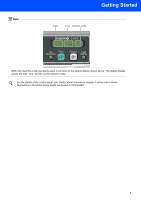
Brother International IntelliFax-2480C Quick Setup Guide - English - Page 10
Connecting the phone line, the User's Guide. - user manual
 |
View all Brother International IntelliFax-2480C manuals
Add to My Manuals
Save this manual to your list of manuals |
Page 10 highlights
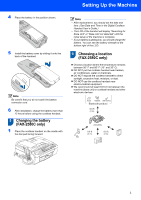
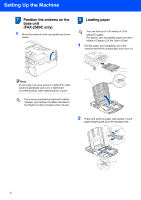
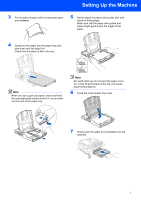
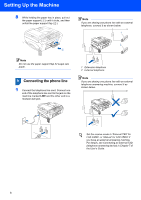
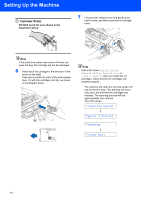
Setting Up the Machine 8 While holding the paper tray in place, pull out the paper support ( ) until it clicks, and then unfold the paper support flap ( ). Note If you are sharing one phone line with an external telephone, connect it as shown below. 1 2 Note Do not use the paper support flap for Legal size paper. 9 Connecting the phone line 1 Connect the telephone line cord. Connect one end of the telephone line cord to the jack on the machine marked LINE and the other end to a modular wall jack. 1 Extension telephone 2 External telephone Note If you are sharing one phone line with an external telephone answering machine, connect it as shown below. Set the receive mode to 'External TAD' for FAX-2480C, or 'Manual' for FAX-2580C if you have an external answering machine. For details, see Connecting an external TAD (telephone answering device) in Chapter 7 of the User's Guide. 8
-
 1
1 -
2
-
3
-
4
-
 5
5 -
 6
6 -
 7
7 -
 8
8 -
 9
9 -
 10
10 -
 11
11 -
 12
12 -
 13
13 -
 14
14 -
 15
15 -
16
-
17
-
18
-
19
-
20
-
21
-
22
 |
 |
