Brother International IntelliFax-2480C Quick Setup Guide - English - Page 6
Setting Up the Machine, 1 Removing the protective parts, 2 Connecting the handset (FAX-2480C only) - ink cartridges
 |
View all Brother International IntelliFax-2480C manuals
Add to My Manuals
Save this manual to your list of manuals |
Page 6 highlights
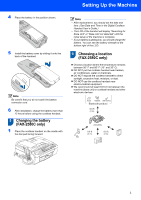
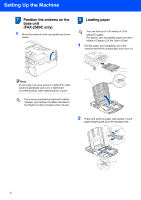
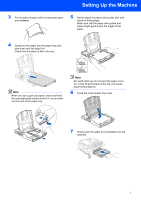
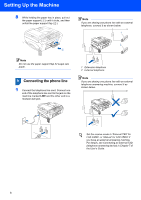
Setting Up the Machine 1 1 Removing the protective parts 1 Remove the protective tape and film covering the scanner glass. 2 Remove the foam bag containing the ink cartridges from on top of the paper tray. 2 Connecting the handset (FAX-2480C only) 1 Connect the curled handset cord to the handset. Go to Loading paper on page 6. 4 Installing the battery (FAX-2580C only) 1 Make sure you remove the battery, battery cover and cordless handset from the carton. 3 Connecting the cradle power cord (FAX-2580C only) 1 Remove tape and plastic bag from the AC adapter. 2 Unpack a battery, battery cover and cordless handset. 3 Insert the connector (1) of the battery (2) in the direction shown below. 2 2 Route the AC power cord through the guide on 1 the side of the machine. Then, plug the adapter into an AC power outlet. 4
-
 1
1 -
 2
2 -
 3
3 -
 4
4 -
 5
5 -
 6
6 -
 7
7 -
 8
8 -
 9
9 -
 10
10 -
 11
11 -
 12
12 -
13
-
14
-
15
-
16
-
17
-
18
-
19
-
20
-
21
-
22
 |
 |
