Brother International VX-807 Users Manual - English - Page 20
illustration.
 |
View all Brother International VX-807 manuals
Add to My Manuals
Save this manual to your list of manuals |
Page 20 highlights
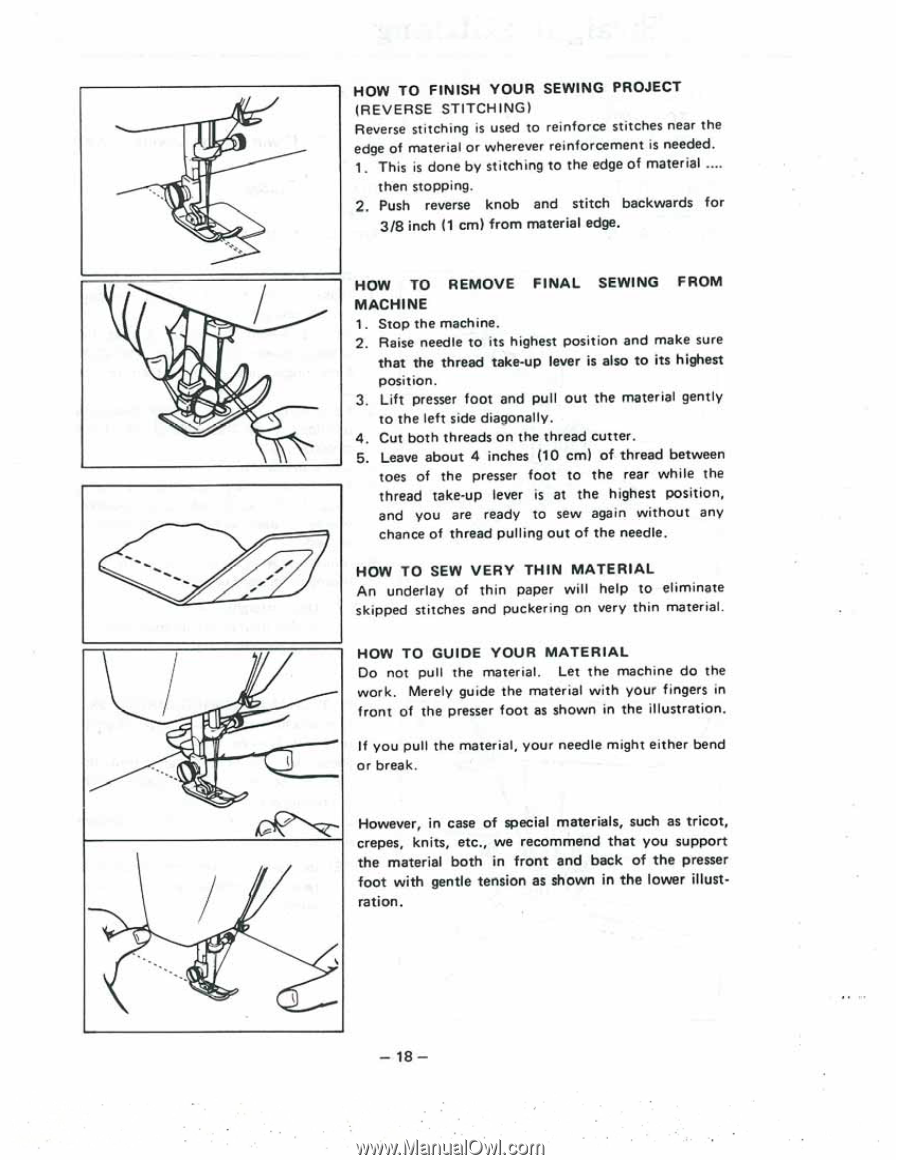
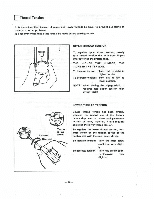
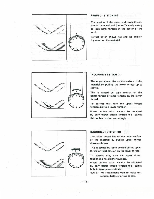
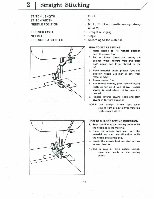
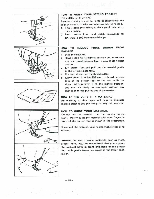
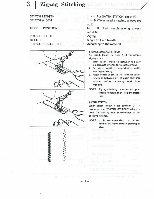
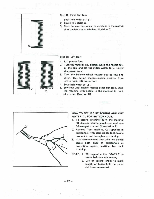
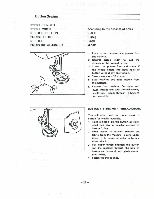
HOW TO FINISH YOUR SEWING PROJECT (REVERSE STITCHING) Reverse stitching is used to reinforce stitches near the edge of material or wherever reinforcement is needed. 1. This is done by stitching to the edge of material .... then stopping. 2. Push reverse knob and stitch backwards for 3/5 inch (1 cm) from material edge. HOW TO REMOVE FINAL SEWING FROM MACHINE 1. Stop the machine. 2. Raise needle to its highest position and make sure that the thread take-up lever is also to its highest position. 3. Lift presser foot and pull out the material gently to the left side diagonally. 4. Cut both threads on the thread cutter. 5. Leave about 4 inches (10 cm) of thread between toes of the presser foot to the rear while the thread take-up lever is at the highest position, and you are ready to sew again without any chance of thread pulling out of the needle. HOW TO SEW VERY THIN MATERIAL An underlay of thin paper will help to eliminate skipped stitches and puckering on very thin material. HOW TO GUIDE YOUR MATERIAL Do not pull the material. Let the machine do the work. Merely guide the material with your fingers in front of the presser foot as shown in the illustration. If you pull the material, your needle might either bend or break. However, in case of special materials, such as tricot, crepes, knits, etc., we recommend that you support the material both in front and back of the presser foot with gentle tension as shown in the lower illustration. - 18 -
-
 1
1 -
2
-
3
-
4
-
5
-
6
-
7
-
8
-
9
-
10
-
11
-
12
-
13
-
14
-
 15
15 -
 16
16 -
 17
17 -
 18
18 -
 19
19 -
 20
20 -
 21
21 -
 22
22 -
 23
23 -
 24
24 -
 25
25 -
26
-
27
-
28
-
29
-
30
-
31
-
32
-
33
-
34
-
35
-
36
-
37
-
38
-
39
-
40
 |
 |