Brother International XR-52C Users Manual - English - Page 59
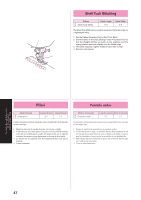
Plissé
 |
View all Brother International XR-52C manuals
Add to My Manuals
Save this manual to your list of manuals |
Page 59 highlights
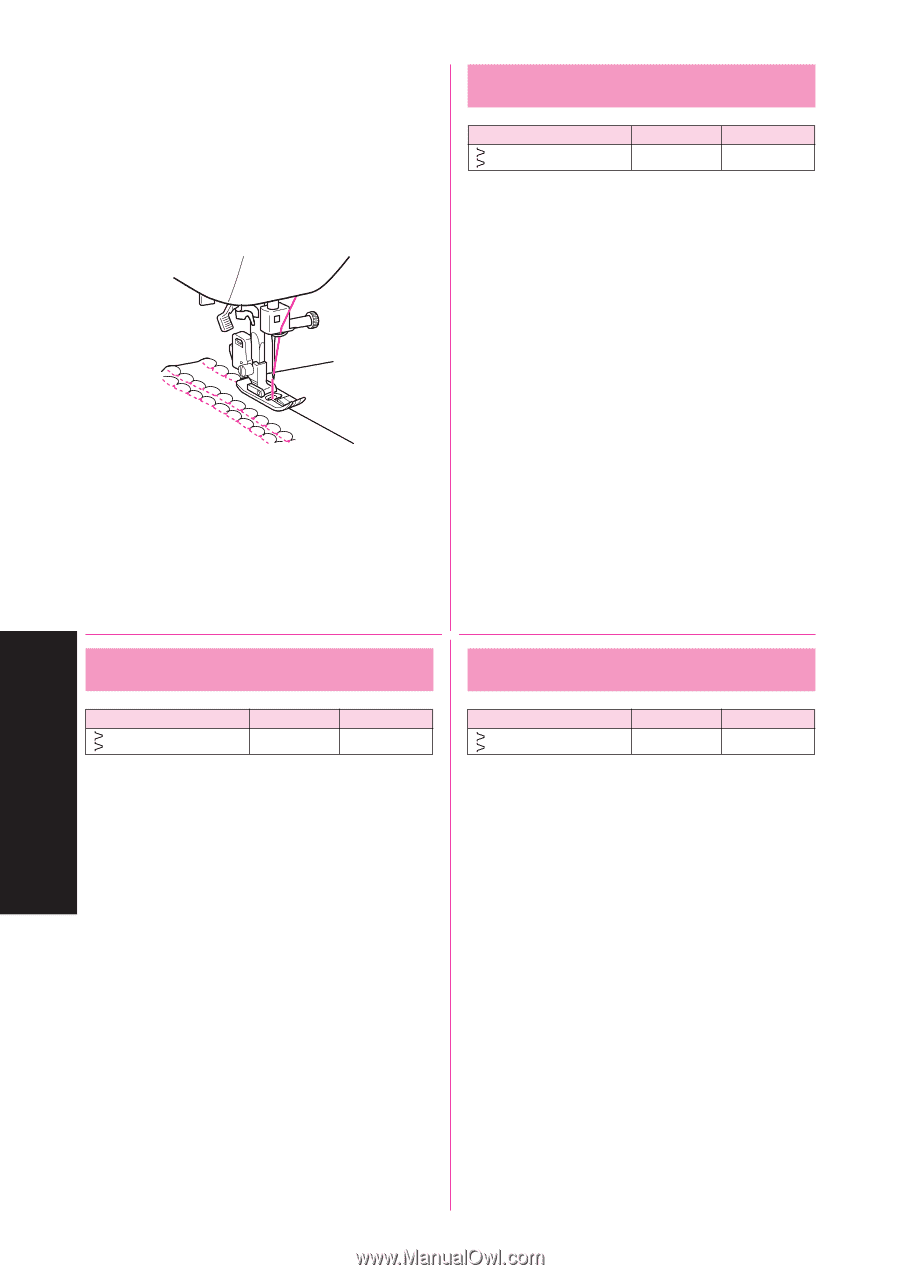
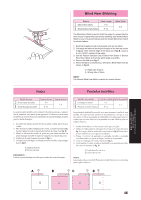
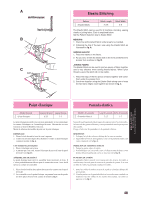
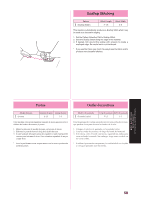
Shell Tuck Stitching Pattern (Shell Tuck Stitch) Stitch Length F-3 Stitch Width 3-5 The Shell Tuck Stitch can be used to sew a picot (lace like) edge on a lightweight fabric. 1. Set the Pattern Selection Dial to Shell Tuck Stitch. 2. Sew the fabric on the bias, placing it under the presser foot so that the straight stitches are sewn on the seamline and the zigzag stitches are sewn slightly over the folded edge. 3. This stitch requires a tighter thread tension than normal. 4. Sew at a slow speed. BUILT-IN STITCHES POINTS INCLUS PUNTADAS INCORPORADAS Plissé Puntada ondas Modèle de point (Point picot) Longueur de point Largeur de point F-3 3-5 Utiliser ce point pour réaliser une lisière à picot (semblable à de la dentelle) sur un tissu léger. 1. Mettre le sélecteur de modèle de point sur le point coquille. 2. Coudre le tissu sur le biais après l'avoir placé sous le pied-de-biche de sorte que la machine puisse coudre des points droits sur la ligne de couture et des points zigzag légèrement au-dessus du bord replié. 3. La tension du fil supérieur doit être légèrement plus forte que la normale. 4. Coudre lentement. Modelo de puntada (Puntada ondas) Largo de puntada Ancho de puntada F-3 3-5 La puntada ondas puede usarse para coser una puntilla (como encaje) en un tejido fino. 1. Ponga el selector de puntada en la puntada ondas. 2. Cosa el tejido en el sesgo, situándolo debajo del prensatelas de tal forma que la puntada recta se cosa en líneas formando costura y que las puntadas zigzag cosan las puntillas de los dobladillos. 3. Este trabajo requiere aumentar un poco más la tensión de hilo que en condiciones normales. 4. Coser a velocidad lenta. 47
-
 1
1 -
2
-
3
-
4
-
5
-
6
-
7
-
8
-
9
-
10
-
11
-
12
-
13
-
14
-
15
-
16
-
17
-
18
-
19
-
20
-
21
-
22
-
23
-
24
-
25
-
26
-
27
-
28
-
29
-
30
-
31
-
32
-
33
-
34
-
35
-
36
-
37
-
38
-
39
-
40
-
41
-
42
-
43
-
44
-
45
-
46
-
47
-
48
-
49
-
50
-
51
-
52
-
53
-
 54
54 -
 55
55 -
 56
56 -
 57
57 -
 58
58 -
 59
59 -
 60
60 -
 61
61 -
 62
62 -
 63
63 -
 64
64 -
65
-
66
-
67
-
68
-
69
-
70
-
71
-
72
-
73
-
74
-
75
-
76
-
77
-
78
-
79
-
80
-
81
-
82
-
83
-
84
-
85
-
86
-
87
-
88
-
89
-
90
-
91
-
92
-
93
-
94
-
95
-
96
-
97
-
98
-
99
-
100
-
101
 |
 |