Canon CanoScan D646U CanoScan D646U Toolbox1.3 for Mac Guide - Page 6
The CanoScan Toolbox Main Window, 4. Using the Scanner Button, 5. Selecting the Scanner - windows 7
 |
View all Canon CanoScan D646U manuals
Add to My Manuals
Save this manual to your list of manuals |
Page 6 highlights
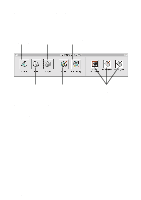
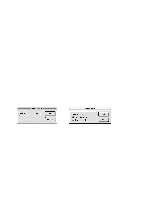
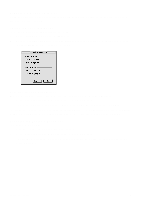
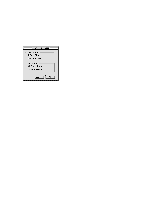
3. The CanoScan Toolbox Main Window The first time you launch the CanoScan Toolbox, the CanoScan Toolbox Main window appears on the desktop. You can hide the Main window by clicking the close box on the left-top of the window and show it by using the CanoScan Toolbox command from the Window menu. The CanoScan Toolbox Main window contains buttons you can use to control the CanoScan Toolbox features. Click the Scan button to launch the Canon Plug-in Module CS Click the Copy button to scan and copy a document Click the Catalog button to open an image stored in a catalog Click the Fax button to scan and fax a document Click the Edit button to open and use the editing tools, brush and color palettes Click on an Unassigned button to specify an application you want to access directly from the CanoScan Toolbox 4. Using the Scanner Button If your scanner equips the Start Button on the front of the scanner, you can instantly access the CanoScan Toolbox from the scanner itself by pressing the button. If the CanoScan Toolbox is closed, pressing the start button on the front of the scanner launches the CanoScan Toolbox. 5. Selecting the Scanner When one or more scanners are connected to your computer, you can select which scanner to use with the CanoScan Toolbox. Select the scanner in the submenu of the Select Scanner command from the File menu. CanoScan Toolbox 6
-
 1
1 -
 2
2 -
 3
3 -
 4
4 -
 5
5 -
 6
6 -
 7
7 -
 8
8 -
 9
9 -
 10
10 -
 11
11 -
 12
12 -
13
-
14
-
15
-
16
-
17
-
18
-
19
-
20
-
21
-
22
 |
 |
