Canon CanoScan D660U CanoScan D660U Setup - Page 2
Your First Scan, for Windows, Installing the Scanner, Software for Windows - drivers
 |
View all Canon CanoScan D660U manuals
Add to My Manuals
Save this manual to your list of manuals |
Page 2 highlights
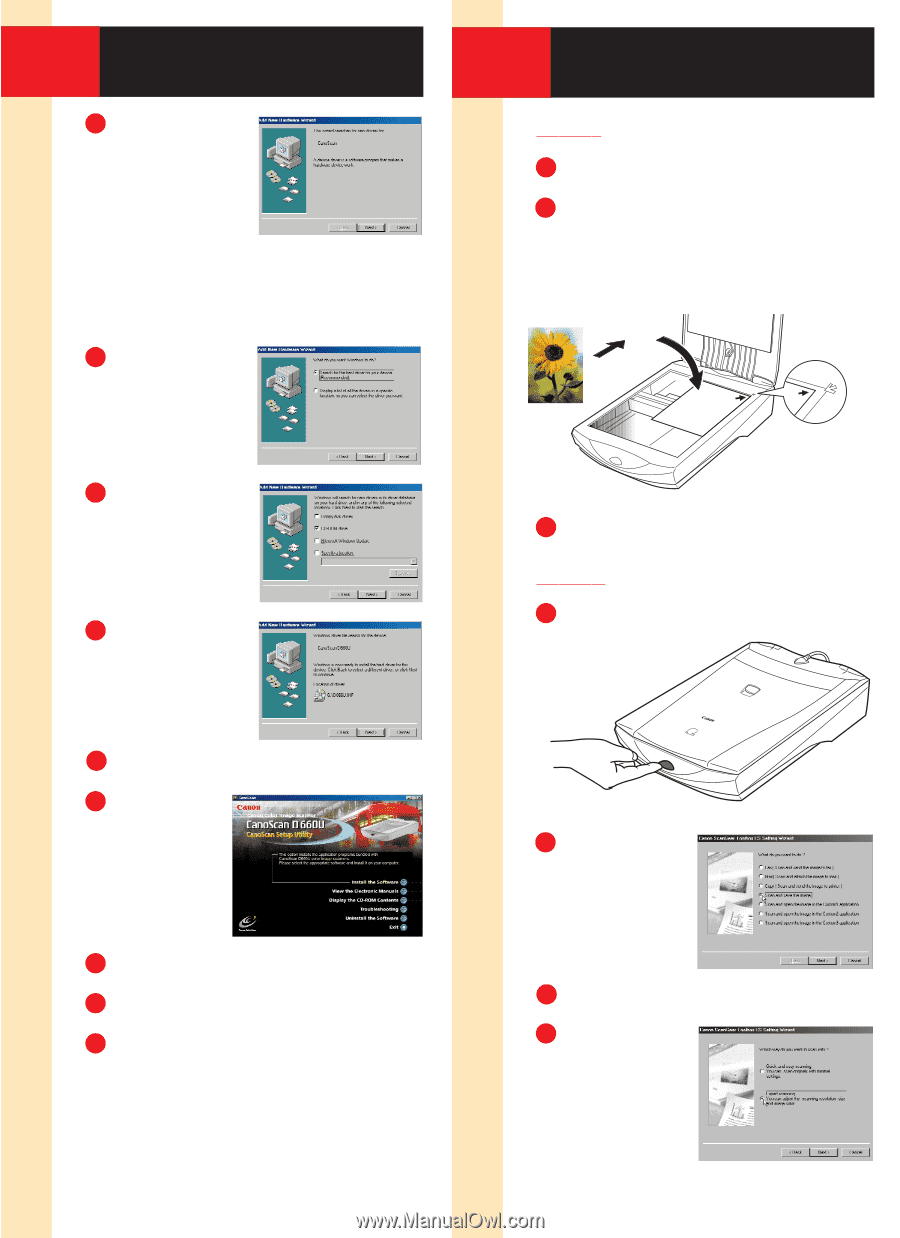
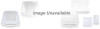
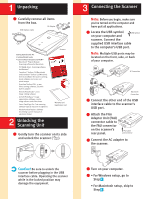
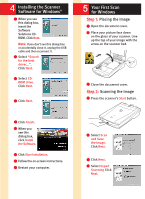
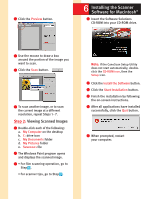
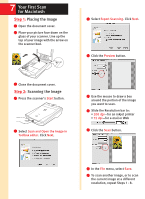
4 Installing the Scanner Software for Windows® 1 When you see this dialog box, insert the Software Solutions CDROM. Click Next. Note: If you don't see this dialog box or accidentally close it, unplug the USB cable and then reconnect it. 2 Select "Search for the best driver...". Click Next. 3 Select CDROM drive. Click Next. 4 Click Next. 5 Your First Scan for Windows Step 1: Placing the Image 1 Open the document cover. 2 Place your picture face down on the glass of your scanner. Line up the top of your image with the arrow on the scanner bed. 3 Close the document cover. Step 2: Scanning the Image 1 Press the scanner's Start button. 5 Click Finish. 6 When you see this dialog box, click Install the Software. 7 Click Start Installation. 8 Follow the on-screen instructions. 9 Restart your computer. 2 Select Scan and Save the Image. Click Next. 3 Click Next. 4 Select Expert Scanning Click Next.
-
 1
1 -
 2
2 -
 3
3 -
 4
4 -
 5
5 -
 6
6
 |
 |