Canon CanoScan D660U CanoScan D660U Setup - Page 4
Your First Scan, for Macintosh - glass
 |
View all Canon CanoScan D660U manuals
Add to My Manuals
Save this manual to your list of manuals |
Page 4 highlights
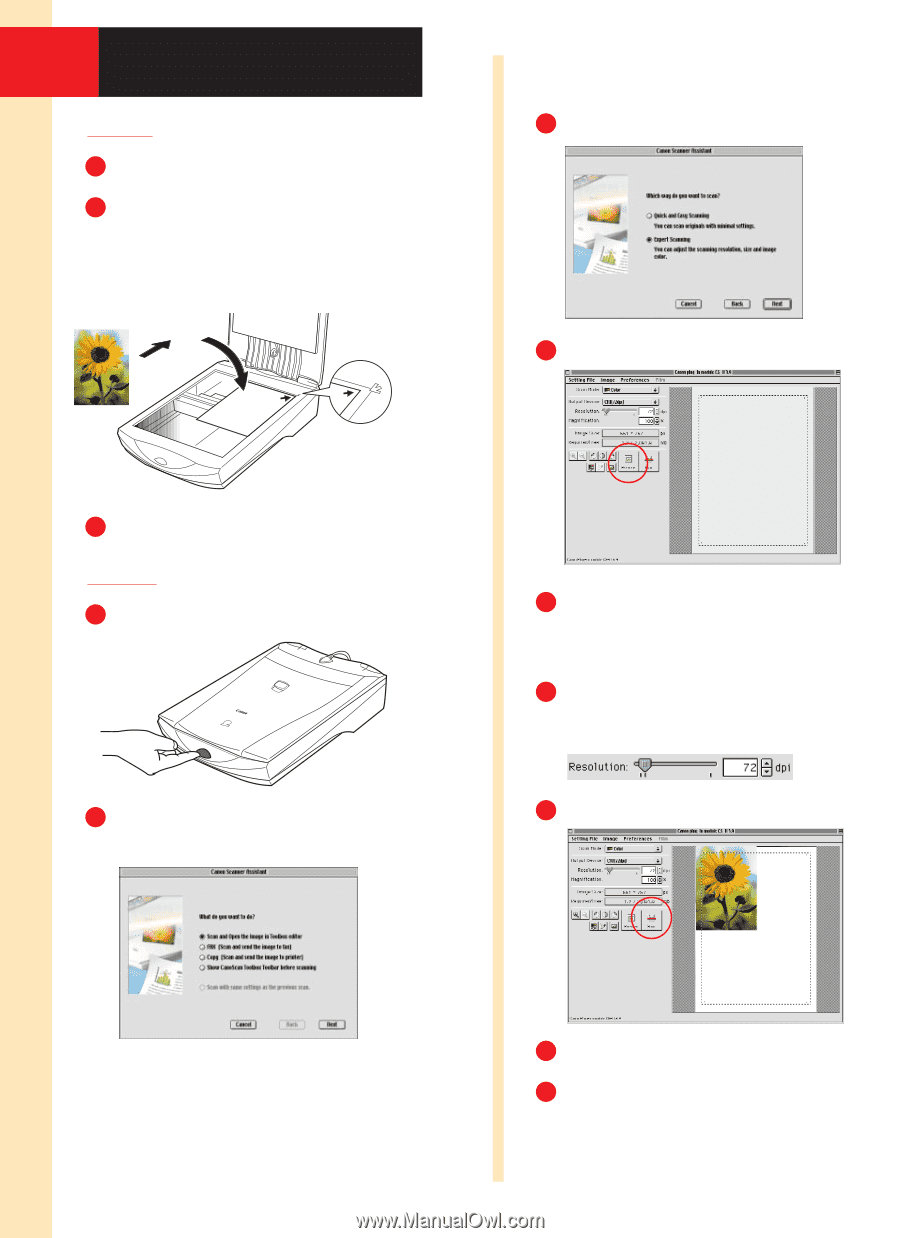
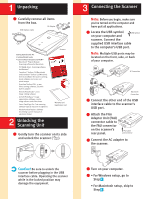
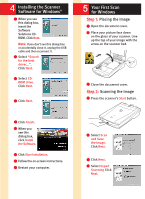
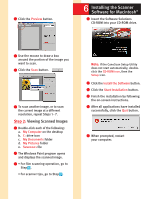
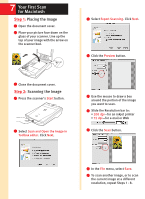
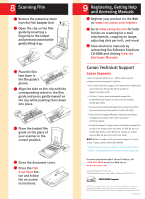
7 Your First Scan for Macintosh Step 1: Placing the Image 1 Open the document cover. 2 Place your picture face down on the glass of your scanner. Line up the top of your image with the arrow on the scanner bed. 3 Select Expert Scanning. Click Next. 4 Click the Preview button. 3 Close the document cover. Step 2: Scanning the Image 1 Press the scanner's Start button. 2 Select Scan and Open the Image in Toolbox editor. Click Next. 5 Use the mouse to draw a box around the portion of the image you want to scan. 6 Slide the Resolution bar to: • 200 dpi-for an inkjet printer • 72 dpi-for e-mail or Web 7 Click the Scan button. 8 In the File menu, select Save. 9 To scan another image, or to scan the current image at a different resolution, repeat Steps 1 - 8.
-
 1
1 -
 2
2 -
 3
3 -
 4
4 -
 5
5 -
 6
6
 |
 |