Canon Color imageCLASS MF8170c imageCLASS MF8170c Set-Up Instructions for the - Page 5
Install the toner cartridges.
 |
View all Canon Color imageCLASS MF8170c manuals
Add to My Manuals
Save this manual to your list of manuals |
Page 5 highlights
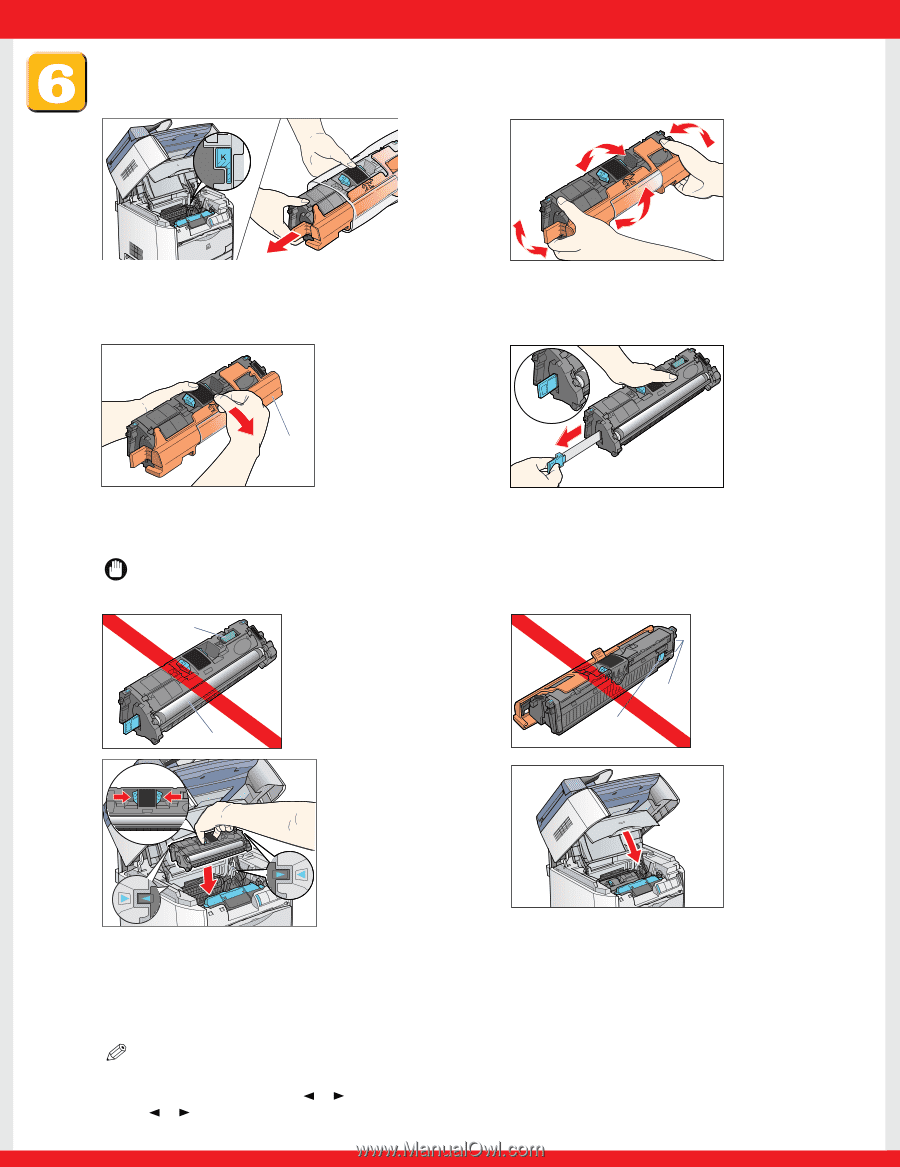
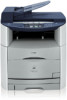
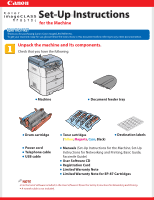
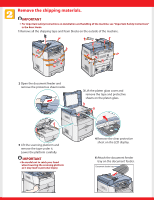
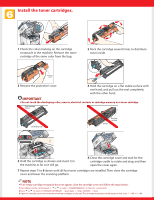
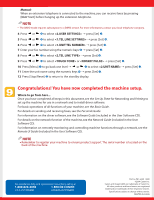
Install the toner cartridges. 1 Check the color marking on the cartridge receptacle in the machine. Remove the toner cartridge of the same color from the bag. 2 Rock the cartridge several times to distribute toner inside. Protective cover 3 Remove the protective cover. 4 Hold the cartridge on a flat stable surface with one hand, and pull out the seal completely with the other hand. IMPORTANT ● Do not touch the developing roller, sensors, electrical contacts or cartridge memory on a toner cartridge. Toner cartridge memory Developing roller Sensor Electrical contacts 5 Hold the cartridge as shown and insert it in the machine as far as it will go. 6 Close the cartridge cover and wait for the cartridge cradle to rotate and stop, and then open the cover again. 7 Repeat steps 1 to 6 above until all four toner cartridges are installed. Then close the cartridge cover and lower the scanning platform. NOTE ● If an empty cartridge receptacle does not appear, close the cartridge cover and follow the steps below: 1 Press [Menu] on the control panel ➝ or to select on the LCD ➝ press [Set]. 2 Press or to select ➝ press [Set] ➝ ➝ [Set]. 3 Open the cartridge cover and install the remaining cartridges one by one. The cartridge receptacles should appear in this order: Y ➝ M ➝ C ➝ K.
-
 1
1 -
 2
2 -
 3
3 -
 4
4 -
 5
5 -
 6
6 -
 7
7 -
 8
8
 |
 |