Canon Color imageCLASS MF9220Cdn imageCLASS MF9280Cdn/MF9220Cdn Starter Guide - Page 44
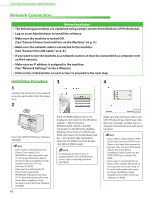
Network Connection, Installation Procedure
 |
View all Canon Color imageCLASS MF9220Cdn manuals
Add to My Manuals
Save this manual to your list of manuals |
Page 44 highlights
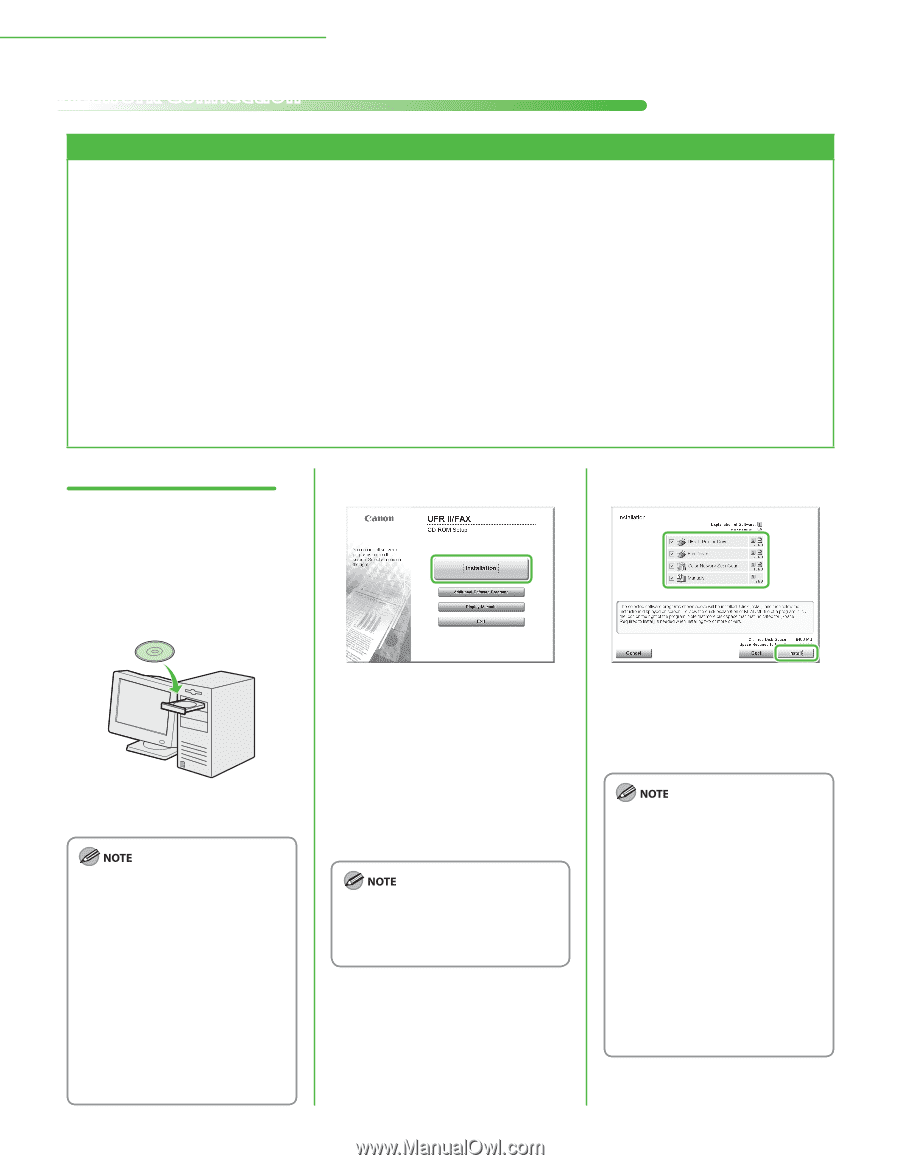
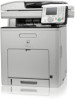
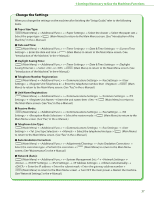
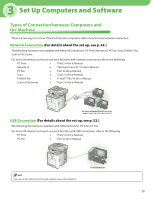
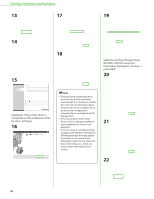
3 Set Up Computers and Software Network Connection Before Installation • The following procedures are explained using sample screens from Windows XP Professional. • Log on as an Administrator to install the software. • Make sure the machine is turned ON. (See "Connect Power Cord and Turn on the Machine," on p. 9.) • Make sure the network cable is connected to the machine. (See "Connect the LAN Cable," on p. 8.) • If you want to use the machine as a network scanner, it must be connected to a computer over an IPv4 network. • Make sure an IP address is assigned to the machine. (See "Network Settings," in the e-Manual.) • Click on the circled button on each screen to proceed to the next step. Installation Procedure 3 4 1 Connect the machine to the network correctly, and confirm that the power is on. 2 Insert the UFRII LT/FAX User Software CD-ROM. - If you want to install only the PCL Driver (Color imageCLASS MF9280Cdn only), proceed to step 37. For more information refer to the Printer Driver Installation Guide (located on the PCL/PS User Software CD-ROM). - If you want to install only the PS Driver (Color imageCLASS MF9280Cdn only), proceed to step 37. For more information refer to the Printer Driver Installation Guide (located on the PCL/PS User Software CD‑ROM). 42 If the CD-ROM Setup screen is not displayed, click [start] on the Windows task bar → [My Computer]. Windows 2000: double-click [My Computer] on the Windows desktop. Windows Vista/7/Server 2003/Server 2008: click [Start] on the Windows task bar → [Computer] ([My Computer]). Open the CD-ROM icon, then doubleclick [MInst] ([MInst.exe]). If a language selection screen is displayed before the CD-ROM Setup screen, select a language and then click [Next]. Make sure that the boxes next to the UFR II Printer Driver, FAX Driver, Color Network ScanGear and Manuals are checked. Unchecked items will not be installed. - If you want to install only the UFR II Driver, select only the UFR II Printer Driver in this step, then proceed to the next step. For more information refer to the Printer Driver Installation Guide (located on the UFRII LT/FAX User Software CDROM). - If you want to install only the fax driver, select only the FAX Driver in this step, then proceed to step 16. For more information refer to the Fax Driver Installation Guide (located on the UFRII LT/FAX User Software CD-ROM).
-
 1
1 -
2
-
3
-
4
-
5
-
6
-
7
-
8
-
9
-
10
-
11
-
12
-
13
-
14
-
15
-
16
-
17
-
18
-
19
-
20
-
21
-
22
-
23
-
24
-
25
-
26
-
27
-
28
-
29
-
30
-
31
-
32
-
33
-
34
-
35
-
36
-
37
-
38
-
 39
39 -
 40
40 -
 41
41 -
 42
42 -
 43
43 -
 44
44 -
 45
45 -
 46
46 -
 47
47 -
 48
48 -
 49
49 -
50
-
51
-
52
-
53
-
54
-
55
-
56
-
57
-
58
-
59
-
60
-
61
-
62
-
63
-
64
 |
 |