Canon HF11 VIXIA HF11 Instruction Manual - Page 52
POINTS TO CHECK, NOTES, Point the camcorder at a white, object, zoom in until it fills
 |
UPC - 013803096798
View all Canon HF11 manuals
Add to My Manuals
Save this manual to your list of manuals |
Page 52 highlights
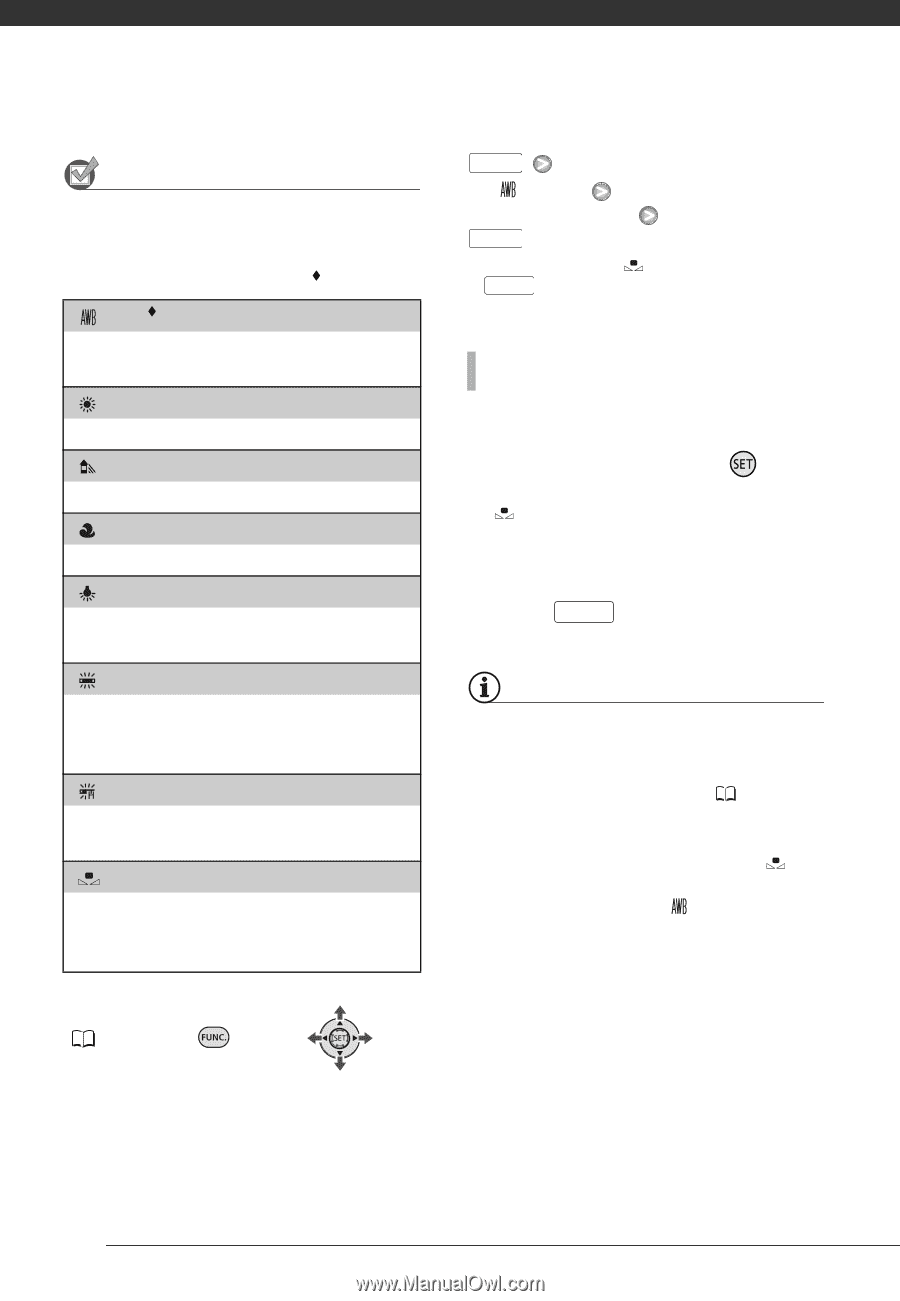
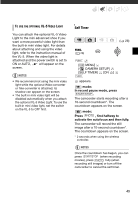
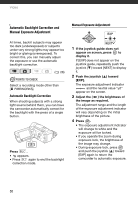
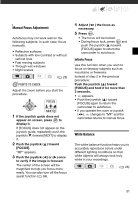
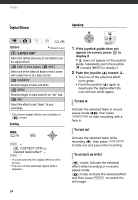
Video POINTS TO CHECK Select a recording mode other than the Special Scene recording programs. Options Default value [ AUTO] Settings are automatically set by the camcorder. Use this setting for outdoor scenes. [ DAYLIGHT] For recording outdoors on a bright day. [ SHADE] For recording in shaded places. [ CLOUDY] For recording on a cloudy day. [ TUNGSTEN] For recording under tungsten and tungsten type (3-wavelength) fluorescent lighting. [ FLUORESCENT] For recording under warm white, cool white or warm white type (3-wavelength) fluorescent lighting. [ FLUORESCENT H] For recording under daylight or daylight type (3-wavelength) fluorescent lighting. [ SET] Use the custom white balance setting to make white subjects appear white under colored lighting. FUNC. ( 28) FUNC. [ AUTO] Desired option* FUNC. * When you select [ SET], do not press FUNC. and continue instead with the following procedure. TO SET THE CUSTOM WHITE BALANCE 1 Point the camcorder at a white object, zoom in until it fills the whole screen and press . When the adjustment is completed, stops flashing and stays on. The camcorder retains the custom setting even if you turn off the camcorder. 2 Press FUNC. to save the setting and close the menu. NOTES • When you select the custom white balance: - Set the custom white balance in a sufficiently illuminated place. - Turn off the digital zoom ( 93). - Reset the white balance when the lighting conditions change. - Depending on the light source, may keep flashing. The result will still be better than with [ AUTO]. • Custom white balance may provide better results in the following cases: - Changing lighting conditions - Close-ups - Subjects in a single color (sky, sea or forest) - Under mercury lamps and certain types of fluorescent lights 52
-
 1
1 -
2
-
3
-
4
-
5
-
6
-
7
-
8
-
9
-
10
-
11
-
12
-
13
-
14
-
15
-
16
-
17
-
18
-
19
-
20
-
21
-
22
-
23
-
24
-
25
-
26
-
27
-
28
-
29
-
30
-
31
-
32
-
33
-
34
-
35
-
36
-
37
-
38
-
39
-
40
-
41
-
42
-
43
-
44
-
45
-
46
-
 47
47 -
 48
48 -
 49
49 -
 50
50 -
 51
51 -
 52
52 -
 53
53 -
 54
54 -
 55
55 -
 56
56 -
 57
57 -
58
-
59
-
60
-
61
-
62
-
63
-
64
-
65
-
66
-
67
-
68
-
69
-
70
-
71
-
72
-
73
-
74
-
75
-
76
-
77
-
78
-
79
-
80
-
81
-
82
-
83
-
84
-
85
-
86
-
87
-
88
-
89
-
90
-
91
-
92
-
93
-
94
-
95
-
96
-
97
-
98
-
99
-
100
-
101
-
102
-
103
-
104
-
105
-
106
-
107
-
108
-
109
-
110
-
111
-
112
-
113
-
114
-
115
-
116
-
117
-
118
-
119
-
120
-
121
-
122
-
123
-
124
-
125
-
126
-
127
-
128
-
129
-
130
-
131
 |
 |