Canon PowerShot A5 Zoom Reference Guide - Page 40
Taking Pictures in Stitch Assist Mode, continued, Orient the camera so that the third
 |
View all Canon PowerShot A5 Zoom manuals
Add to My Manuals
Save this manual to your list of manuals |
Page 40 highlights
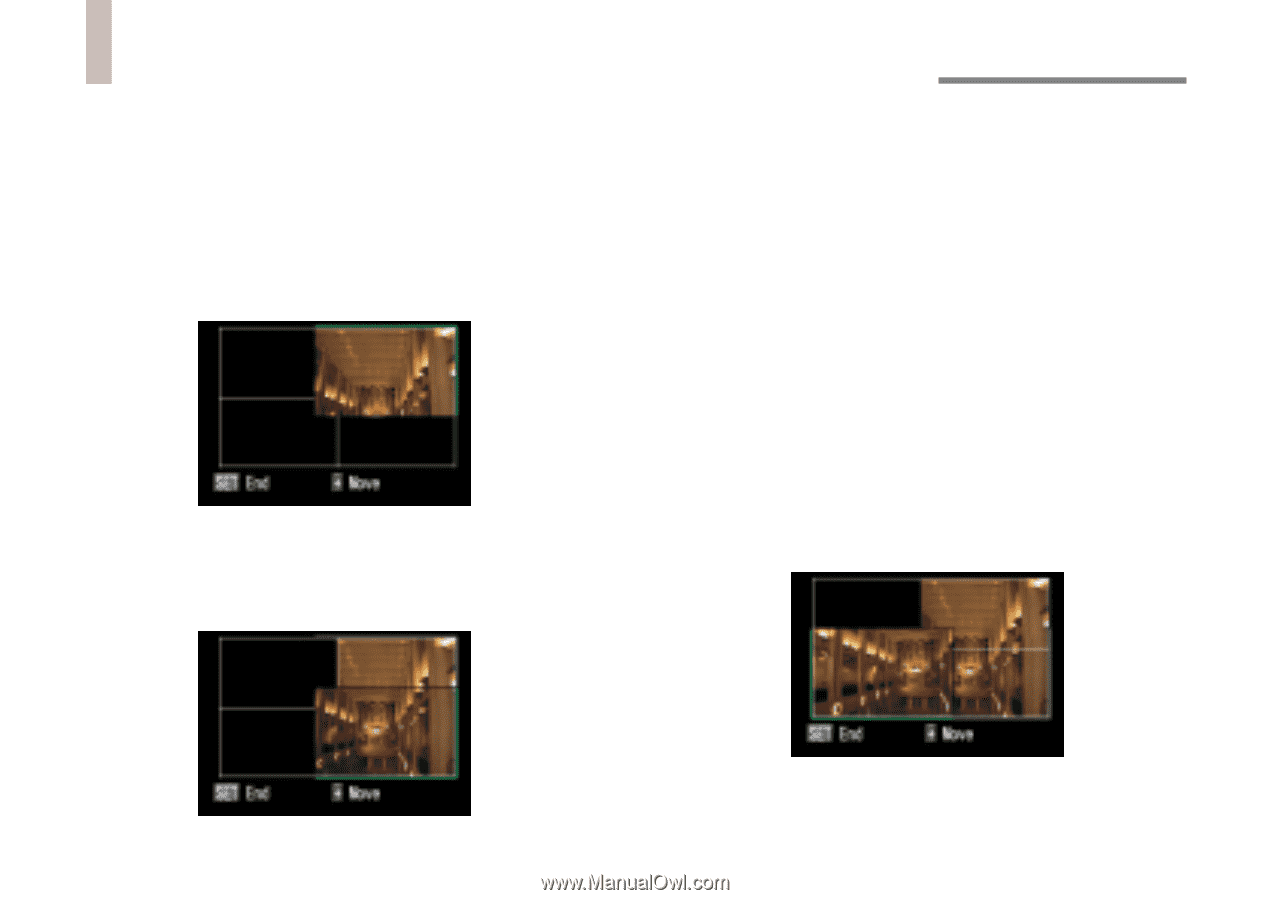
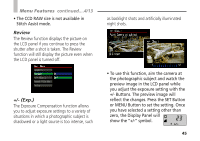
Taking Pictures in Stitch Assist Mode continued....5/6 3. Shoot the first image. After the indicator stops flashing green, the recorded image will display in the upper right, and a preview of the new photographic subject captured by the lens will appear in the lower right. 4. Overlap a small portion of the photographic subject of the first image and shoot the next image in the sequence. After the indicator stops flashing green, the second recorded image will display in the lower right, and a preview of the new photographic subject captured by the lens will appear in the lower left. 5. Orient the camera so that the third image will correctly overlap a portion of the second image and take the shot. After the indicator stops flashing green, the third recorded image will display in the lower left, and a preview of the new photographic subject captured by the lens will appear in the upper left. 40
-
 1
1 -
2
-
3
-
4
-
5
-
6
-
7
-
8
-
9
-
10
-
11
-
12
-
13
-
14
-
15
-
16
-
17
-
18
-
19
-
20
-
21
-
22
-
23
-
24
-
25
-
26
-
27
-
28
-
29
-
30
-
31
-
32
-
33
-
34
-
 35
35 -
 36
36 -
 37
37 -
 38
38 -
 39
39 -
 40
40 -
 41
41 -
 42
42 -
 43
43 -
 44
44 -
 45
45 -
46
-
47
-
48
-
49
-
50
-
51
-
52
-
53
-
54
-
55
-
56
-
57
-
58
-
59
-
60
-
61
-
62
-
63
-
64
-
65
-
66
-
67
-
68
-
69
-
70
-
71
-
72
-
73
-
74
-
75
-
76
-
77
-
78
-
79
-
80
-
81
-
82
-
83
-
84
-
85
-
86
-
87
-
88
-
89
-
90
-
91
-
92
 |
 |