Canon VIXIA HG20 Digital Video Software (Windows) Ver.31 Instruction Manual - Page 78
If You Were Using ZoomBrowser EX Version 2 or 3
 |
View all Canon VIXIA HG20 manuals
Add to My Manuals
Save this manual to your list of manuals |
Page 78 highlights
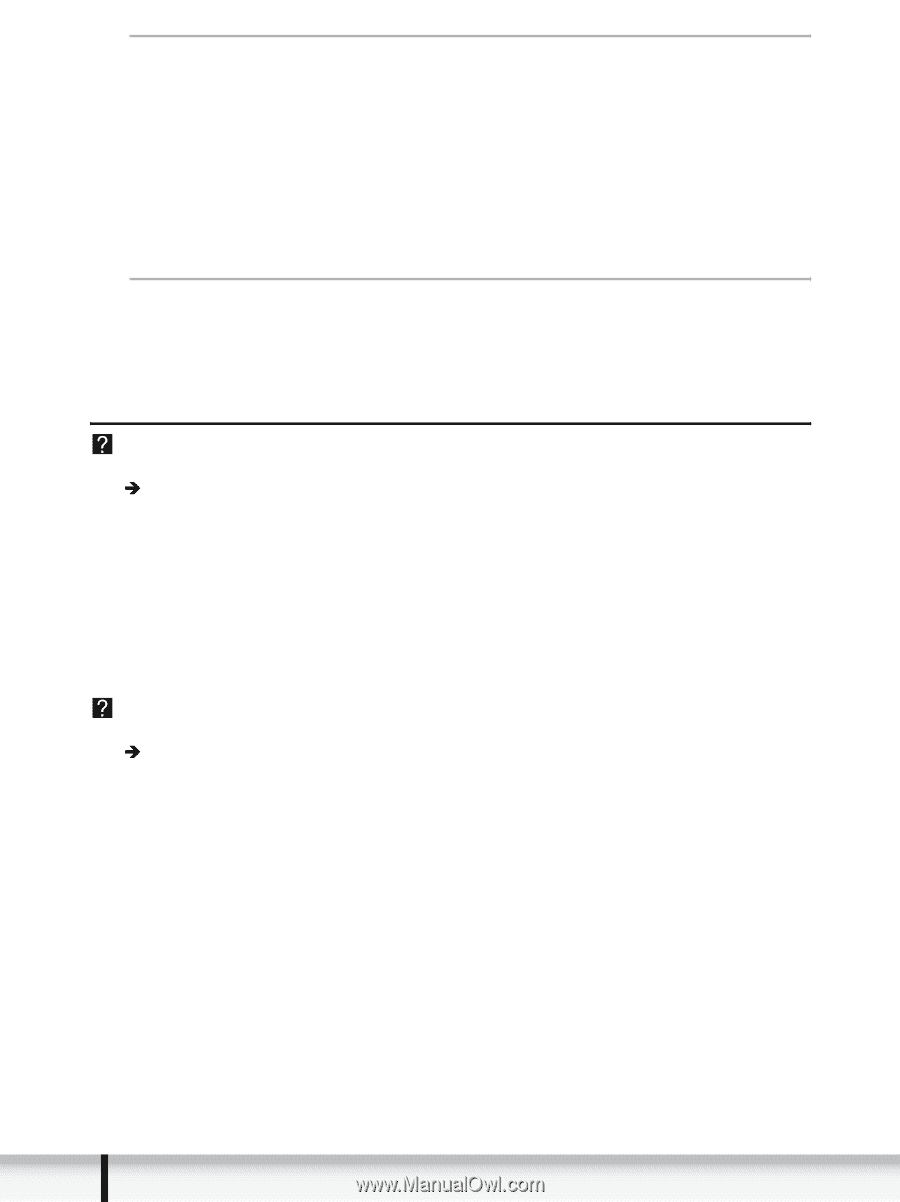
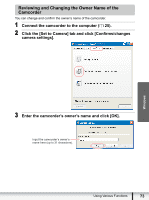
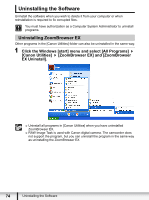
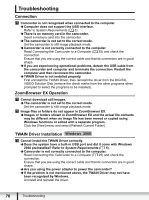
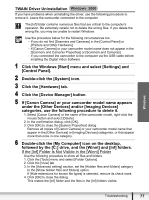
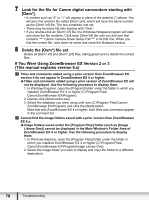
7 Look for the file for Canon digital camcorders starting with [Oem*]. • A number such as "0" or "1" will appear in place of the asterisk (*) above. You will also find another file called [Oem*.pnf], which will have the same number as the [Oem*.inf] file. The two constitute one set. • There may be many file sets starting with "Oem". • If you double-click an [Oem*.inf] file, the Windows Notepad program will start and show the file contents. Click each [Oem*inf] file until you find one that contains "*** Canon Camera Driver Setup File***" in its first line. When you find the correct file, note down its name and close the Notepad window. 8 Delete the [Oem*] file set. Delete all [Oem*.inf] and [Oem*.pnf] files, taking great care to delete the correct files. If You Were Using ZoomBrowser EX Version 2 or 3 (This manual explains version 6.x) Titles and comments added using a prior version than ZoomBrowser EX version 4 do not appear in ZoomBrowser EX 4 or higher. Î Titles and comments added using a prior version of ZoomBrowser EX will not be displayed. Use the following procedure to display them. 1. In Windows Explorer, open the [Program] folder under the folder in which you installed ZoomBrowser EX 4 or higher (C:\Program Files\ Canon\ZoomBrowser EX\Program). 2. Double-click [dbconverter.exe]. 3. Select the database you were using until now (C:\Program Files\Canon\ ZoomBrowser EX\Program) and click the [Start] button. Note that with ZoomBrowser EX 4 or higher, both titles and comments appear in the comment list. Cannot find the image folders saved with a prior version than ZoomBrowser EX 6.x. Î Image folders saved under the [Program Files] folder (such as [Image Library One]) cannot be displayed in the Main Window's Folder Area of ZoomBrowser EX 4 or higher. Use the following procedure to display them. 1. In Windows Explorer, open the [Program Files] folder under the folder in which you installed ZoomBrowser EX 4 or higher (C:\Program Files\ Canon\ZoomBrowser EX\Program\Image Library One). 2. Select the image folder you wish to display and copy the folder to a different destination. 78 Troubleshooting
-
 1
1 -
2
-
3
-
4
-
5
-
6
-
7
-
8
-
9
-
10
-
11
-
12
-
13
-
14
-
15
-
16
-
17
-
18
-
19
-
20
-
21
-
22
-
23
-
24
-
25
-
26
-
27
-
28
-
29
-
30
-
31
-
32
-
33
-
34
-
35
-
36
-
37
-
38
-
39
-
40
-
41
-
42
-
43
-
44
-
45
-
46
-
47
-
48
-
49
-
50
-
51
-
52
-
53
-
54
-
55
-
56
-
57
-
58
-
59
-
60
-
61
-
62
-
63
-
64
-
65
-
66
-
67
-
68
-
69
-
70
-
71
-
72
-
 73
73 -
 74
74 -
 75
75 -
 76
76 -
 77
77 -
 78
78 -
 79
79
 |
 |