Canon VIXIA HV20 Digital Video Software (Windows) Ver.24 Instruction Manual - Page 45
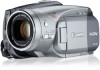
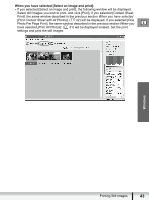
Specify the print settings and click [Print].
 |
View all Canon VIXIA HV20 manuals
Add to My Manuals
Save this manual to your list of manuals |
Page 45 highlights
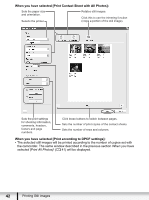
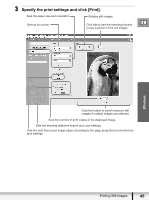
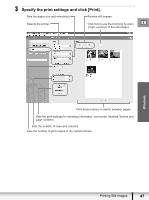
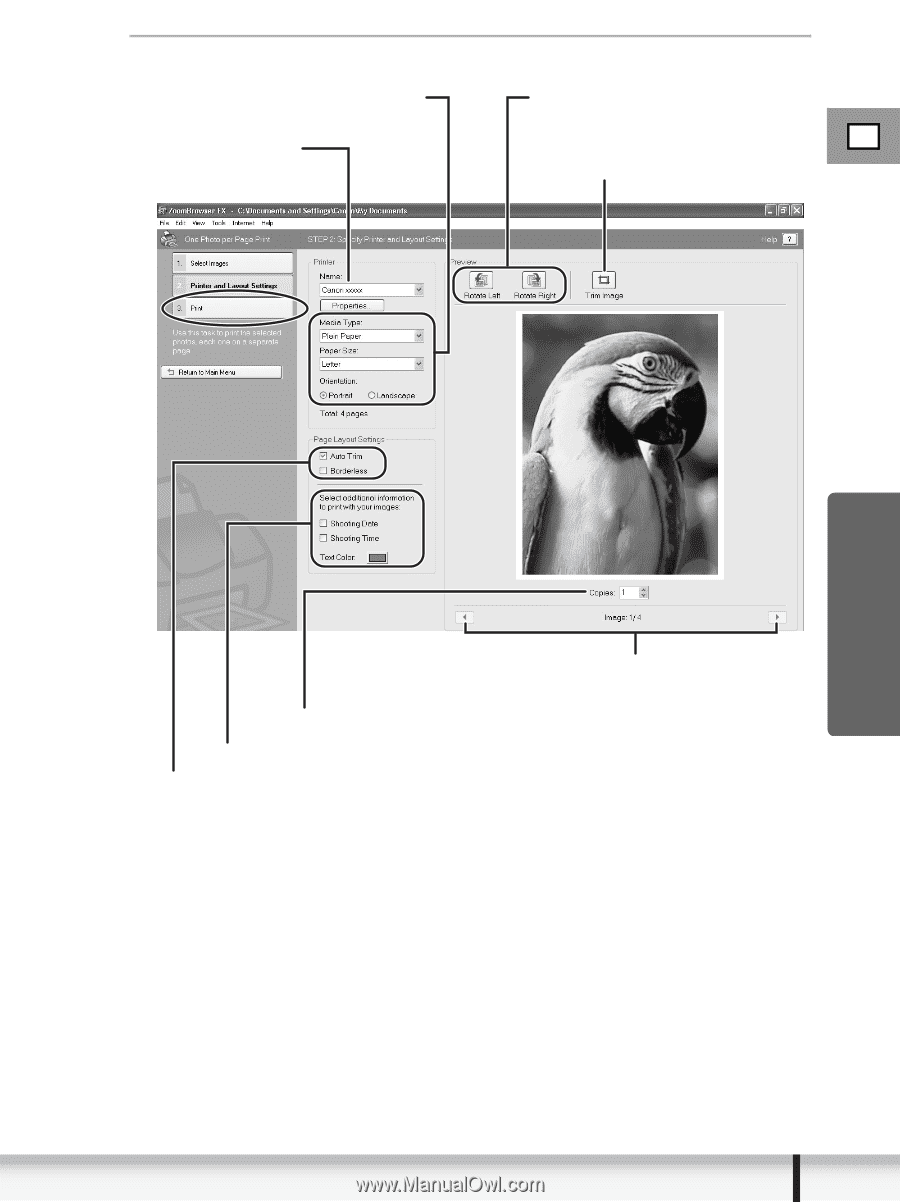
3 Specify the print settings and click [Print]. Sets the paper size and orientation. Rotates still images. Selects the printer. Click this to use the trimming function E (crops a portion of the still image). Windows Click this button to switch between still images if multiple images are selected. Sets the number of print copies of the displayed image. Sets the shooting date/time imprint and color settings. Sets the auto trim (crops image edges according to the page proportions) or borderless print settings. Printing Still Images 45
-
 1
1 -
2
-
3
-
4
-
5
-
6
-
7
-
8
-
9
-
10
-
11
-
12
-
13
-
14
-
15
-
16
-
17
-
18
-
19
-
20
-
21
-
22
-
23
-
24
-
25
-
26
-
27
-
28
-
29
-
30
-
31
-
32
-
33
-
34
-
35
-
36
-
37
-
38
-
39
-
 40
40 -
 41
41 -
 42
42 -
 43
43 -
 44
44 -
 45
45 -
 46
46 -
 47
47 -
 48
48 -
 49
49 -
 50
50 -
51
-
52
-
53
-
54
-
55
-
56
-
57
-
58
-
59
-
60
-
61
-
62
-
63
-
64
-
65
-
66
-
67
-
68
-
69
-
70
-
71
-
72
-
73
-
74
-
75
-
76
-
77
-
78
-
79
-
80
-
81
-
82
-
83
-
84
-
85
-
86
-
87
-
88
-
89
-
90
-
91
-
92
-
93
-
94
 |
 |
45
E
Printing Still Images
Windows
3
Specify the print settings and click [Print].
Click this button to switch between still
images if multiple images are selected.
Selects the printer.
Click this to use the trimming function
(crops a portion of the still image).
Rotates still images.
Sets the shooting date/time imprint and color settings.
Sets the auto trim (crops image edges according to the page proportions) or borderless
print settings.
Sets the paper size and orientation.
Sets the number of print copies of the displayed image.