Canon imageCLASS MF4890dw Basic Guide - Page 54
Specifying the Double-Sided Document Format (MF4890dw Only), Changing the Default Settings
 |
View all Canon imageCLASS MF4890dw manuals
Add to My Manuals
Save this manual to your list of manuals |
Page 54 highlights
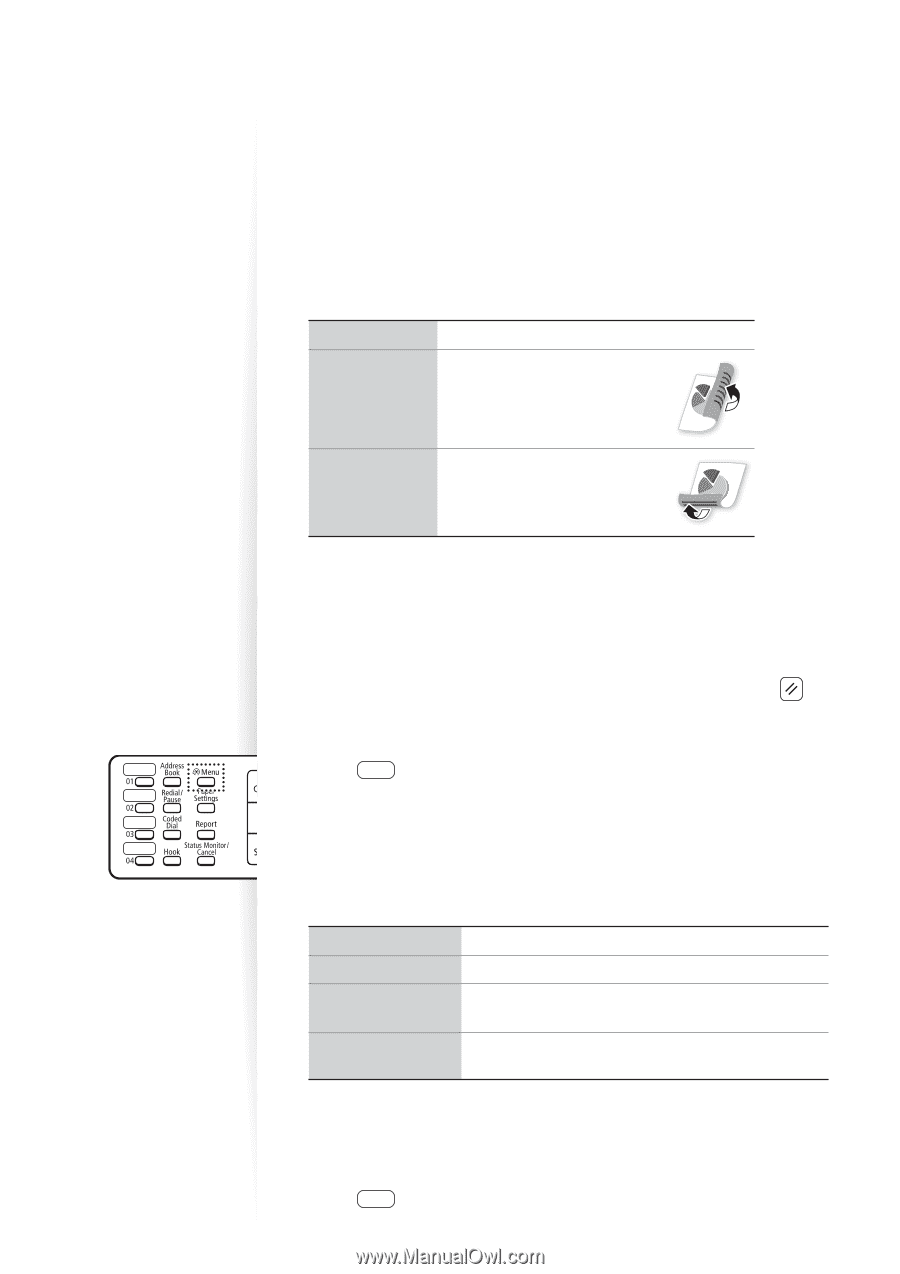
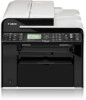
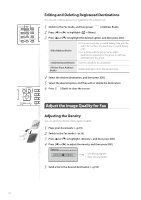
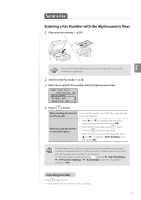
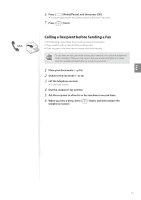
Specifying the Double-Sided Document Format (MF4890dw Only) You can set the document format to scan double-sided documents automatically. 1 Place your documents in the feeder (→p.20). 2 Switch to the Fax mode (→p.16). 3 Press [▲] or [▼] to highlight , and then press [OK]. 4 Press [▲] or [▼] to highlight the desired option, and then press [OK]. Read only one side of documents. • Read both sides of documents. • Select when the document is book type. • Read both sides of documents. • Select when the document is calendar type. 5 Send a fax to the desired destination (→p.55). Changing the Default Settings You can change the default settings that is applied when the machine is restarted, [ ] (Reset) is pressed or the screen is returned to the default screen after auto screen is performed. 1 Press [ ] (Menu). 2 Press [▲] or [▼] to highlight , and then press [OK]. 3 Press [▲] or [▼] to highlight , and then press [OK]. 4 Press [▲] or [▼] to highlight , and then press [OK]. 5 Press [▲] or [▼] to highlight the desired option, and then press [OK]. Make the resolution higher or lower. (MF4890dw only) Make the density lighter or darker. Set whether to read one side of documents or both sides of documents automatically. Emphasize the outline of the image or decrease the contrast. 6 Specify the desired setting. 7 After you have specified the setting, press [▲] or [▼] to highlight , and then press [OK]. 8 Press [ ] (Menu) to close the screen. 54
-
 1
1 -
2
-
3
-
4
-
5
-
6
-
7
-
8
-
9
-
10
-
11
-
12
-
13
-
14
-
15
-
16
-
17
-
18
-
19
-
20
-
21
-
22
-
23
-
24
-
25
-
26
-
27
-
28
-
29
-
30
-
31
-
32
-
33
-
34
-
35
-
36
-
37
-
38
-
39
-
40
-
41
-
42
-
43
-
44
-
45
-
46
-
47
-
48
-
 49
49 -
 50
50 -
 51
51 -
 52
52 -
 53
53 -
 54
54 -
 55
55 -
 56
56 -
 57
57 -
 58
58 -
 59
59 -
60
-
61
-
62
-
63
-
64
-
65
-
66
-
67
-
68
-
69
-
70
-
71
-
72
-
73
-
74
-
75
-
76
-
77
-
78
-
79
-
80
-
81
-
82
-
83
-
84
-
85
-
86
-
87
-
88
-
89
-
90
-
91
-
92
-
93
-
94
-
95
-
96
-
97
-
98
-
99
-
100
-
101
-
102
-
103
-
104
-
105
-
106
-
107
-
108
-
109
-
110
-
111
-
112
-
113
-
114
-
115
-
116
 |
 |