Canon imageFORMULA DR-2020U Universal Workgroup Scanner User Manual - Page 26
Scanning with CaptureOnTouch, CaptureOnTouch Features
 |
View all Canon imageFORMULA DR-2020U Universal Workgroup Scanner manuals
Add to My Manuals
Save this manual to your list of manuals |
Page 26 highlights
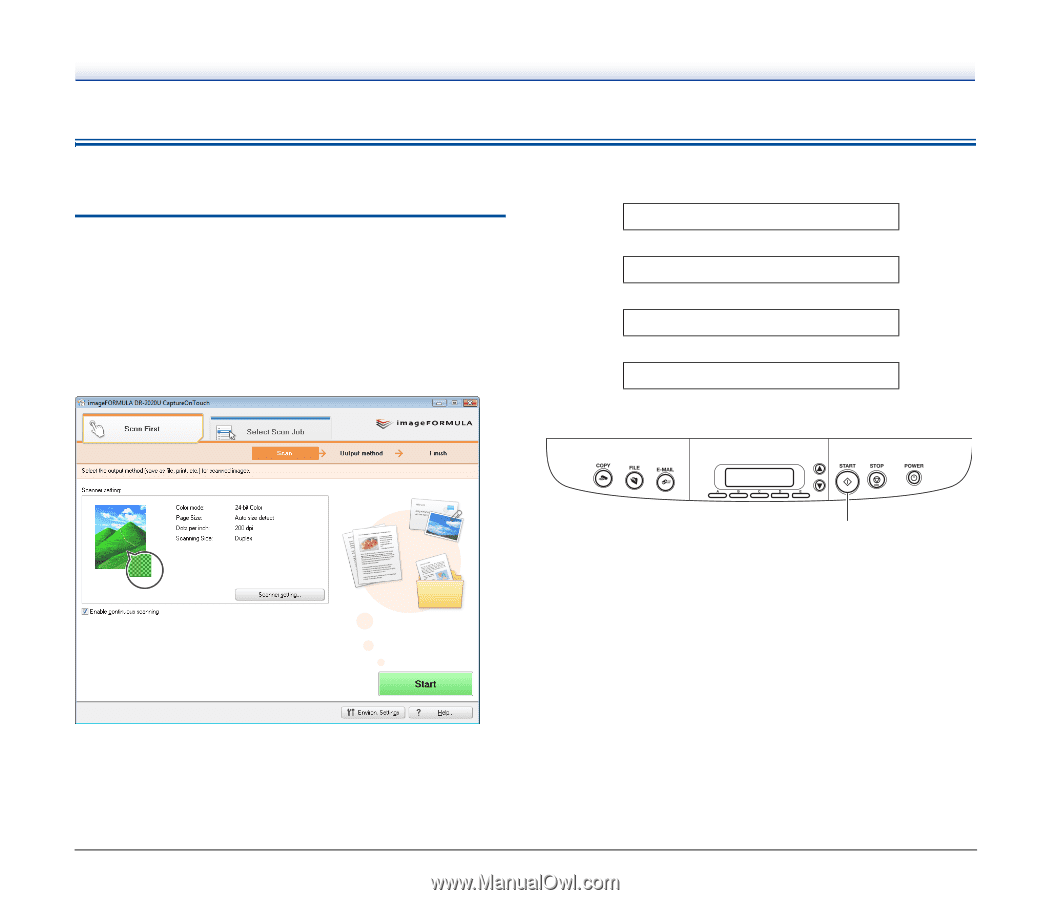
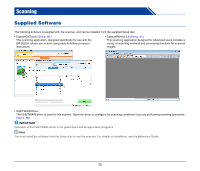
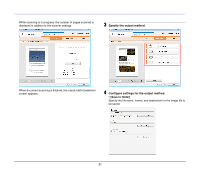
Scanning with CaptureOnTouch This section describes the DR-2020U's scanning application, CaptureOnTouch. CaptureOnTouch Features Using CaptureOnTouch allows you to scan using easy-to-follow onscreen instructions. In addition, by assigning scan functions to the buttons on the DR-2020U scanner's operation panel, you can perform scanning procedures without your computer. The following describes the output procedures for the two screens found in CaptureOnTouch. Scan First Select an output method after a document is scanned, and then configure the necessary settings. Scan document ▼ Select output method ▼ Configure output settings ▼ Output scanned images To use the Scan First default settings, press the START button when "Scan First" appears on the display panel. START Button If you press the START button while a job appears on the display panel, scanning for that job will begin. 26
-
 1
1 -
2
-
3
-
4
-
5
-
6
-
7
-
8
-
9
-
10
-
11
-
12
-
13
-
14
-
15
-
16
-
17
-
18
-
19
-
20
-
 21
21 -
 22
22 -
 23
23 -
 24
24 -
 25
25 -
 26
26 -
 27
27 -
 28
28 -
 29
29 -
 30
30 -
 31
31 -
32
-
33
-
34
-
35
-
36
-
37
-
38
-
39
-
40
-
41
-
42
-
43
-
44
-
45
-
46
-
47
-
48
-
49
-
50
-
51
-
52
-
53
-
54
-
55
-
56
-
57
-
58
-
59
-
60
-
61
-
62
-
63
-
64
-
65
-
66
-
67
-
68
-
69
-
70
-
71
-
72
-
73
-
74
-
75
-
76
-
77
 |
 |