Canon imageFORMULA DR-2020U Universal Workgroup Scanner User Manual - Page 39
Scanning with the Registered Jobs, Place the documents into the scanner., Select a job.
 |
View all Canon imageFORMULA DR-2020U Universal Workgroup Scanner manuals
Add to My Manuals
Save this manual to your list of manuals |
Page 39 highlights
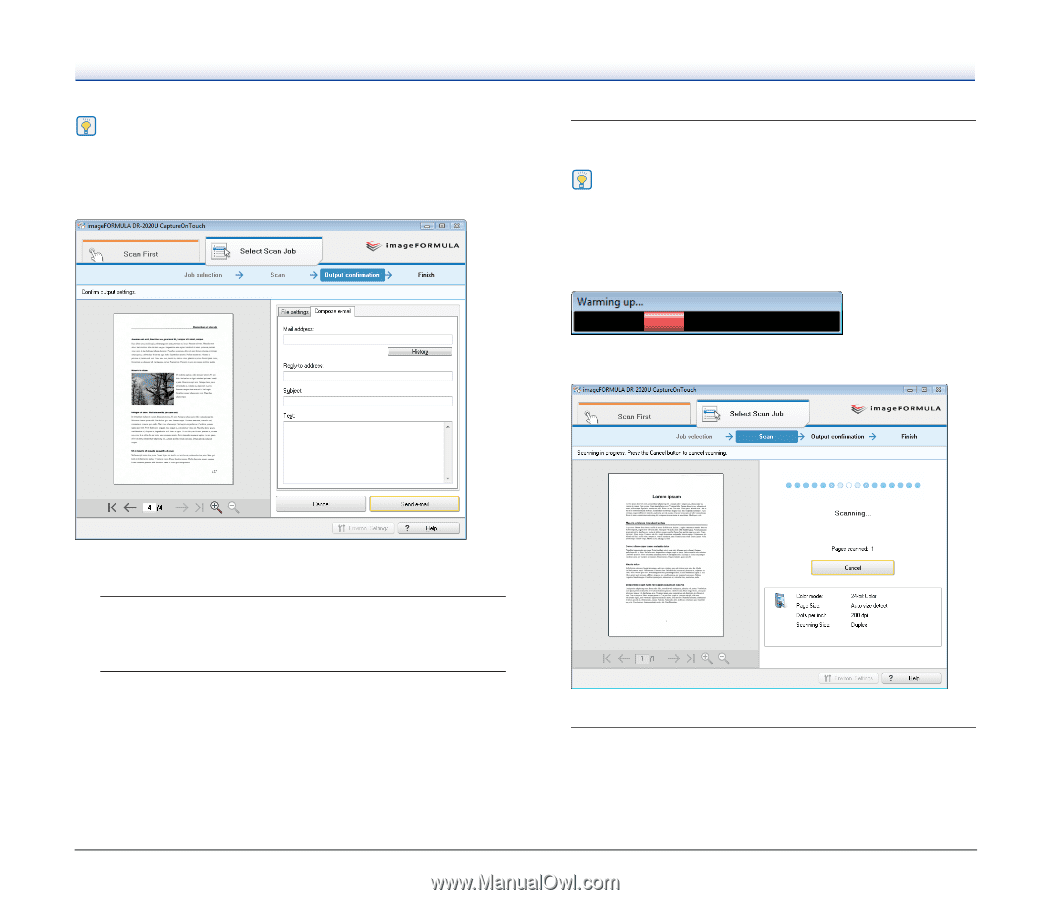
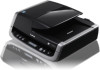
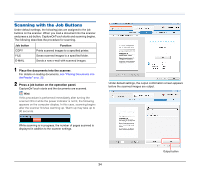
Hint If you select the [Confirm output] check box and execute a job for which the output method is [Send by E-mail], the following output confirmation screen appears after scanning is finished, allowing you to confirm and edit the registered settings for the job. 3 Press the START button on the operation panel. CaptureOnTouch starts and the documents are scanned. Hint If this procedure is performed immediately after turning the scanner ON or while the power indicator is not lit, the following appears on the computer display. In this case, scanning begins after the scanner finishes warming up. Warm up may take up to 30 seconds. While scanning is in progress, the number of pages scanned is displayed in addition to the scanner settings. Scanning with the Registered Jobs 1 Place the documents into the scanner. For details on loading documents, see "Placing Documents into the Feeder" on p. 22. 2 Select a job. To select a registered job, press the scroll keys and display the job number to execute on the display panel. To select a job that is assigned to a user defined job button, press the corresponding user defined job button. In this case, the title of the assigned job appears in the display panel. CaptureOnTouch closes automatically after 5 seconds. 4 Press the STOP button on the operation panel. The display panel message clears. This completes the scan procedure. 39
-
 1
1 -
2
-
3
-
4
-
5
-
6
-
7
-
8
-
9
-
10
-
11
-
12
-
13
-
14
-
15
-
16
-
17
-
18
-
19
-
20
-
21
-
22
-
23
-
24
-
25
-
26
-
27
-
28
-
29
-
30
-
31
-
32
-
33
-
 34
34 -
 35
35 -
 36
36 -
 37
37 -
 38
38 -
 39
39 -
 40
40 -
 41
41 -
 42
42 -
 43
43 -
 44
44 -
45
-
46
-
47
-
48
-
49
-
50
-
51
-
52
-
53
-
54
-
55
-
56
-
57
-
58
-
59
-
60
-
61
-
62
-
63
-
64
-
65
-
66
-
67
-
68
-
69
-
70
-
71
-
72
-
73
-
74
-
75
-
76
-
77
 |
 |