Celestron Micro 360 Microscope with 2 MP Imager Digital Microscope Imager Manu - Page 6
Using the Digital Microscope Suite DMS Software, You are now ready to begin your digital adventure
 |
View all Celestron Micro 360 Microscope with 2 MP Imager manuals
Add to My Manuals
Save this manual to your list of manuals |
Page 6 highlights
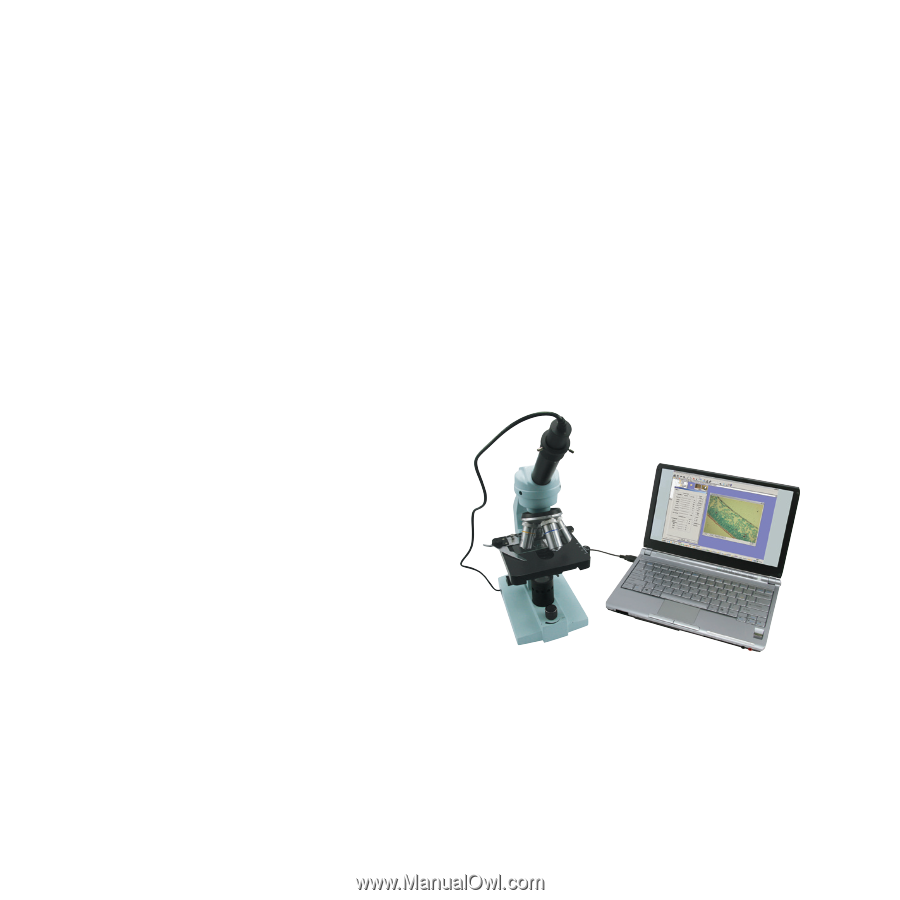
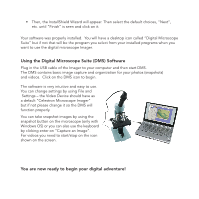
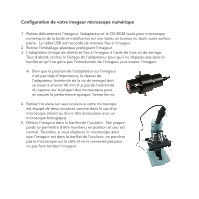
• Then, the InstallShield Wizard will appear. Then select the default choices, "Next", etc. until "Finish" is seen and click on it. Your software was properly installed. You will have a desktop icon called "Digital Microscope Suite" but if not that will be the program you select from your installed programs when you want to use the digital microscope Imager. Using the Digital Microscope Suite (DMS) Software Plug in the USB cable of the Imager to your computer and then start DMS. The DMS contains basic image capture and organization for your photos (snapshots) and videos. Click on the DMS icon to begin. The software is very intuitive and easy to use. You can change settings by using File and Settings - the Video Device should have as a default "Celestron Microscope Imager" but if not please change it so the DMS will function properly. You can take snapshot images by using the snapshot button on the microscope (only with Windows OS) or you can also use the keyboard by clicking enter on "Capture an Image". For videos you need to start/stop on the icon shown on the screen. You are now ready to begin your digital adventure!
-
 1
1 -
 2
2 -
 3
3 -
 4
4 -
 5
5 -
 6
6 -
 7
7 -
 8
8 -
 9
9 -
 10
10 -
 11
11 -
 12
12 -
13
-
14
-
15
-
16
-
17
-
18
-
19
-
20
-
21
-
22
-
23
-
24
-
25
-
26
-
27
-
28
-
29
-
30
-
31
-
32
-
33
-
34
-
35
-
36
-
37
-
38
-
39
-
40
 |
 |