Craftsman 27673 Operation Manual - Page 16
Craftsman 27673 - Professional 5 in. 3.0 Amp Random Orbit Sander Manual
 |
View all Craftsman 27673 manuals
Add to My Manuals
Save this manual to your list of manuals |
Page 16 highlights
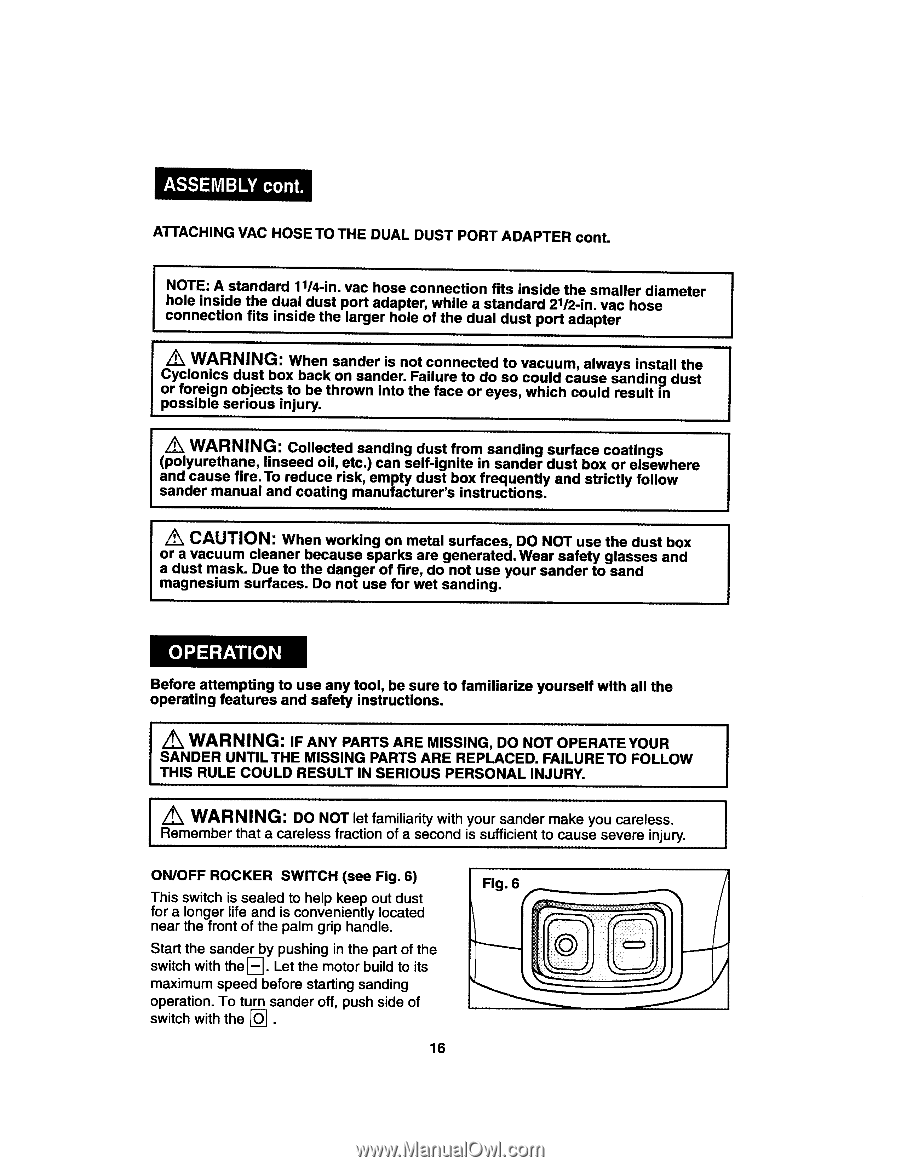
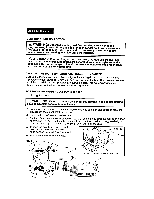
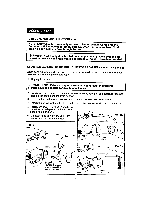
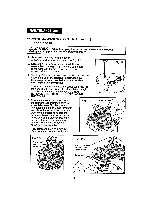
ATrACHING VAC HOSE TO THE DUAL DUST PORT ADAPTER cont. NOTE: A standard 11/4-in. vac hose connection fits i,lside the smaller diameter hole inside the dual dust port adapter, while a standard 21/2-in. vac hose connection fits inside the larger hole of the dual dust port adapter IJ /_ WARNING: When sander is not connected to vacuum, always install the Cyclonics dust box back on sander. Failure to do so could cause sanding dust or foreign objects to be thrown into the face or eyes, which could result in possible serious injury. Z_ WARNING: Collected sanding dust from sanding surface coatings (polyurethane, linseed oil, etc.) can self-ignite in sander dust box or elsewhere and cause fire. To reduce risk, empty dust box frequently and strictly follow sander manual and coating manufacturer's instructions. /_ CAUTION: When working on metal surfaces, DO NOT use the dust box or a vacuum cleaner because sparks are generated. Wear safety glasses and a dust mask. Due to the danger of fire, do not use your sander to sand magnesium surfaces. Do not use for wet sanding. Before attempting to use any tool, be sure to familiarize yourself with all the operating features and safety instructions. /_, WARNING: IF ANY PARTS ARE MISSING, DO NOT OPERATE YOUR SANDER UNTIL THE MISSING PARTS ARE REPLACED. FAILURE TO FOLLOW THIS RULE COULD RESULT IN SERIOUS PERSONAL INJURY. I ZR_emeWmAbReNr INthGa:t a carDeOlesNsOfTracletitofanmoifliaristyecwonitdh yisosuurffsicainednetrtomcaakuesyeosuecvaereleinsjsu.ry. I ON/OFF ROCKER SWITCH (see Fig. 6) This switch is sealed to help keep out dust for a longer life and is conveniently located near the front of the palm grip handle. Start the sander by pushing in the part of the switch with the [----].Let the motor build to its maximum speed before starting sanding operation. To turn sander off, push side of switch with the []. 16
-
 1
1 -
2
-
3
-
4
-
5
-
6
-
7
-
8
-
9
-
10
-
 11
11 -
 12
12 -
 13
13 -
 14
14 -
 15
15 -
 16
16 -
 17
17 -
 18
18 -
 19
19 -
 20
20 -
 21
21 -
22
-
23
-
24
-
25
-
26
-
27
-
28
-
29
-
30
-
31
-
32
-
33
-
34
-
35
-
36
-
37
-
38
-
39
-
40
-
41
-
42
-
43
-
44
-
45
-
46
-
47
-
48
-
49
-
50
-
51
 |
 |