Cub Cadet SC 500 EQ Operation Manual - Page 13
Unlock
 |
View all Cub Cadet SC 500 EQ manuals
Add to My Manuals
Save this manual to your list of manuals |
Page 13 highlights
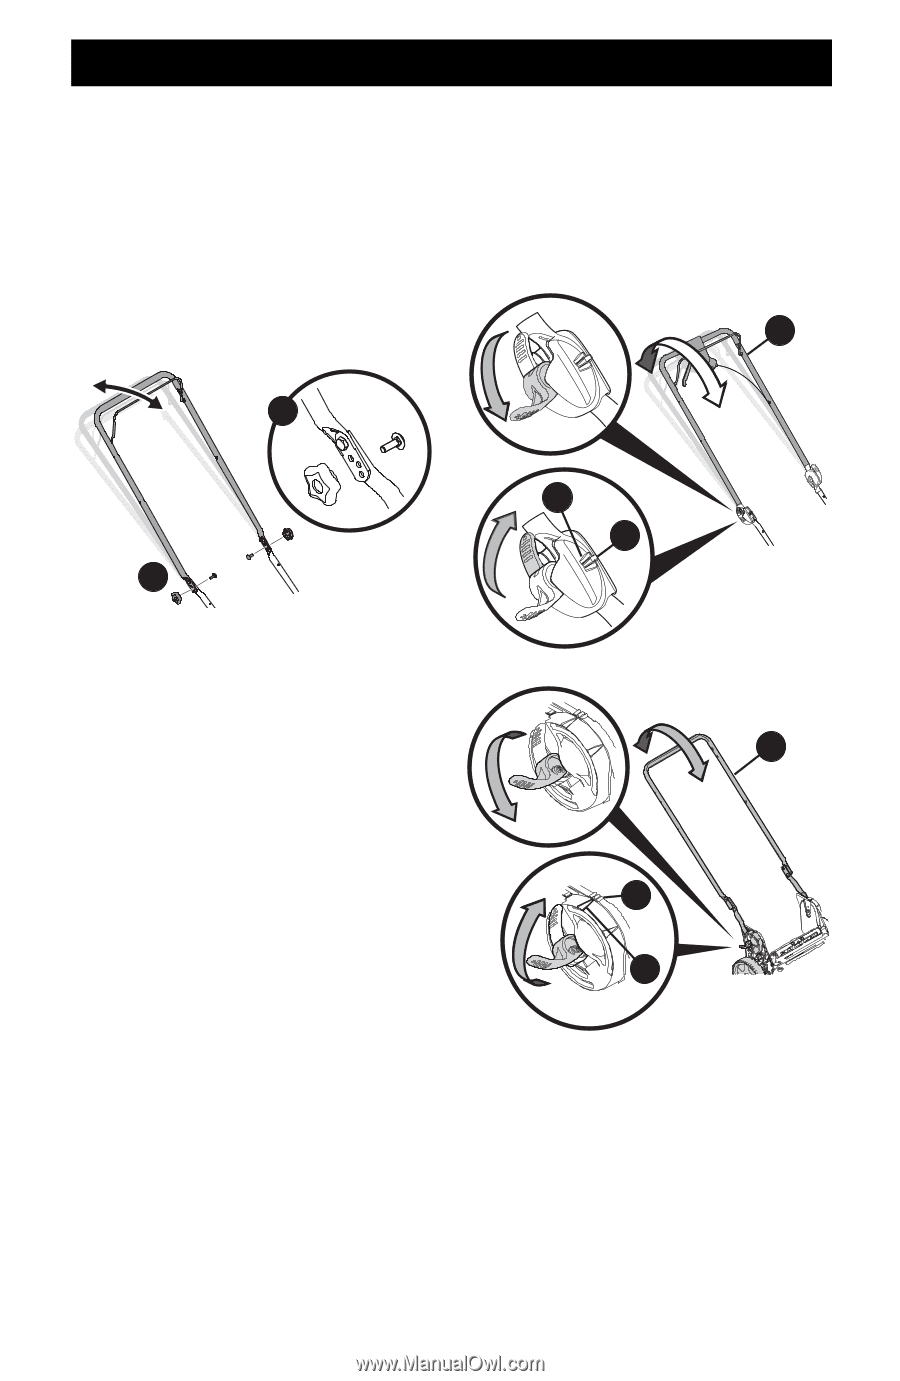
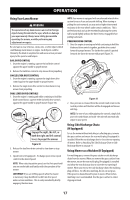
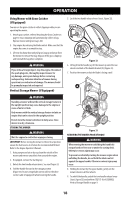
ADJUSTMENTS Handle Pitch (If Equipped) For convenience of operation, you may adjust the pitch of the handle. Perform one of the following. PULL-OUT AND FOLDING HANDLES 1. Remove wing nuts and carriage bolts from handle (Figure 25). 2. Position the handle in one of the three positions that is most comfortable. See Figure 25 inset. 3. Secure into position with wing nuts and carriage bolts removed in STEP 1. EZ-FOLD OR VERTICAL STORAGE HANDLES NOTE: For EZ-Fold handles see Figure 26 or for vertical storage handles see Figure 27. 1. Unlock the two handle release levers. See inset. 2. Move the upper handle (a) to align the position indicator (b) with the most comfortable of the three handle positions (c). 3. Lock the two handle release levers. See inset. a 2 Unlock 1 Figure 25 c b Lock Figure 26 a Unlock c b Lock Figure 27 13
-
 1
1 -
2
-
3
-
4
-
5
-
6
-
7
-
 8
8 -
 9
9 -
 10
10 -
 11
11 -
 12
12 -
 13
13 -
 14
14 -
 15
15 -
 16
16 -
 17
17 -
 18
18 -
19
-
20
-
21
-
22
-
23
-
24
-
25
-
26
-
27
-
28
-
29
-
30
-
31
-
32
-
33
-
34
-
35
-
36
-
37
-
38
-
39
-
40
-
41
-
42
-
43
-
44
-
45
-
46
-
47
-
48
-
49
-
50
-
51
-
52
-
53
-
54
-
55
-
56
-
57
-
58
-
59
-
60
-
61
-
62
-
63
-
64
-
65
-
66
-
67
-
68
-
69
-
70
-
71
-
72
 |
 |