D-Link DMC 1000 User Guide - Page 11
Installing and Removing the Power Supply - sc
 |
UPC - 790069242069
View all D-Link DMC 1000 manuals
Add to My Manuals
Save this manual to your list of manuals |
Page 11 highlights
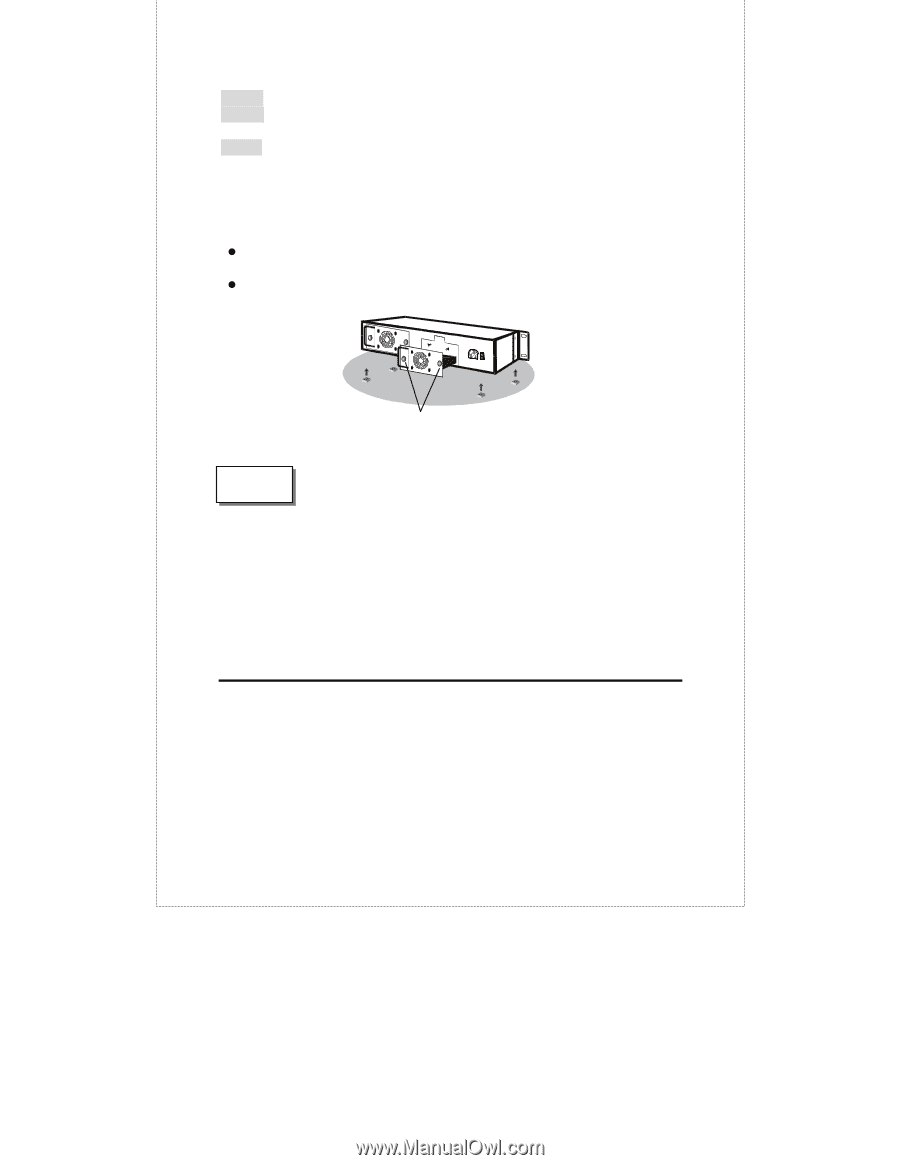
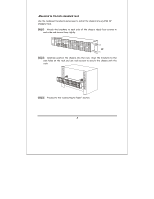
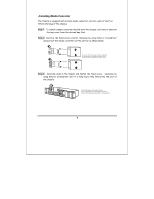
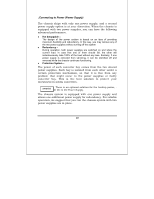
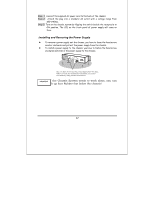
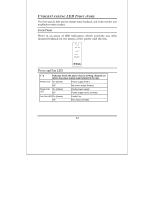
Step 1: Connect the supplied AC power cord to the back of the chassis. Step 2: Attach the plug into a standard AC outlet with a voltage range from 100~240Vac. Step 3: Turn on the chassis system by flipping the switch beside the receptacle to ON position. The LED on the front panel of power supply will come on then. .Installing and Removing the Power Supply z To remove a power supply out the chassis, you have to loose the hand screw counter clockwise and pull out the power supply from the chassis. z To install a power supply to the chassis, you have to fasten the hand screw clockwise and slide in the power supply to the chassis. You c a n slid e in a nd o ut the p ower sup p ly from the b ay, fa sten or loose the ha nd sc rew c loc kwise or c ounter c loc kwise b y using hand or sc re wdriver. Attention! If the Chassis System needs to work alone, you can stick up four Rubber foot below the chassis! 11
-
 1
1 -
2
-
3
-
4
-
5
-
 6
6 -
 7
7 -
 8
8 -
 9
9 -
 10
10 -
 11
11 -
 12
12 -
 13
13 -
 14
14
 |
 |