D-Link DWL-A520 Quick Installation Guide
D-Link DWL-A520 Manual
 |
View all D-Link DWL-A520 manuals
Add to My Manuals
Save this manual to your list of manuals |
D-Link DWL-A520 manual content summary:
- D-Link DWL-A520 | Quick Installation Guide - Page 1
installation screenshots were taken in Windows XP. For other OS, the installation procedure will be exactly the same but the screenshots will differ. Contents of Package: • D-Link AirPro DWL-A520 5GHz Wireless PCI Adapter • Printed Quick Installation Guide • CD with Manual and Drivers If any of the - D-Link DWL-A520 | Quick Installation Guide - Page 2
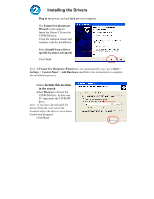
Panel > Add Hardware and follow the instructions to complete the installation process. • Select Include this location in the search • Select Browse to choose the CD-ROM drive. In this case, D:\ represents the CD-ROM drive. Note: If you have downloaded the drivers from the web, select the location - D-Link DWL-A520 | Quick Installation Guide - Page 3
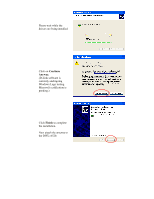
• Please wait while the drivers are being installed. • Click on Continue Anyway. • (D-Link software is currently undergoing Windows Logo testing. Microsoft certification is pending.) • Click Finish to complete the installation. • Now attach the antenna to the DWL-A520. - D-Link DWL-A520 | Quick Installation Guide - Page 4
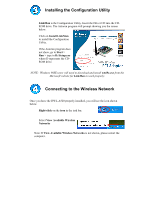
Utility • LinkMon is the Configuration Utility. Insert the Driver CD into the CDROM drive. The Autorun program will Windows 98SE users will need to download and install wmi9x.exe from the Microsoft website for LinkMon to work properly. Connecting to the Wireless Network Once you have the DWL-A520 - D-Link DWL-A520 | Quick Installation Guide - Page 5
• Click Connect You have completed the installation of the DWL-A520. Checking the Wireless Settings Note: Win XP utilizes the zero config utility as shown. Wireless settings can be accessed through Control Panel > Network > Properties for Windows 2000. For Windows 98SE and ME, use the 802.11A Applet - D-Link DWL-A520 | Quick Installation Guide - Page 6
• Under General tab and select Configure... • Select Settings Tab. • Click on Modify... - D-Link DWL-A520 | Quick Installation Guide - Page 7
wireless settings. • The factory default settings are: Network Name (SSID) = Default Network Connection = AP (Infrastructure) Power Saving = Normal TurboMode = Disabled Please refer to the Troubleshooting and Networking Basics sections in the manual on the Driver CD for additional information. - D-Link DWL-A520 | Quick Installation Guide - Page 8
software and documentation are available on the D-Link website. D-Link provides free technical support for customers within the United States during the warranty period on this product. U.S. customers can contact D-Link Technical Support through our web site, or by phone. D-Link Technical Support
-
 1
1 -
 2
2 -
 3
3 -
 4
4 -
 5
5 -
 6
6 -
 7
7 -
8
 |
 |
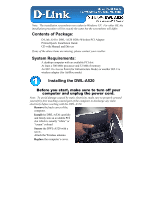
Note:
The installation screenshots were taken in Windows XP.
For other OS, the
installation procedure will be exactly the same but the screenshots will differ.
Contents of Package:
•
D-Link
AirPro
DWL-A520 5GHz Wireless PCI Adapter
•
Printed Quick Installation Guide
•
CD with Manual and Drivers
If any of the above items are missing, please contact your reseller.
System Requirements:
•
A desktop computer with an available PCI slot
•
At least a 300 MHz processor and 32 MB of memory
•
An 802.11a Access Point (for Infrastructure Mode) or another 802.11a
wireless adapter (for Ad-Hoc mode)
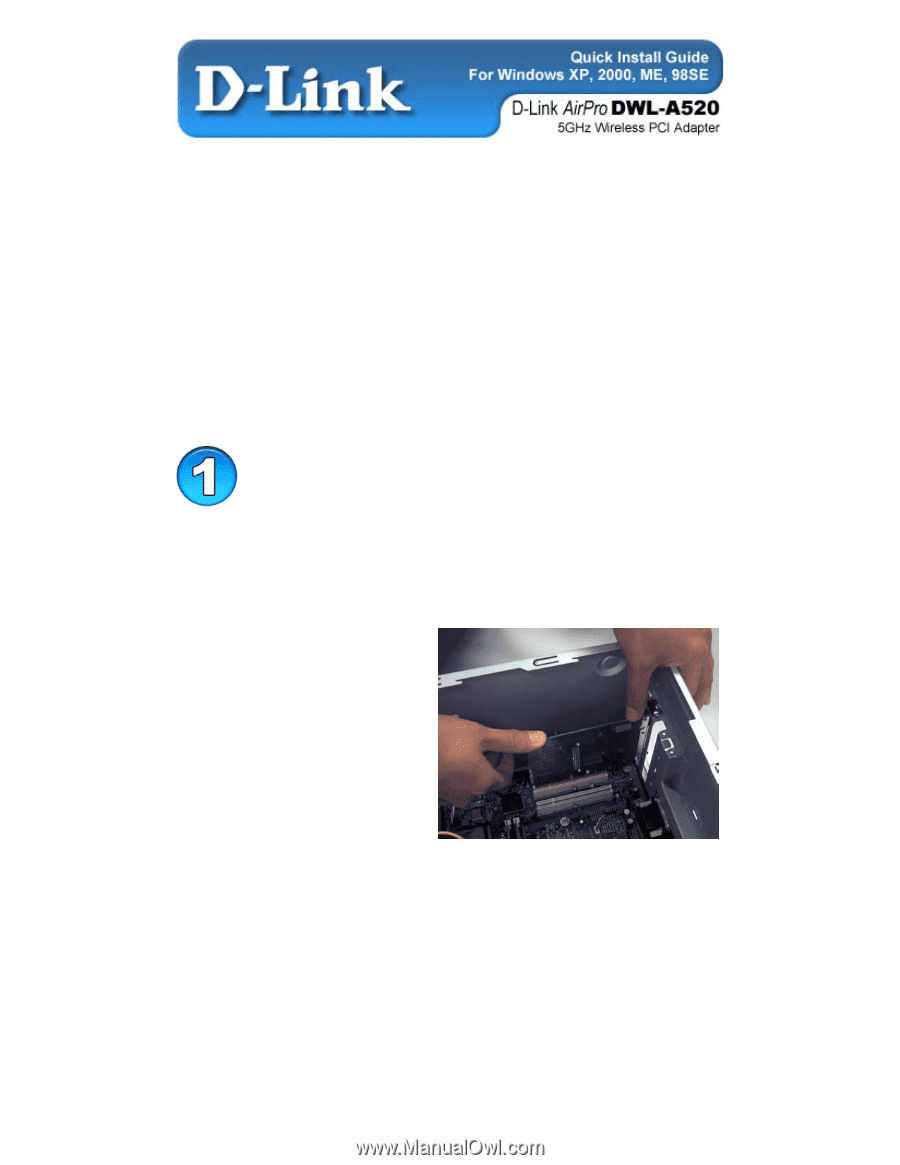
Installing the DWL-A520
Before you start, make sure to turn off your
computer and unplug the power cord.
Note:
To avoid damage caused by static electricity, make sure to properly ground
yourself by first touching a metal part of the computer to discharge any static
electricity before working with the DWL-A520.
•
Remove
the back cover of the
computer.
•
Install
the DWL-A520 carefully
and firmly into an available PCI
slot which is usually “white” or
“cream” colored
•
Secure
the DWL-A520 with a
screw.
•
Attach the Wireless antenna
•
Replace
the computer’s cover.