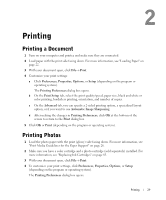
Dell 964 Owner's Manual - Page 31
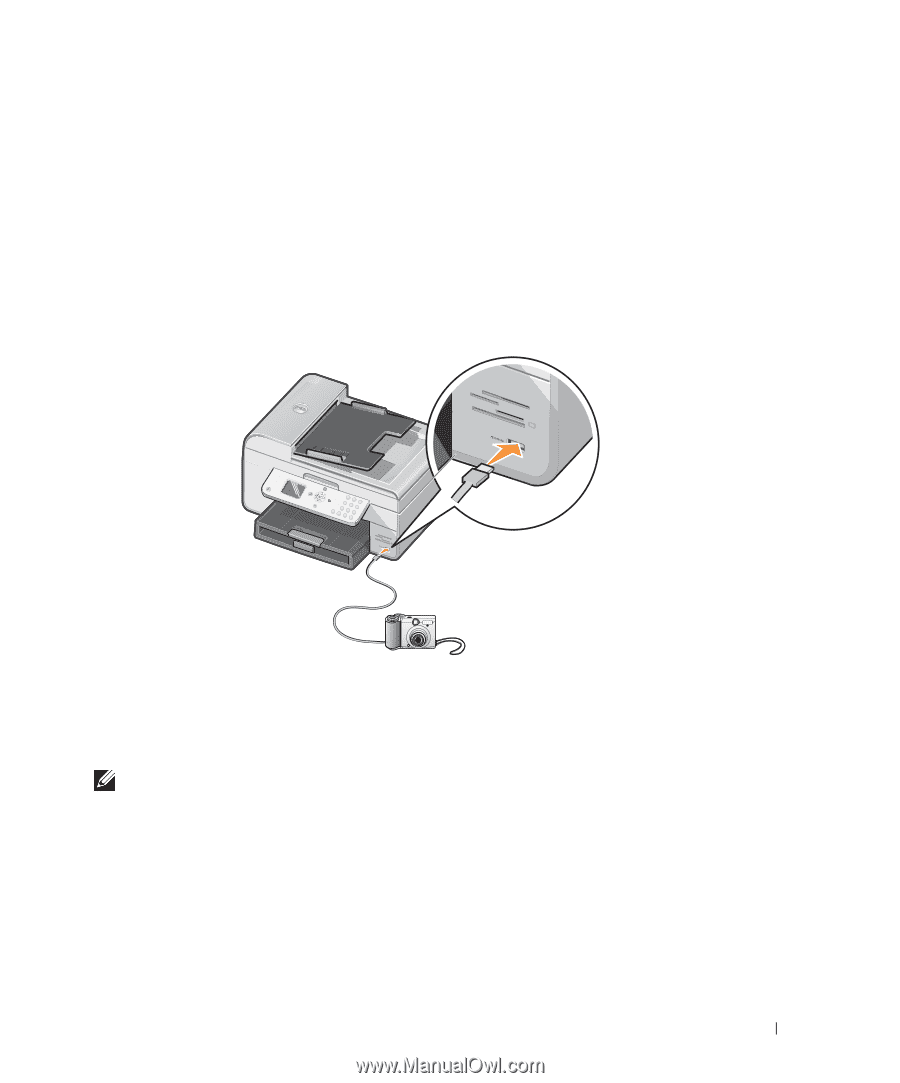
Printing Photos From a PictBridge-Enabled Camera
 |
UPC - 940356014026
View all Dell 964 manuals
Add to My Manuals
Save this manual to your list of manuals |
Page 31 highlights
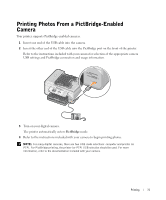
Printing Photos From a PictBridge-Enabled Camera Your printer supports PictBridge-enabled cameras. 1 Insert one end of the USB cable into the camera. 2 Insert the other end of the USB cable into the PictBridge port on the front of the printer. Refer to the instructions included with your camera for selection of the appropriate camera USB settings and PictBridge connection and usage information. Photo 964 3 Turn on your digital camera. The printer automatically enters PictBridge mode. 4 Refer to the instructions included with your camera to begin printing photos. NOTE: For many digital cameras, there are two USB mode selections: computer and printer (or PTP). For PictBridge printing, the printer (or PTP) USB selection should be used. For more information, refer to the documentation included with your camera. Printing 31
-
 1
1 -
2
-
3
-
4
-
5
-
6
-
7
-
8
-
9
-
10
-
11
-
12
-
13
-
14
-
15
-
16
-
17
-
18
-
19
-
20
-
21
-
22
-
23
-
24
-
25
-
 26
26 -
 27
27 -
 28
28 -
 29
29 -
 30
30 -
 31
31 -
 32
32 -
 33
33 -
 34
34 -
 35
35 -
 36
36 -
37
-
38
-
39
-
40
-
41
-
42
-
43
-
44
-
45
-
46
-
47
-
48
-
49
-
50
-
51
-
52
-
53
-
54
-
55
-
56
-
57
-
58
-
59
-
60
-
61
-
62
-
63
-
64
-
65
-
66
-
67
-
68
-
69
-
70
-
71
-
72
-
73
-
74
-
75
-
76
-
77
-
78
-
79
-
80
-
81
-
82
-
83
-
84
-
85
-
86
-
87
-
88
-
89
-
90
-
91
-
92
-
93
-
94
-
95
-
96
-
97
-
98
-
99
-
100
-
101
-
102
-
103
-
104
-
105
-
106
-
107
-
108
-
109
-
110
-
111
-
112
-
113
-
114
-
115
-
116
-
117
-
118
-
119
-
120
-
121
-
122
-
123
-
124
-
125
-
126
-
127
-
128
-
129
-
130
-
131
-
132
-
133
-
134
-
135
-
136
 |
 |