Dell Equallogic PS4110X EqualLogic PS4110 Storage Arrays - Installation and Se - Page 17
Connect, Secure, Power, Cables
 |
View all Dell Equallogic PS4110X manuals
Add to My Manuals
Save this manual to your list of manuals |
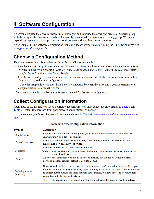
Page 17 highlights
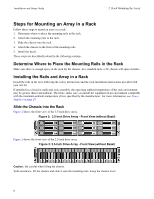
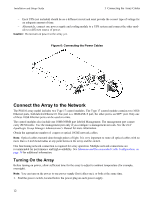
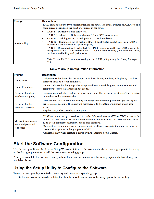
Installation and Setup Guide 3 Connecting the Array Cables Figure 5: Recommended Network Configurations Connect and Secure the Power Cables Obtain the power cables that were shipped with the array. If the array was not shipped with power cables, contact your PS Series support provider or reseller for power cable information. Note: The power supply and cooling modules are different for the 2U and the 4U array models. However, they function the same way in terms of integration into a datacenter power infrastructure. 1. Make sure that the power switch is in the OFF (O) position before connecting the power cables. 2. Connect the power cables to the power supplies as shown in . 3. Secure the power cables to the system: a. Secure the power cables firmly to the bracket next to the system power receptacle using the provided hook-and-loop strap. b. Make sure the strap is tightly bound to the bracket anchor point (remove any slack). c. Bias the power cable toward the strap and wrap the strap tightly around the cable against the shoulder of the power cable connector. 4. Attach the power cables to a power source: - Plug the power cables into a grounded electrical outlet or a separate power source such as an uninterrupted power supply (UPS) or a power distribution unit (PDU).The bottom LED of the power supply will be illuminated green (indicating power is present) when power cables are connected. 11
-
 1
1 -
2
-
3
-
4
-
5
-
6
-
7
-
8
-
9
-
10
-
11
-
 12
12 -
 13
13 -
 14
14 -
 15
15 -
 16
16 -
 17
17 -
 18
18 -
 19
19 -
 20
20 -
 21
21 -
 22
22 -
23
-
24
-
25
-
26
-
27
-
28
-
29
-
30
-
31
-
32
-
33
-
34
-
35
-
36
-
37
-
38
-
39
-
40
 |
 |
