Dell OpenManage Network Manager Quick Start Guide 5.0 - Page 8
Discover Your Network, Add Locations
 |
View all Dell OpenManage Network Manager manuals
Add to My Manuals
Save this manual to your list of manuals |
Page 8 highlights
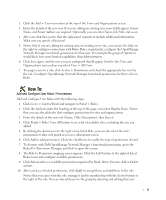
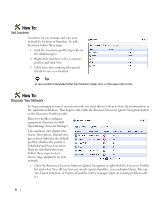
How To: Add Locations Locations let you manage and view your network by location or branches. To add locations, follow these steps: 1 Find the Locations portlet (typically on the Admin pages). 2 Right-click anywhere in the Locations portlet, and click New. 3 Click Save after entering all required details to save new location. Tip To see a portlet in Expanded rather than Summary mode, click + in the upper right corner. How To: Discover Your Network To begin managing resources in your network, you must discover them to store their information in the application database. This begins either with the Resource Discovery Quick Navigation button or the Discovery Profiles portlet. Discovery profiles configure equipment discovery for Dell OpenManage Network Manager. The summary view displays the Name, Description, Default (the green check indicates the default profile), whether the profile is Scheduled and Next Execution Date for scheduled discovery. Follow these steps to start discovering equipment on your network. 1 Click the Resource Discovery button in Quick Navigation or right-click the Discovery Profiles list and select New. (If you have previously exported profiles, you can Import them. You can also Export Selection, or Export all profiles in this manager. Open an existing profile to edit it.) 6
-
 1
1 -
2
-
 3
3 -
 4
4 -
 5
5 -
 6
6 -
 7
7 -
 8
8 -
 9
9 -
 10
10 -
 11
11 -
 12
12 -
 13
13 -
14
-
15
-
16
-
17
-
18
 |
 |
