Dell PowerEdge M520 Dell 10 Gb Ethernet Pass Through-k for M1000e So - Page 17
Operating Procedures
 |
View all Dell PowerEdge M520 manuals
Add to My Manuals
Save this manual to your list of manuals |
Page 17 highlights
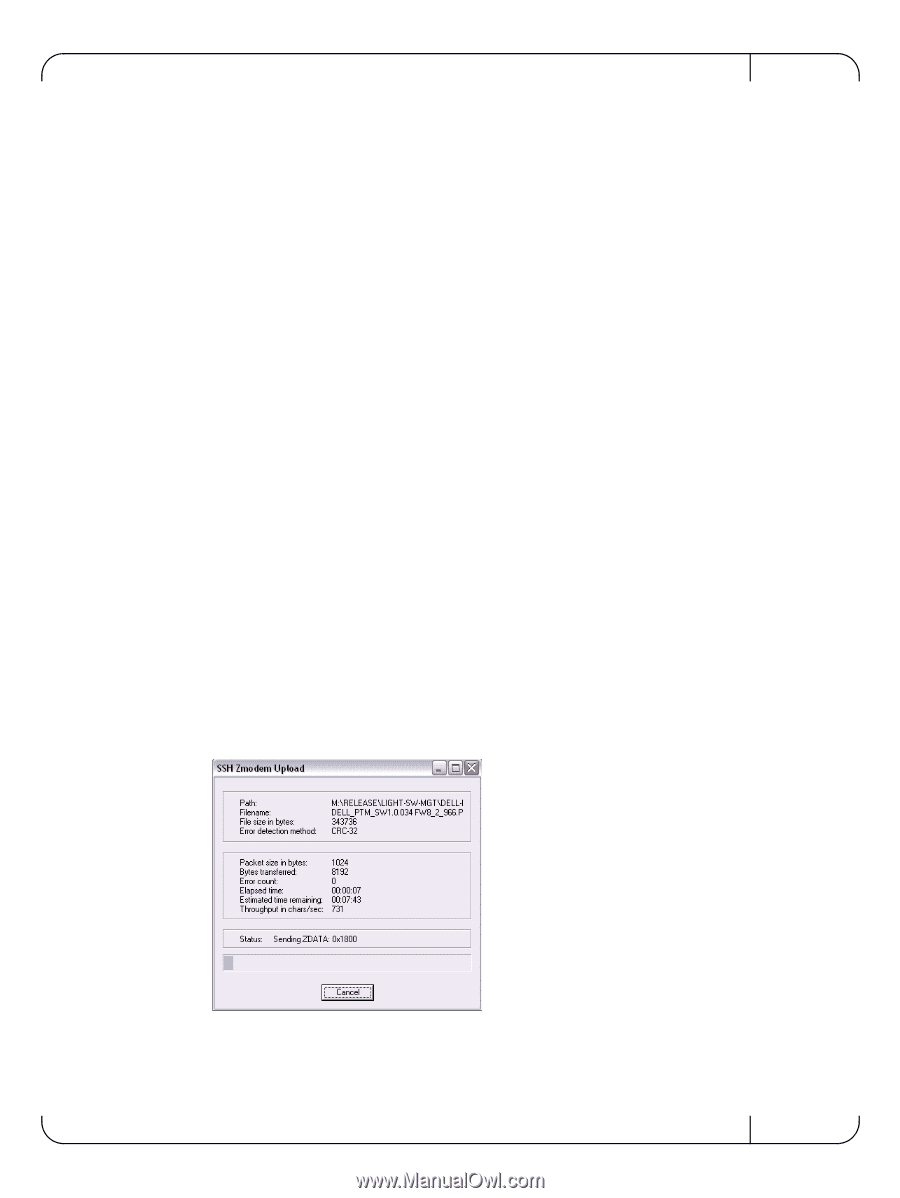
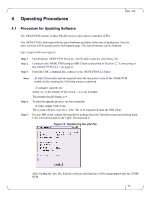
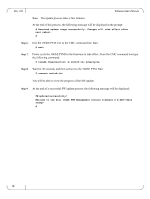
4 Operating Procedures Rev 1.00 4.1 Procedure for Updating Software The 10GbE PTM consists of three PhyX® devices and a micro-controller (CPU). The 10GbE PTM is delivered with the latest firmware available at the time of production. New firmare versions will be posted on the Dell support page. The latest firmware can be found at: http://support.dell.com/support/ Step 1 Step 2. Step 3. Download the 10GbE PTM firmware .zip file and extract the .pfw binary file. Connect to the 10GbE PTM using an SSH Client as described in Section 2, "Connecting to the 10GbE PTM CLI," on page 8. From the CMC command line, connect to the 10GbE PTM CLI. Enter: Note: At least 20 seconds must have passed since the last power cycle of the 10GbE PTM module before running the following connect command. Step 4. Step 5. $ connect switch- where is the number of the switch -- 2 in our example. The prompt should change to #. To start the upgrade process, run the command: # copy image from-file The system will now wait for a ".pfw" file to be transferred from the SSH client. In your SSH client, initiate file transfer by pulling down the Transfers menu and clicking Send Files. Provide the path to the ".pfw" file and send it. Figure 13: Transferring the .pfw File After loading the .pfw file, both the software and firmware will be programmed onto the 10GbE PTM. 17
-
 1
1 -
2
-
3
-
4
-
5
-
6
-
7
-
8
-
9
-
10
-
11
-
 12
12 -
 13
13 -
 14
14 -
 15
15 -
 16
16 -
 17
17 -
 18
18 -
 19
19 -
 20
20
 |
 |