Dell Precision T5600 Owner's Manual - Page 22
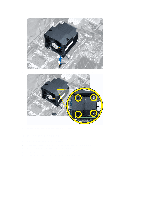
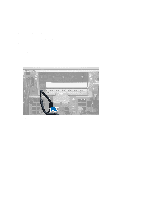
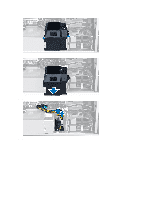
Remove the screws that secure the drive bay.
 |
View all Dell Precision T5600 manuals
Add to My Manuals
Save this manual to your list of manuals |
Page 22 highlights
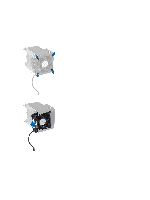
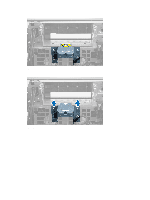
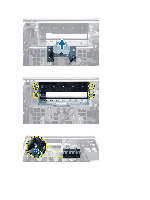
Figure 7. 7. Remove the screws that secure the drive bay. Figure 8. 8. Slide the latch out to release the air baffle. Figure 9. 9. Remove the air baffle out of the computer. 22
-
 1
1 -
2
-
3
-
4
-
5
-
6
-
7
-
8
-
9
-
10
-
11
-
12
-
13
-
14
-
15
-
16
-
 17
17 -
 18
18 -
 19
19 -
 20
20 -
 21
21 -
 22
22 -
 23
23 -
 24
24 -
 25
25 -
 26
26 -
 27
27 -
28
-
29
-
30
-
31
-
32
-
33
-
34
-
35
-
36
-
37
-
38
-
39
-
40
-
41
-
42
-
43
-
44
-
45
-
46
-
47
-
48
-
49
-
50
-
51
-
52
-
53
-
54
-
55
-
56
-
57
-
58
-
59
-
60
-
61
-
62
-
63
-
64
-
65
 |
 |
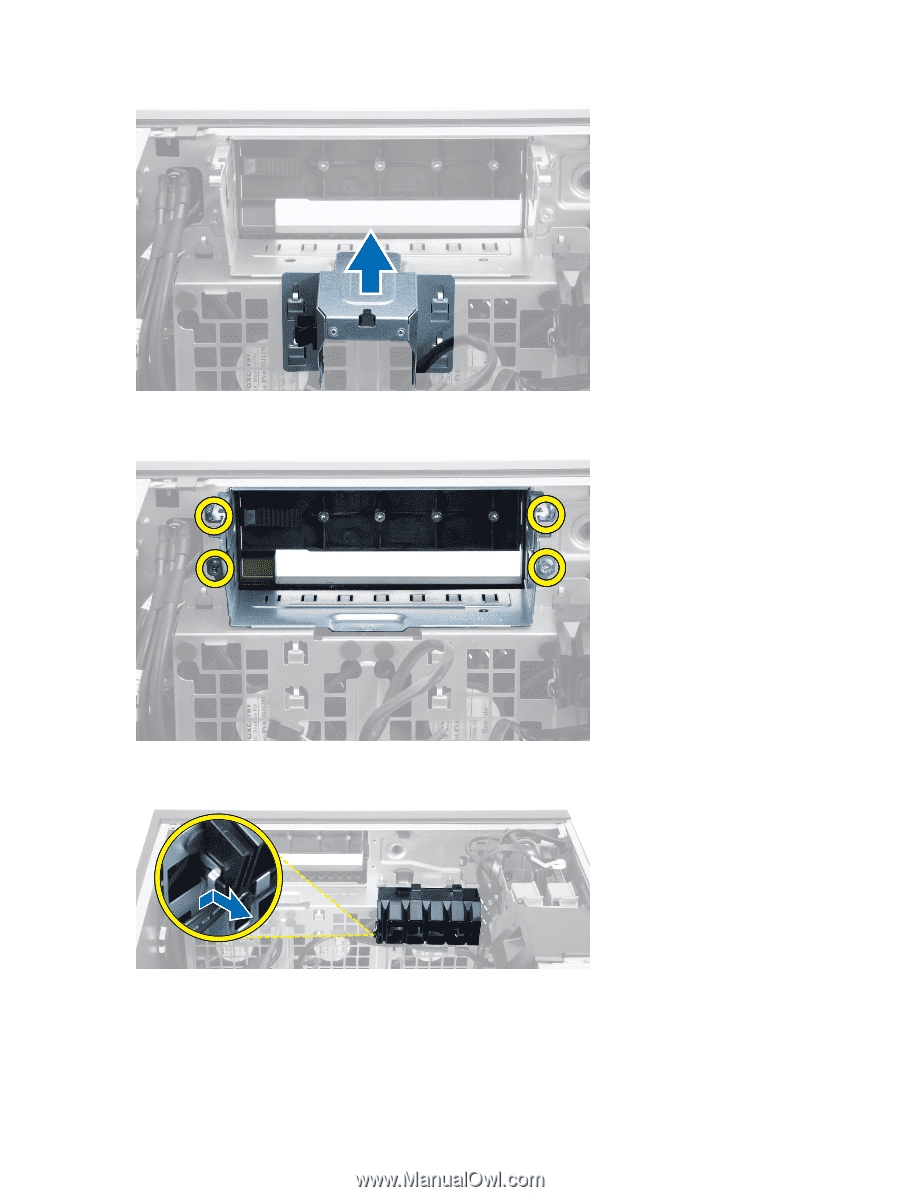
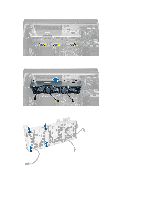
Figure 7.
7.
Remove the screws that secure the drive bay.
Figure 8.
8.
Slide the latch out to release the air baffle.
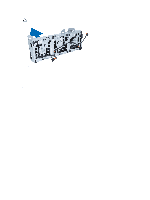
Figure 9.
9.
Remove the air baffle out of the computer.
22