Dell Vostro 2520 Owner's Manual - Page 19
Installing the Hard Drive, Removing the Wireless Local Area Network (WLAN) Card - hard drive removal
 |
View all Dell Vostro 2520 manuals
Add to My Manuals
Save this manual to your list of manuals |
Page 19 highlights
Installing the Hard Drive 1. Install the hard-drive bracket to the hard drive. 2. Tighten the screws that secure the hard-drive bracket. 3. Place the hard drive in its compartment and slide it towards the SATA connector to secure it to the system board. 4. Install: a) palmrest b) keyboard c) battery 5. Follow the procedures in After Working Inside Your Computer. Removing the Wireless Local Area Network (WLAN) Card 1. Follow the procedures in Before Working Inside Your Computer. 2. Remove: a) battery b) keyboard c) palmrest 3. Disconnect the antennae connected to the WLAN card. 4. Pry the latch to release the WLAN card from its compartment. 19
-
 1
1 -
2
-
3
-
4
-
5
-
6
-
7
-
8
-
9
-
10
-
11
-
12
-
13
-
 14
14 -
 15
15 -
 16
16 -
 17
17 -
 18
18 -
 19
19 -
 20
20 -
 21
21 -
 22
22 -
 23
23 -
 24
24 -
25
-
26
-
27
-
28
-
29
-
30
-
31
-
32
-
33
-
34
-
35
-
36
-
37
-
38
-
39
-
40
-
41
-
42
-
43
-
44
-
45
-
46
-
47
-
48
-
49
-
50
-
51
-
52
-
53
-
54
-
55
 |
 |
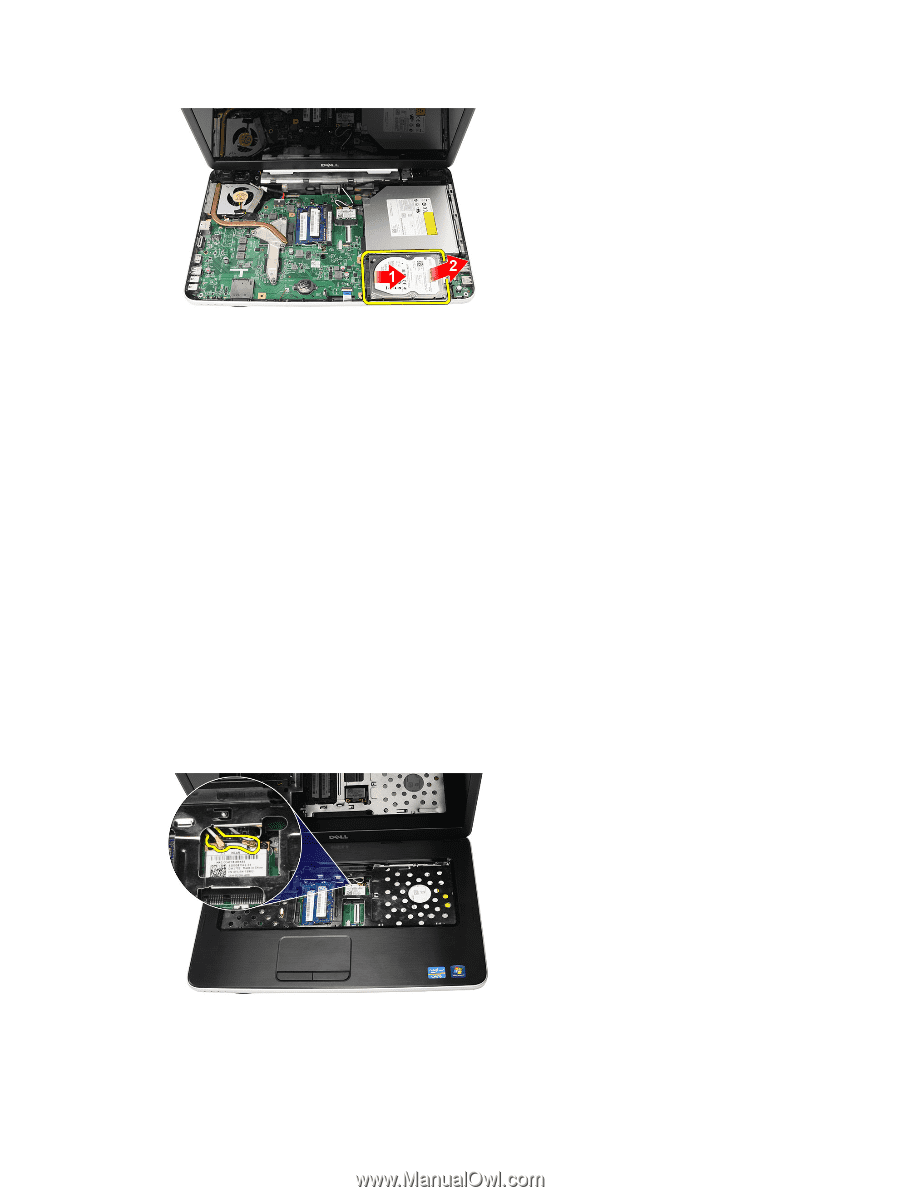
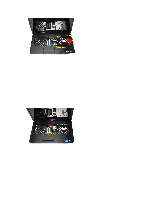
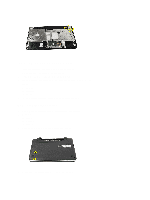
Installing the Hard Drive
1.
Install the hard-drive bracket to the hard drive.
2.
Tighten the screws that secure the hard-drive bracket.
3.
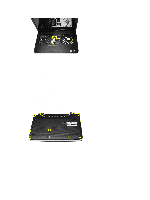
Place the hard drive in its compartment and slide it towards the SATA connector to secure it to the system board.
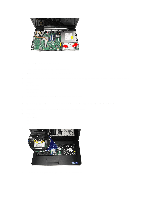
4.
Install:
a)
palmrest
b)
keyboard
c)
battery
5.
Follow the procedures in
After Working Inside Your Computer
.
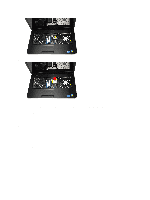
Removing the Wireless Local Area Network (WLAN) Card
1.
Follow the procedures in
Before Working Inside Your Computer
.
2.
Remove:
a)
battery
b)
keyboard
c)
palmrest
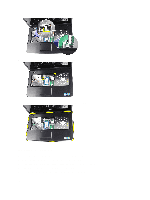
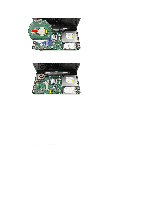
3.
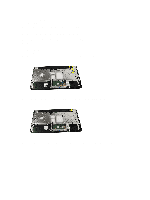
Disconnect the antennae connected to the WLAN card.
4.
Pry the latch to release the WLAN card from its compartment.
19