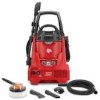
Dirt Devil ND40100 Revision 1 (6/2010)
Dirt Devil ND40100 Manual
 |
View all Dirt Devil ND40100 manuals
Add to My Manuals
Save this manual to your list of manuals |
Dirt Devil ND40100 manual content summary:
- Dirt Devil ND40100 | Revision 1 (6/2010) - Page 1
TROUBLESHOOTING Problem Vac will not pick up dirt Vac will not run Cause 1. Clogged filter 2. Clogged hose 3. Air leak 1. No electricity Possible Solution 1. Clean or replace filter (follow instructions OWNER'S MANUAL Operating and Servicing Instructions Please read these instructions carefully - Dirt Devil ND40100 | Revision 1 (6/2010) - Page 2
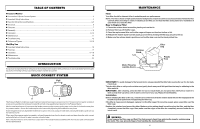
Instructions...16 Features...17 Operation...17-18 Maintenance...19 Troubleshooting filter to a disposal container and gently brush away small dirt particles that may be adhering to the filter material. IMPORTANT: After cleaning, check the filter for tears or small holes. Do not use a filter - Dirt Devil ND40100 | Revision 1 (6/2010) - Page 3
Vacuuming Liquids 1. Removal of the filter blow away dirt and other debris. It is excellent to use to blow dirt and debris support. Keep proper footing and balance at all times. Follow the maintenance instructions specified in this manual replacement parts that include GFCI protection. servicing of - Dirt Devil ND40100 | Revision 1 (6/2010) - Page 4
manual part that is damaged must be properly repaired or replaced by an authorized service vacuum. OPERATION Vacuuming Dry Materials 1. The filter must always be in correct position to reduce the risk of leaks and possible damage to vac. Make sure that the filter is completely covering the filter - Dirt Devil ND40100 | Revision 1 (6/2010) - Page 5
and moving parts. Do not pick up anything that is burning or smoking, such as cigarettes, matches, or hot ashes. Do not use without dirt container and filters in place. Turn off all controls before unplugging. Look on your vacuum cleaner and follow all label and marking instructions. Use - Dirt Devil ND40100 | Revision 1 (6/2010) - Page 6
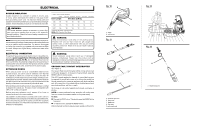
system and should be performed only by a qualified service technician. For service, we suggest you return the product to your nearest authorized service center for repair. Always use original factory replacement parts when servicing. ELECTRICAL CONNECTION This product has a precision-built electric - Dirt Devil ND40100 | Revision 1 (6/2010) - Page 7
Fig. 4a Assembly instructions and process: Fig. 5 of the information on the tool and in this operator's manual as well as a knowledge of the project you are attempting this product if any parts on the Packing List are already assembled to your product when you unpack it. Parts on this list are - Dirt Devil ND40100 | Revision 1 (6/2010) - Page 8
debris from the hose. Inspect the screen in the water intake. 8 See this section for all of the figures referenced in the operator's manual. Consulter l'encart afin d'examiner toutes les figures mentionnées dans le manuel d'utilisation. Consulte esta sección para ver todas las figuras a las que - Dirt Devil ND40100 | Revision 1 (6/2010) - Page 9
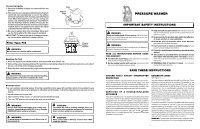
TROUBLESHOOTING Problem . Contact authorized service center. Squeeze trigger on spray wand to remove air from line. Remove the water inlet filter, rinse with warm may require mixing prior to use. Prepare cleaning solution as instructed on the solution bottle. Disconnect pressure washer from power - Dirt Devil ND40100 | Revision 1 (6/2010) - Page 10
general purpose or large surfaces • General cleaning of dirt, mud, and grime • Removing light mildew stains servicing the machine, shut off engine, wait for all moving parts to stop, disconnect unit from power supply, and pull trigger to release water pressure. Failure to follow these instructions - Dirt Devil ND40100 | Revision 1 (6/2010) - Page 11
OWNER'S MANUAL INSERT Operating and Servicing Instructions Please read these instructions carefully before using your electric pressure washer. Quick Connect System Pull A B This & Canada) www.dirtdevil.com SAVE THIS INSERT FOR FUTURE REFERENCE ©2010 All Rights Reserved • Part#961127004 R0 • 6/10
-
 1
1 -
 2
2 -
 3
3 -
 4
4 -
 5
5 -
 6
6 -
 7
7 -
8
-
9
-
10
-
11
 |
 |
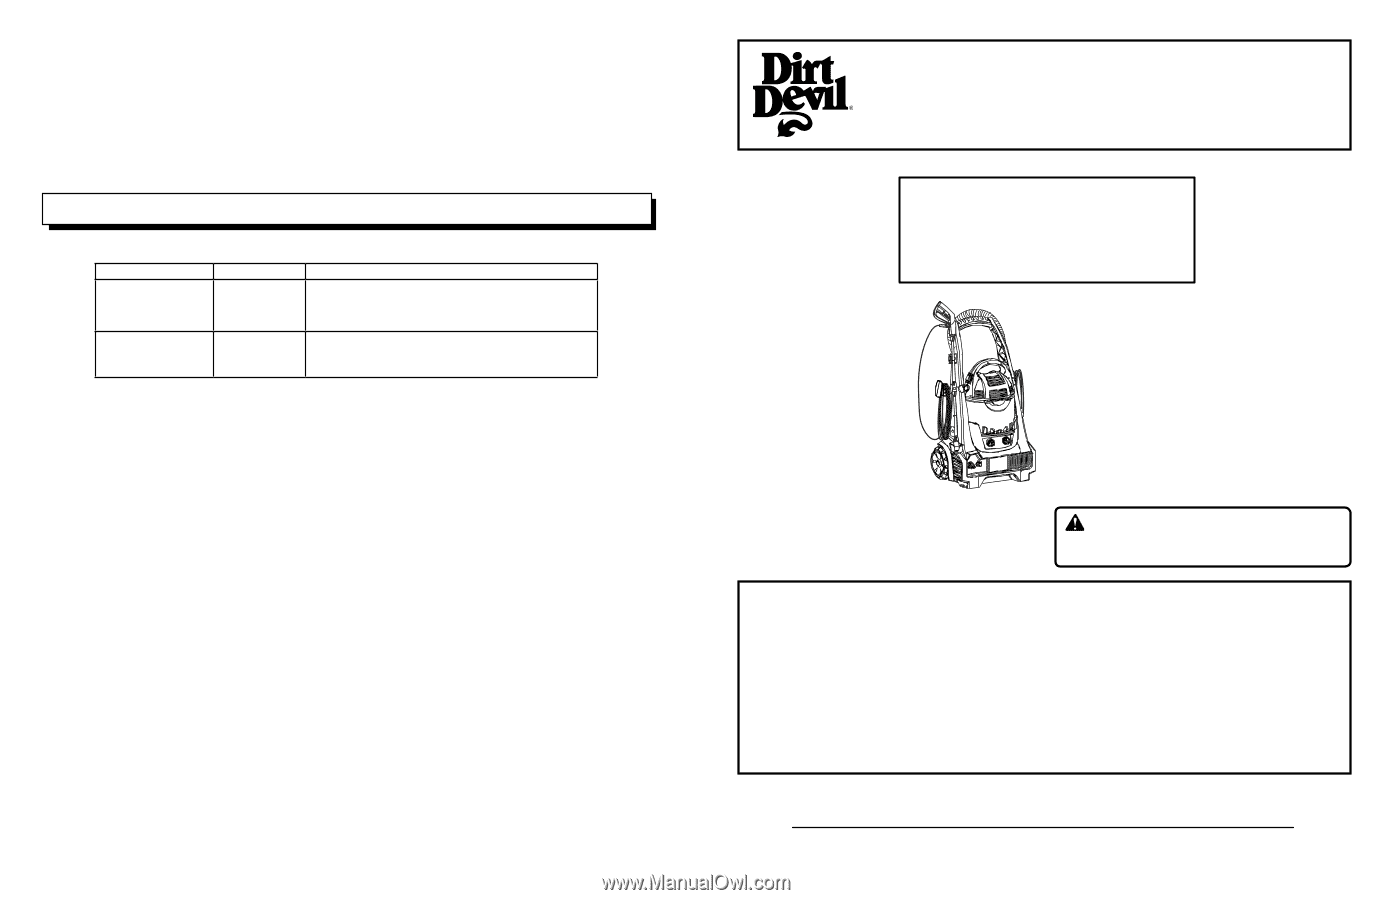
SAVE THIS MANUAL FOR FUTURE REFERENCE
Let us help you put your pressure washer together
or answer any questions, call:
1-800-321-1134
(USA & Canada)
www.dirtdevil.com
OWNER’S MANUAL
Operating and Servicing Instructions
LIMITED WARRANTY/GARANTIE LIMITÉE
To the consumer, Royal Appliance Mfg. Co. warrants this pressure washer to be free of defects in material or workmanship commencing upon
the date of the original purchase.
Refer to the data plate label on your pressure washer for the length of warranty and save your original sales
receipt to validate start of warranty period.
If the pressure washer should become defective within the warranty period, we will repair or replace any defective parts free of charge.
The
complete machine must be delivered prepaid to any ROYAL® Authorized Sales & Warranty Service Station. Please include complete description
of the problem, day of purchase, copy of original sales receipt and your name, address and telephone number.
If you are not near a Warranty
Station, call the factory for assistance at USA & Canada: 1-800-321-1134.
The warranty does not include unusual wear, damage resulting from accident or unreasonable use of the pressure washer.
This warranty does
not cover unauthorized repairs.
This warranty gives you specific legal rights and you may also have other rights (Other rights may vary from state
to state in the USA).
Please read these instructions carefully before using your electric pressure washer.
Your product has been engineered and manufactured to our high
standard for dependability, ease of operation, and operator safety.
When properly cared for, it will give you years of rugged, trouble-free
performance.
WARNING:
To reduce the risk of injury, the user must
read and understand the operator’s manual before using this
product.
For quick reference, please record your
product information below.
MODEL #: _______________________
MFG. CODE: _____________________
(Mfg. code located on the data plate)
©2010 All Rights Reserved • Part#961127004 R1 • 6/10
20
TROUBLESHOOTING
Cleaning
To clean the tank:
1. Dump debris out.
2. Wash tank thoroughly with warm water and mildsoap.
3. Wipe out with dry cloth.
Storage
Before storing your vac, the dust tank should be emptied and cleaned.
Problem
Cause
Possible Solution
Vac will not pick up dirt
1. Clogged filter
2. Clogged hose
3. Air leak
1. Clean or replace filter (follow instructions on page 19)
2. Remove hose and clear debris.
3. Make sure power head is securely attached to dust tank.
Vac will not run
1. No electricity
1. Make sure electrical outlet has voltage.
(A qualified electrician may need to be contacted).