Dirt Devil ND40100 Revision 1 (6/2010) - Page 10
Maintenance, Operation Continued
 |
View all Dirt Devil ND40100 manuals
Add to My Manuals
Save this manual to your list of manuals |
Page 10 highlights
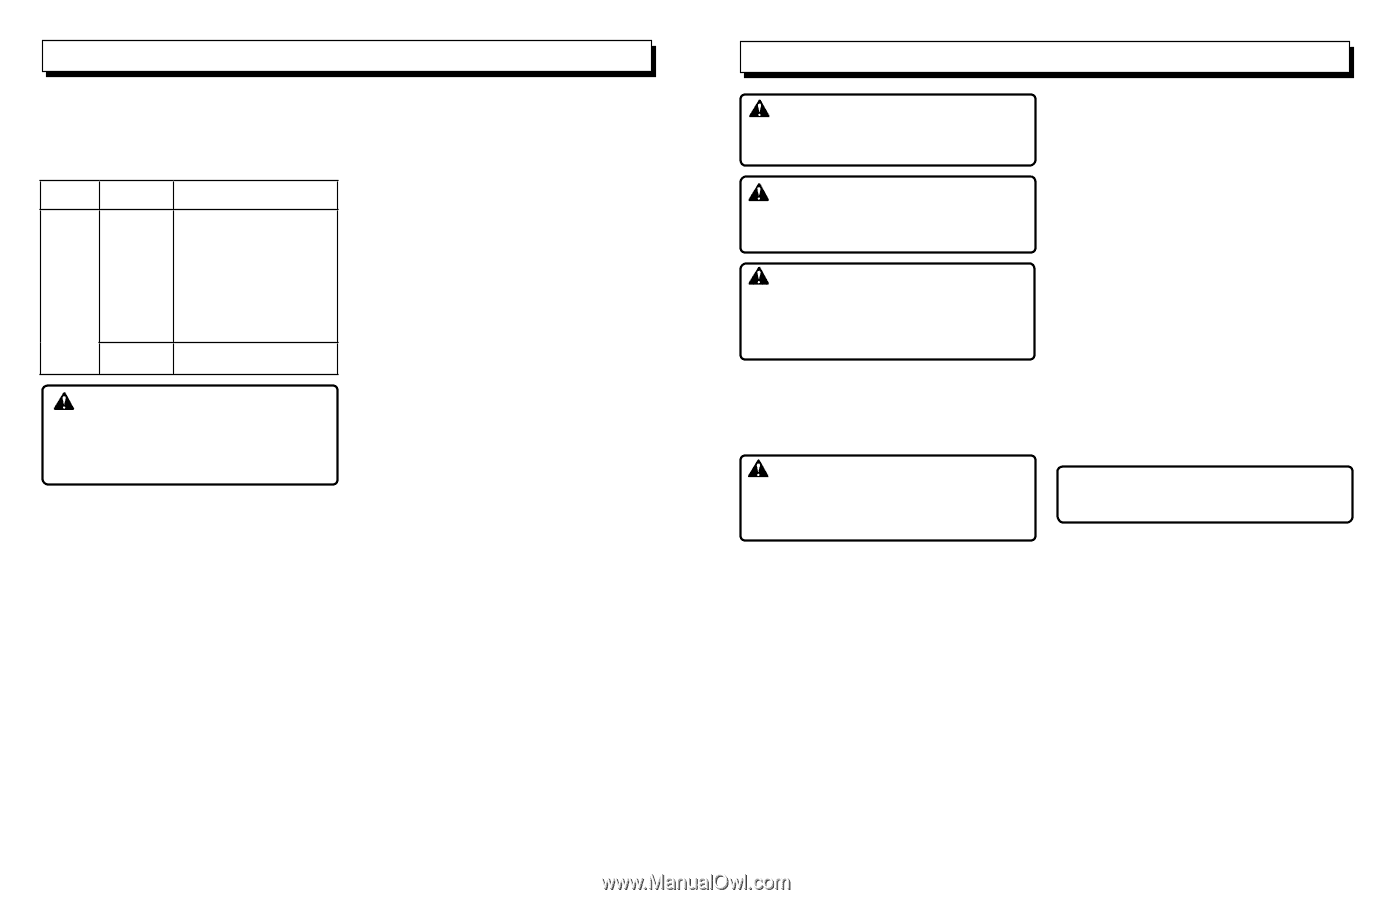
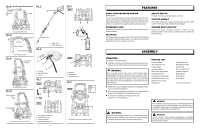
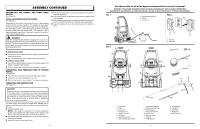
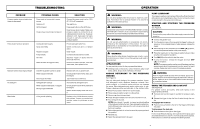
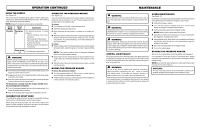
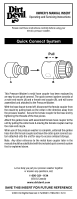
operation CONTINUED USING the NOZZLE See Figure 13. The nozzle has an adjustable spray pattern. Before starting any cleaning job, determine the best setting for the job. The following chart offers some general guidelines. NOTE: Always try nozzles in an inconspicuous area first. Spray Wand Variable Spray Type Fan spray (+) Application For general purpose or large surfaces • General cleaning of dirt, mud, and grime • Removing light mildew stains • Removing algae and bacteria build-up from pools • Rinsing surfaces in preparation for painting Soap spray (-) For all detergent applications WARNING: NEVER change nozzles without engaging the lock-out on the trigger handle and never point the wand at your face or at others. The quick-connect feature contains small springs that could eject the nozzle with some force. Failure to heed this may cause personal injury. n Turn off the pressure washer and shut off the water supply. Pull trigger to release water pressure. n Engage the lock-out on the trigger handle by pushing the trigger lock button to the right. n Push the nozzle into place in the spray wand. Rotate clockwise to secure the nozzle in the spray wand. To disconnect a nozzle from the trigger handle once the cleaning job is complete: n Turn off the pressure washer and shut off the water supply. Pull trigger to release water pressure. n Push in on the spray wand and rotate clockwise to remove. VARIABLE FAN SPRAY WAND The variable fan spray wand can be used to create different spray patterns, from a full fan spray to a direct stream spray. When using the fan spray, begin with the lowest pressure and adjust to higher pressure, spraying far enough from the material being cleaned to avoid damaging the surface. OPERATING THE PRESSURE WASHER See Figure 12 . Use only detergents designed for pressure washers. Many detergents may require mixing prior to use. Prepare cleaning solution as instructed on the solution bottle. To clean: n Pour detergent in the left or right detergent tank. n Install the variable fan spray wand. n Apply detergent at low pressure (- setting on the spray nozzle). n Start the pressure washer select left or right detergent tank and spray the detergent on a dry surface using long, even, overlapping strokes. To prevent streaking, do not allow detergent to dry on the surface. To rinse: n Select middle position for detergent tanks and using the variable fan spray wand, adjust the spray to the high pressure setting (+). NOTE: The pressure washer does not dispense detergent when on the high-pressure setting. n Spray away from the rinsing surface for approximately 10 seconds to allow any remaining detergent to be flushed from the line. n Start at the top of the area to be rinsed and work down, overlapping the strokes. moving the pressure washer To move the pressure washer: n Turn the pressure washer off. Point nozzle in a safe direction and pull trigger to release water pressure. n Tilt the machine toward you until it balances on the wheels then roll the machine to the desired position. MAINTENANCE WARNING: When servicing, use only identical replacement parts. Use of any other parts may create a hazard or cause product damage. WARNING: Always wear eye protection with side shields marked to comply with ANSI Z87.1. Failure to do so could result in objects being thrown into your eyes, resulting in possible serious injury. WARNING: Before inspecting, cleaning or servicing the machine, shut off engine, wait for all moving parts to stop, disconnect unit from power supply, and pull trigger to release water pressure. Failure to follow these instructions can result in serious personal injury or property damage. GENERAL MAINTENANCE Avoid using solvents when cleaning plastic parts. Most plastics are susceptible to damage from various types of commercial solvents and may be damaged by their use. Use clean cloths to remove dirt, dust, oil, grease, etc. WARNING: Do not at any time let brake fluids, gasoline, petroleumbased products, penetrating oils, etc., come in contact with plastic parts. Chemicals can damage, weaken or destroy plastic which may result in serious personal injury. Only the parts shown on the parts list are intended to be repaired or replaced by the customer. All other parts should be replaced at an authorized service center. nozzle maintenance See figure 13. Excessive pump pressure (a pulsing sensation felt while squeezing the trigger) may be the result of a clogged or dirty nozzle. n Unplug the pressure washer. n Turn off the pressure washer and shut off the water supply. Pull trigger to release water pressure. n Remove the spray wand from the trigger handle. NOTE: Never point the spray wand at your face. n Using the provided nozzle cleaning tool, free any foreign materi- als clogging or restricting the nozzle. n Using a garden hose, flush debris out of nozzle by back flushing (running the water through the nozzle backwards or from the outside to the inside). n Reconnect the spray wand to the trigger handle. n Turn on the water supply. STORING the pressure washer Store in a dry, covered area where the weather can't damage it. It is important to store this product in a frost-free area. Always empty water from all hoses, the pump, and the detergent container before storing. NOTE: Use of a pump saver will give you better performance and increase the life of the machine. caution: The use of a pump protector is recommended to prevent cold weather damage during storage over the winter months. 10 11
-
 1
1 -
2
-
3
-
4
-
 5
5 -
 6
6 -
 7
7 -
 8
8 -
 9
9 -
 10
10 -
 11
11
 |
 |