Dymo 69100 Quick Start Guide - Page 8
Printing your First Label, Start, Programs, DYMO Label, Formatting - labels
 |
View all Dymo 69100 manuals
Add to My Manuals
Save this manual to your list of manuals |
Page 8 highlights
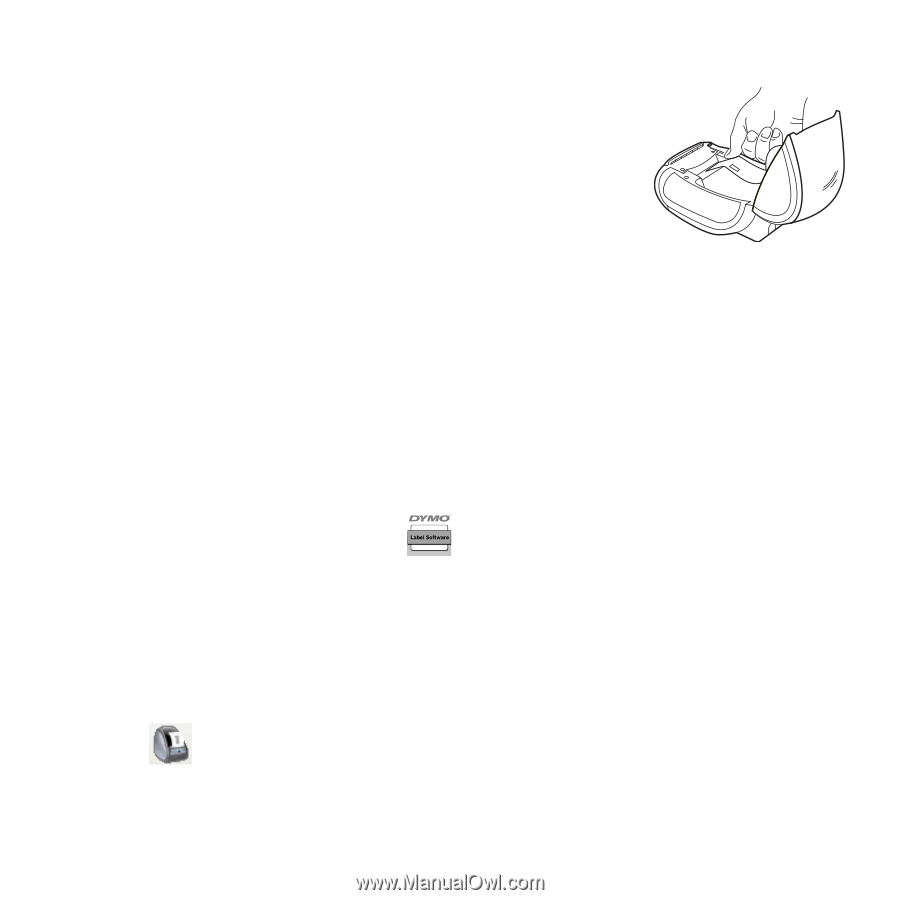
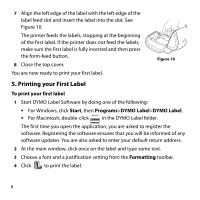
7 Align the left edge of the label with the left edge of the label feed slot and insert the label into the slot. See Figure 10. The printer feeds the labels, stopping at the beginning of the first label. If the printer does not feed the labels, make sure the first label is fully inserted and then press the form-feed button. 8 Close the top cover. You are now ready to print your first label. Figure 10 5. Printing your First Label To print your first label 1 Start DYMO Label Software by doing one of the following: • For Windows, click Start, then Programs>DYMO Label>DYMO Label. • For Macintosh, double-click in the DYMO Label folder. The first time you open the application, you are asked to register the software. Registering the software ensures that you will be informed of any software updates. You are also asked to enter your default return address. 2 At the main window, click once on the label and type some text. 3 Choose a font and a justification setting from the Formatting toolbar. 4 Click to print the label. 6
-
 1
1 -
2
-
 3
3 -
 4
4 -
 5
5 -
 6
6 -
 7
7 -
 8
8 -
 9
9 -
 10
10 -
 11
11 -
 12
12 -
 13
13 -
14
 |
 |