Dymo Rhino 4200 Case Kit User Guide - Page 10
Formatting a Label
 |
View all Dymo Rhino 4200 Case Kit manuals
Add to My Manuals
Save this manual to your list of manuals |
Page 10 highlights
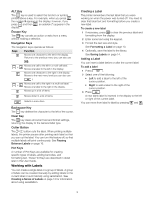
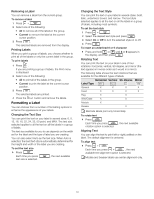
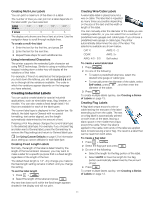
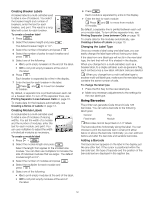
Removing a Label You can remove a label from the current group. To remove a label 1 Press + . 2 Select one of the following: • All to remove all of the labels in the group. • Current to remove the label at the current cursor position. 3 Press . The selected labels are removed from the display. Printing Labels When you print a group of labels, you choose whether to print all of the labels or only the current label in the group. To print labels 1 Press . If you are printing a group of labels, the Print menu is displayed. 2 Select one of the following: • All to print all of the labels in the group. • Current to print the label at the current cursor position. 3 Press . The selected labels are printed. 4 Press the button and remove the labels. Formatting a Label You can choose from a number of formatting options to enhance the appearance of your labels. Changing the Text Size You can print the text on your label in several sizes: 6, 8, 12, 16, 18, 22, 24, 32, 50 point, and MAX. The text size selected applies to all the text on all the labels in a group of labels. The text size available for you to use depends on the width set for the label and the type of label you are creating. You can also select Auto as the text size. When Auto is selected, the best text size is automatically determined for the height and width of the label you are creating. To set the text size Press . Each time you press text size is selected. , the next available Changing the Text Style You can print the text on your label in several styles: bold, italic, underlined, boxed, and narrow. The text style selected applies to all the text on all the labels in a group of labels, including most symbols. To set the text style 1 Press + . 2 Select the desired text style and press . 3 Select On or Off to turn the selected style on or off. 4 Press . To insert an underlined 6 or 9 character Press and hold or until 6 or 9 appears in the display, and then press . Rotating Text You can print the text on your label in one of four rotations: horizontal, vertical, 90-degree, and mirror (the text appears in inverse order as it would in a mirror). The following table shows the text rotations that are available for the different types of labels. Horizontal Vertical 90- Degree Mirror Label Type General X X X X Fixed X X X X Flag X X Wire/Cable X X Module X Breaker X Barcode labels print only horizontally. To rotate text Press . Each time you press , the next available rotation option is selected. Aligning Text You can align the text to print left or right justified on the label. The default alignment is centered. To align text Press + . Each time you press + , the next available text alignment option is selected. Module and breaker labels use center alignment only. 10
-
 1
1 -
2
-
3
-
4
-
 5
5 -
 6
6 -
 7
7 -
 8
8 -
 9
9 -
 10
10 -
 11
11 -
 12
12 -
 13
13 -
 14
14 -
 15
15 -
16
-
17
-
18
-
19
-
20
-
21
 |
 |
