Epson 2190N Product Information Guide - Page 13
Loading Special Papers, Single-sheet Multipart Forms, Labels, Removing Continuous Paper with Labels - fx 2190 sprockets
 |
UPC - 010343850026
View all Epson 2190N manuals
Add to My Manuals
Save this manual to your list of manuals |
Page 13 highlights
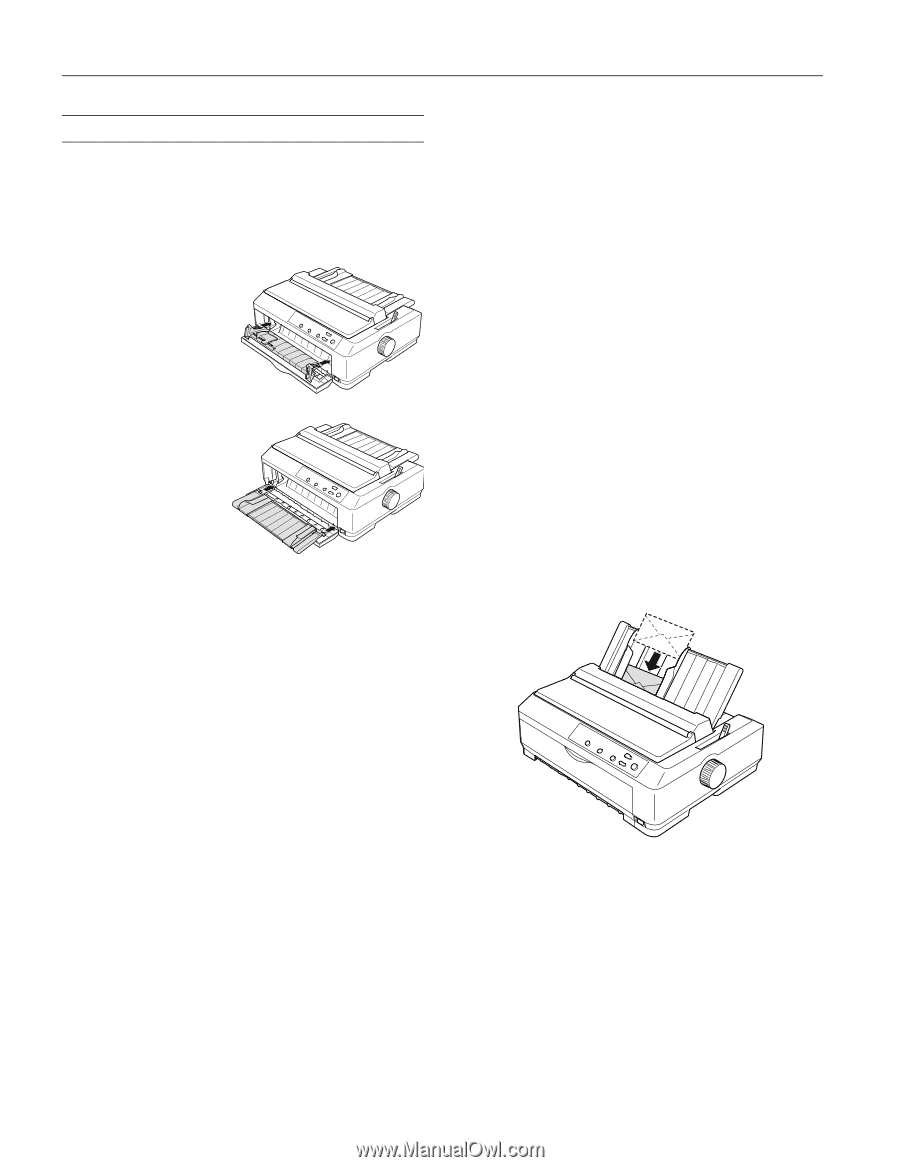
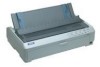
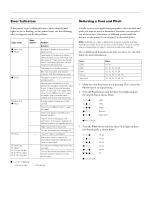
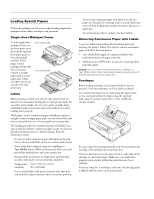
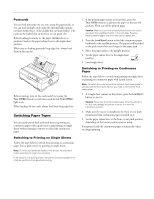
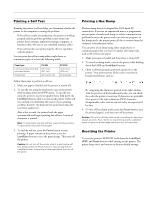
EPSON FX-890/FX-2190 Loading Special Papers Follow the guidelines in this section when loading single-sheet multipart forms, labels, envelopes, and postcards. Single-sheet Multipart Forms To load single-sheet multipart forms, use the front paper entry slot with the optional front paper guide or front sheet guide installed. Thick paper, such as multipart forms with five or six parts, requires a straight paper path to avoid paper jams. Make sure the forms do not exceed 0.018 inch (0.46 mm). front paper guide front sheet guide Labels When printing on labels, use only the type of labels that are mounted on continuous backing sheets with sprocket holes for use with a tractor feeder. Do not try to print on single sheets with labels because the printer may not feed labels on a shiny backing sheet properly. Thick paper, such as continuous paper with labels, requires a straight or almost straight paper path. You can load labels in the front (to the pull tractor) or bottom (pull tractor) paper slot. The loading procedure for continuous paper with labels is the same as that for ordinary continuous paper, except you must set the paper-thickness lever to 2 before printing. Keep the following in mind: ❏ It is best to load continuous paper with labels on the pull tractor. Do not load labels on the rear or front push tractor. ❏ Never feed labels backward using the Load/Eject or Tear Off/Bin button. When fed backward, labels can easily peel off the backing sheet and cause a paper jam. ❏ Because labels are sensitive to temperature and humidity, use them only under normal operating conditions: Temperature: 59 to 77°F (15 to 25°C) Humidity 30 to 60% RH ❏ Do not leave labels in the printer between jobs; they may curl around the platen and jam when you resume printing. ❏ Do not load continuous paper with labels from the rear paper slot. Because the rear paper path is curved, labels may come off their backing sheets inside the printer and cause a paper jam. ❏ Do not load paper that is curled or has been folded. Removing Continuous Paper with Labels To prevent labels from peeling off the backing sheet and jamming the printer, follow these steps to remove continuous paper with labels from the printer: 1. Tear off the fresh supply of continuous labels at the perforation nearest the paper entry slot. 2. Hold down the LF/FF button to eject the remaining labels from the printer. Caution: Never feed labels backward using the Load/Eject or Tear Off/Bin button. When fed backward, labels can easily come off the backing sheet and cause a paper jam. Envelopes Before loading envelopes, set the paper-thickness lever to position 5 (for thin envelopes) or 6 (for thick envelopes). You can feed envelopes one at a time using the paper guide, or you can load multiple envelopes using the optional high-capacity cut-sheet feeder (bin 1 of the double-bin cut-sheet feeder). Be sure to place the envelope printable side down and insert the top edge of the envelope into the printer first. The print head must not print past the left or right edge of the envelope or other thick paper. Make sure your application program prints entirely within the printable area of your envelope. If you are using No. 6 envelopes, make sure the left edge guide is aligned with the arrow on the paper guide. 12 - EPSON FX-890/FX-2190 6/03
-
 1
1 -
2
-
3
-
4
-
5
-
6
-
7
-
 8
8 -
 9
9 -
 10
10 -
 11
11 -
 12
12 -
 13
13 -
 14
14 -
 15
15 -
 16
16 -
 17
17 -
 18
18 -
19
 |
 |