Epson C11C695201 Basics - Page 21
Manually Fixing Your Photos, include P.I.M. PRINT Image Matching
 |
UPC - 010343866201
View all Epson C11C695201 manuals
Add to My Manuals
Save this manual to your list of manuals |
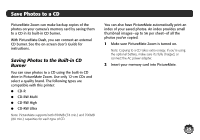
Page 21 highlights
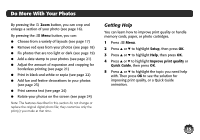
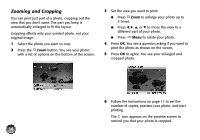
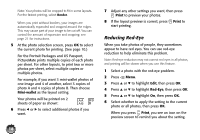
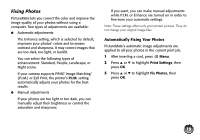
4 Press u or d to highlight one of the following options: ● Enhance: This setting improves your photos' colors and increases contrast and sharpness. It may correct images that are too dark, too bright, or backlit. (Enhance is the default setting.) ● P.I.M.: This information helps ensure an accurate image reproduction for files that include P.I.M. (PRINT Image Matching) or Exif Print data. ● None: Prints photos as is or bypasses P.I.M. or Exif Print data. Select this setting for the fastest printing. 5 Press OK to apply the selected setting. Note: The setting you select applies to all photos in the current print job. 20 If you select Enhance, you see a list of 4 enhance modes: 6 Press u or d to highlight the appropriate setting, then press OK. If you are printing a variety of photos, select Standard. When you press Print, you see the AUTO icon on the preview to remind you about the setting. Manually Fixing Your Photos You can manually fix individual photos or fix all your photos at once. You can make different corrections for each photo on your memory card. 1 Select a photo that you want to adjust. 2 Press Menu. 3 Press u or d to highlight Edit, then press OK.
-
 1
1 -
2
-
3
-
4
-
5
-
6
-
7
-
8
-
9
-
10
-
11
-
12
-
13
-
14
-
15
-
 16
16 -
 17
17 -
 18
18 -
 19
19 -
 20
20 -
 21
21 -
 22
22 -
 23
23 -
 24
24 -
 25
25 -
 26
26 -
27
-
28
-
29
-
30
-
31
-
32
-
33
-
34
-
35
-
36
-
37
-
38
-
39
-
40
-
41
-
42
-
43
-
44
-
45
-
46
-
47
-
48
-
49
-
50
-
51
-
52
-
53
-
54
-
55
-
56
-
57
-
58
-
59
-
60
-
61
-
62
-
63
-
64
-
65
-
66
-
67
-
68
-
69
-
70
-
71
-
72
-
73
-
74
-
75
-
76
-
77
-
78
-
79
-
80
-
81
-
82
-
83
-
84
-
85
-
86
-
87
-
88
-
89
-
90
-
91
 |
 |
