Epson EPL-7000 Product Information Guide - Page 11
EPL-7000 LASER PRINTER, Testing the Printer, Printing a Status Sheet
 |
View all Epson EPL-7000 manuals
Add to My Manuals
Save this manual to your list of manuals |
Page 11 highlights
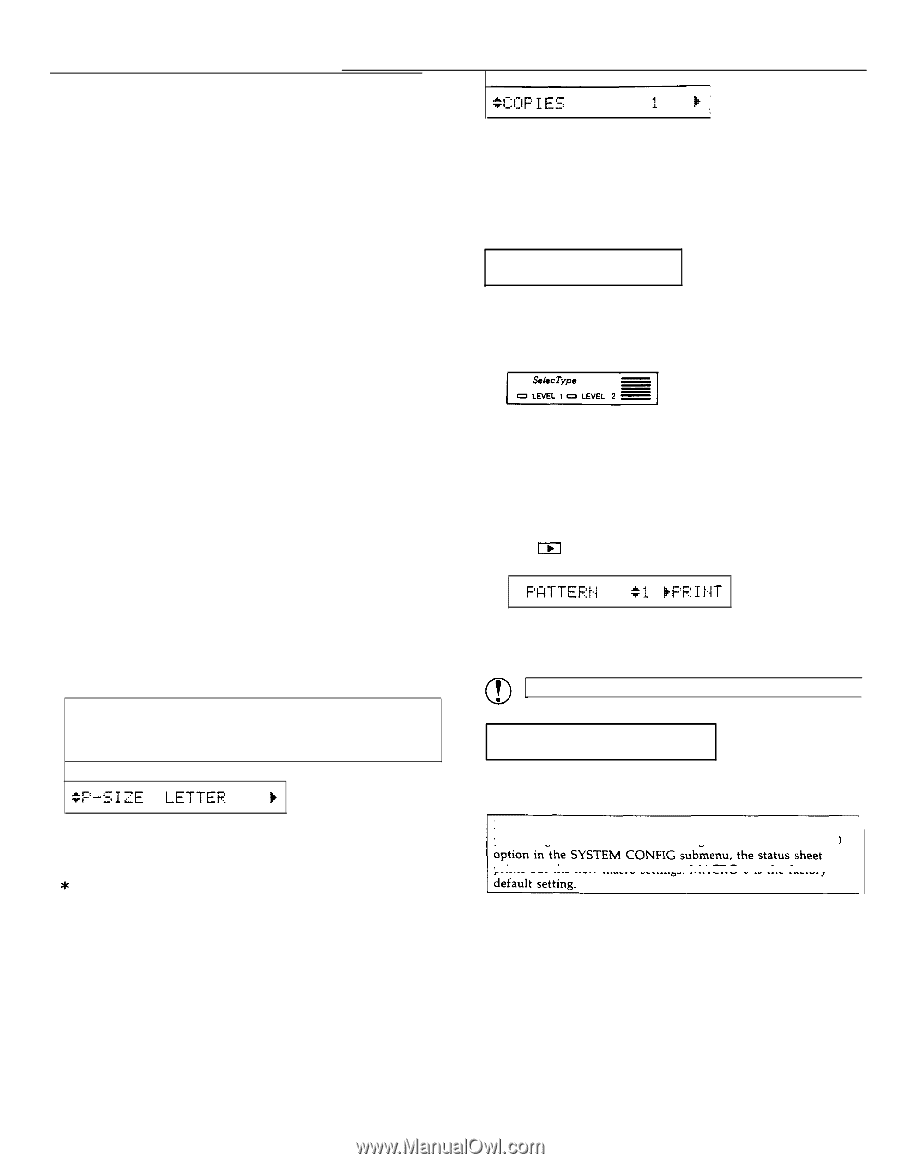
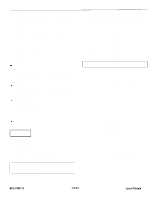
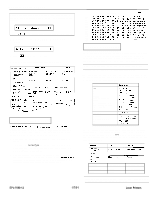
AUTO CONT. Automatic continue. Permits the printer to continue printing instead of stopping under certain error conditions. BEEPER Turns the beeper on or off. P-CONFIG. SAVE Printer configuration save. Saves all Level 2 settings as defaults so they take effect each time you turn the printer on. FACTORY RESET Returns all Level 1 and Level 2 settings to their factory settings. VERSION Displays the version numbers of the printer's firmware components such as the controller and font. STANDBY Conserves power by reducing power to the fixing heater when the printer is not used for 30 minutes. This section lists all the options available when you use SelecType. Most options are the same whether you're working in L-JET2P, LQ, or FX emulation mode. Some of the options in Level 1, however, have a different function for each mode. These options are listed later in this chapter. See the Quick Reference Card for a map of all SelecType menus and options. Level 1 options When you press SelecType once to enter Level 1, one of the Level 1 main menu options listed below appears on the display. INPUT P-SIZE COPIES ORIENT. FONT STATUSSHEET SUB CONFIG. SYSTEM CONFIG. Each of these options is described below. An asterisk (*) indicates the factory default setting for each option. Note: If you have set the MEMORY SHARE option in Level 2, the display shows CH SELECT whenever you enter Level 1. After you select the channel, one of the main menu options listed above appears on the display. OTHER A4 A5 B5 * LETTER HALF LT LEGAL GLT GLG EXE F4 MONARCH C10 DL C5 (Half Letter) (Government Letter) (Government Legal) (Executive) (Commercial 10) YOU cm choose any of the paper sizes shown above with the P-SIZE option. The factory setting is LETTER. Laser Printers 1/7/91 EPL-7000 LASER PRINTER 1 to 99 Use this option to print up to 99 copies of your print job. The factory setting is 1. If you select a number above one, the display keeps count of the number of copies completed and the current setting. For example, if you set the copies option to 10 and 5 copies are complete, the display shows 5/10. Testing the Printer Follow these steps to select and run the test print: 1. Hold down the SelecType button until the LEVEL 2 indicator light goes on and TEST PRINT appears on the display. If you have entered SelecType before, TEST PRINT may not be the first option to appear. If the Level 2 indicator is on, you can press the up or down arrow until TEST PRINT appears on the display. Then go on to step 2. If you did not hold down the button long enough to enter Level 2, the LEVEL 1 indicator goes on. If this happens, press the SelecType button once to exit SelecType and repeat step 1. 2. Press m once. The display reads as follows: 3. To run the test, press I,( once more. The printer prints a test pattern of vertical lines and ejects the page face-down on top of the printer. CAUTION: Never open the printer cover during printing Printing a Status Sheet In addition to the test print patterns, you can print a status sheet that lists printer settings for your selected channel. Note: The status sheet prints the printer's current settings. If you change the macro number setting for the LOAD MACRO prints out the new macro settings. MACRO 0 is the factory Follow these steps to print the status sheet: 1. Make sure that your printer is plugged in and the power is on. 2. Press SelecType once to enter SelecType Level 1. EPL-7000-11
-
 1
1 -
2
-
3
-
4
-
5
-
 6
6 -
 7
7 -
 8
8 -
 9
9 -
 10
10 -
 11
11 -
 12
12 -
 13
13 -
 14
14 -
 15
15
 |
 |