Epson Ensemble HD 6100 Installation Guide - Page 38
Mount the Projector, User's Manual
 |
View all Epson Ensemble HD 6100 manuals
Add to My Manuals
Save this manual to your list of manuals |
Page 38 highlights
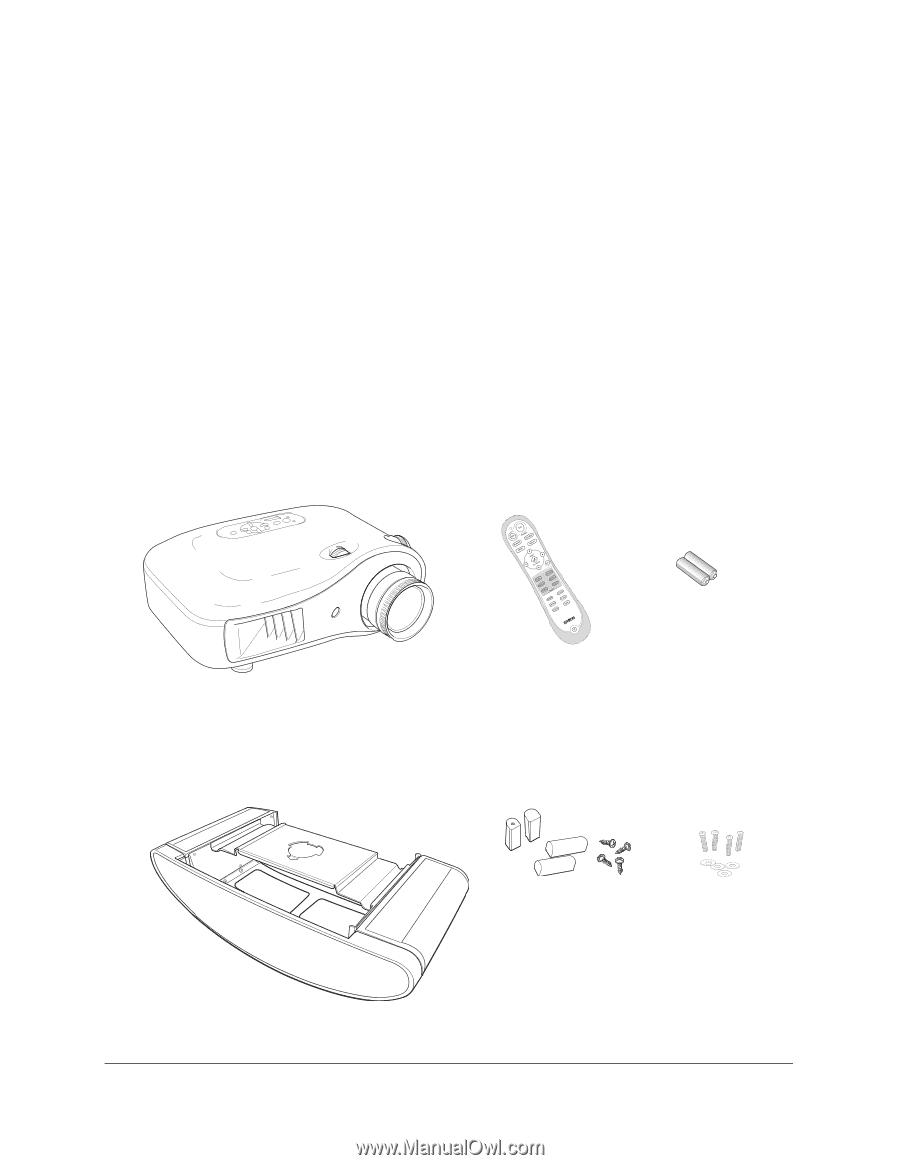
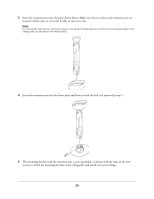
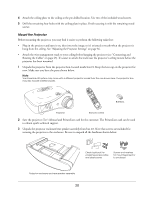
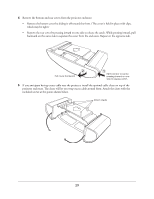
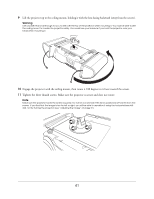
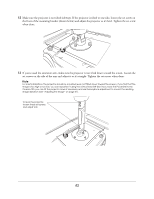
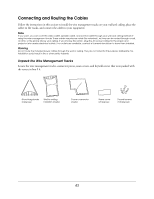
4 Attach the ceiling plate to the ceiling at the pre-drilled location. Use two of the included wood screws. 5 Drill the remaining four holes with the ceiling plate in place. Finish securing it with the remaining wood screws. Mount the Projector Before mounting the projector, you may find it easier to perform the following tasks first: • Plug in the projector and turn it on, then invert the image so it's oriented correctly when the projector is hung from the ceiling. See "Adjusting the Projector Settings" on page 56. • Attach the wire management track to your ceiling before hanging the projector (see "Connecting and Routing the Cables" on page 43). It's easier to attach the track near the projector's ceiling mount before the projector has been mounted. 1 Unpack the projector from the projector box, located inside box #1. Keep the lens cap on the projector for now. Make sure you have the parts shown below. Note Your Ensemble HD system may come with a different projector model than the one shown here. The projector box may also include additional parts. Batteries Projector Remote control 2 Save the projector User's Manual and PrivateLine card for the customer. The PrivateLine card can be used to obtain quick technical support. 3 Unpack the projector enclosure/rear speaker assembly from box #2. Note that screws are included for securing the projector to the enclosure. Be sure to unpack all the hardware shown below. Cleats (optional) for wrapping excess cable; and cleat screws Screws and washers for mounting projector to enclosure Projector enclosure and rear speaker assembly 38
-
 1
1 -
2
-
3
-
4
-
5
-
6
-
7
-
8
-
9
-
10
-
11
-
12
-
13
-
14
-
15
-
16
-
17
-
18
-
19
-
20
-
21
-
22
-
23
-
24
-
25
-
26
-
27
-
28
-
29
-
30
-
31
-
32
-
 33
33 -
 34
34 -
 35
35 -
 36
36 -
 37
37 -
 38
38 -
 39
39 -
 40
40 -
 41
41 -
 42
42 -
 43
43 -
44
-
45
-
46
-
47
-
48
-
49
-
50
-
51
-
52
-
53
-
54
-
55
-
56
-
57
-
58
-
59
-
60
-
61
-
62
-
63
-
64
-
65
-
66
-
67
-
68
-
69
-
70
-
71
 |
 |