Epson PowerLite 71c Product Information Guide - Page 6
Focusing Your Image, projector to sync up after pressing it. - remote control
 |
View all Epson PowerLite 71c manuals
Add to My Manuals
Save this manual to your list of manuals |
Page 6 highlights
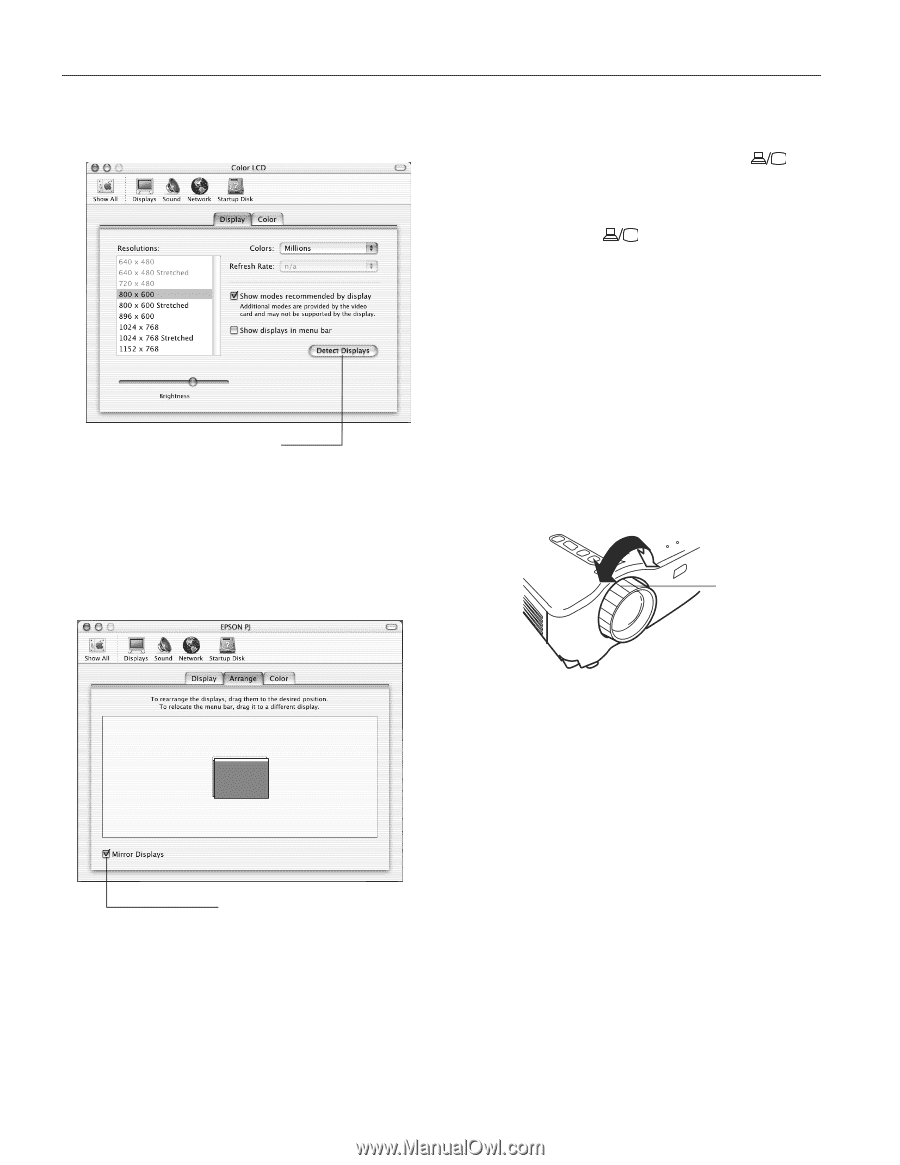
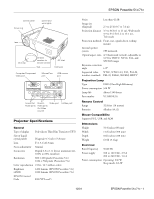
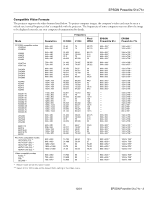
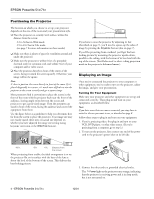
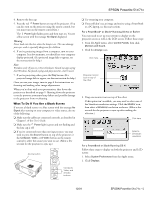
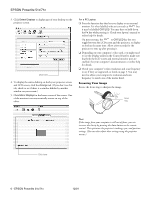
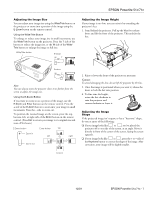
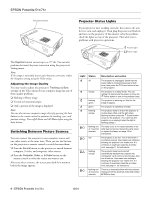
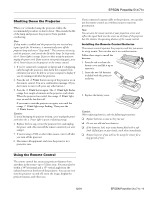
EPSON Powerlite 51c/71c 3. Click Detect Displays to display part of your desktop on the projector screen. Click here 4. To display the entire desktop on both your projector screen and LCD screen, click the Arrange tab. (If you don't see this tab, check to see if there is a window hidden by another window on your screen.) 5. Click Mirror Displays in the lower corner of the screen. One of the monitor icons automatically moves on top of the other. For a PC Laptop ❏ Press the function key that lets you display on an external monitor. It's often labelled with an icon such as but it may be labelled CRT/LCD. You may have to hold down the Fn key while pressing it. Check your laptop's manual or online help for details. On most systems, the or CRT/LCD key lets you toggle between the LCD screen and the projector, or display on both at the same time. Allow a few seconds for the projector to sync up after pressing it. ❏ Depending on your computer's video card, you might need to use the Display utility in the Control Panel to make sure that both the LCD screen and external monitor port are enabled. See your computer's documentation or online help for details. ❏ Check your computer's video resolution and scan frequency to see if they are supported, as listed on page 3. You may need to adjust your computer's resolution and scan frequency to match one of the modes listed. Focusing Your Image Rotate the focus ring to sharpen the image. focus ring Note: If the image from your computer is still out of focus, you can increase the clarity by pressing the Auto button on the remote control. This optimizes the projector's tracking, sync, and position settings. (You can also adjust these settings using the projector menus.) Click here 6 - EPSON Powerlite 51c/71c 12/01
-
 1
1 -
 2
2 -
 3
3 -
 4
4 -
 5
5 -
 6
6 -
 7
7 -
 8
8 -
 9
9 -
 10
10 -
 11
11 -
 12
12 -
13
 |
 |