Epson Stylus Photo 1270 Printer Basics - Page 52
Start PhotoDeluxe. Open the, inches. See PhotoDeluxe Help
 |
View all Epson Stylus Photo 1270 manuals
Add to My Manuals
Save this manual to your list of manuals |
Page 52 highlights
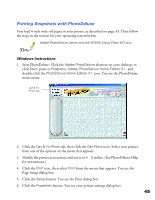
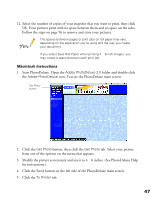
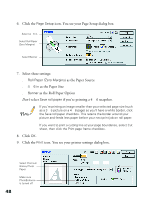
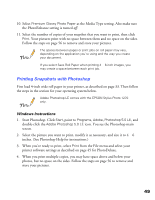
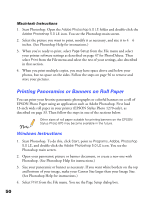
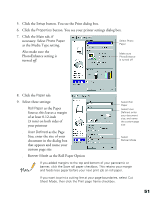
12. Select the number of copies of your snapshot that you want to print, then click OK. Your pictures print with no space between them and no space on the sides. Follow the steps on page 56 to remove and store your pictures. The spaces between pages or print jobs on roll paper may vary, depending on the application you're using and the way you create your document. If you select Save Roll Paper when printing 4 × 6-inch images, you may create a space between each print job. Macintosh Instructions 1. Start PhotoDeluxe. Open the Adobe PhotoDeluxe 2.0 folder and double-click the Adobe PhotoDeluxe icon. You see the PhotoDeluxe main screen: Get Photo button 2. Click the Get Photo button, then click the Get Photo tab. Select your picture from one of the options on the menu that appears. 3. Modify the picture as necessary and size it to 4 × 6 inches. (See PhotoDeluxe Help for instructions.) 4. Click the Send button on the left side of the PhotoDeluxe main screen. 5. Click the To Printer tab. 47
-
 1
1 -
2
-
3
-
4
-
5
-
6
-
7
-
8
-
9
-
10
-
11
-
12
-
13
-
14
-
15
-
16
-
17
-
18
-
19
-
20
-
21
-
22
-
23
-
24
-
25
-
26
-
27
-
28
-
29
-
30
-
31
-
32
-
33
-
34
-
35
-
36
-
37
-
38
-
39
-
40
-
41
-
42
-
43
-
44
-
45
-
46
-
 47
47 -
 48
48 -
 49
49 -
 50
50 -
 51
51 -
 52
52 -
 53
53 -
 54
54 -
 55
55 -
 56
56 -
 57
57 -
58
-
59
-
60
-
61
-
62
-
63
-
64
-
65
-
66
-
67
-
68
-
69
-
70
-
71
-
72
-
73
-
74
-
75
-
76
-
77
-
78
-
79
-
80
-
81
-
82
-
83
-
84
-
85
-
86
-
87
-
88
-
89
-
90
-
91
-
92
-
93
 |
 |