Epson Stylus Pro 10600 - Photographic Dye Ink Printer Guide - Page 101
Choosing Basic Print Options, setting appropriate for the media
 |
View all Epson Stylus Pro 10600 - Photographic Dye Ink manuals
Add to My Manuals
Save this manual to your list of manuals |
Page 101 highlights
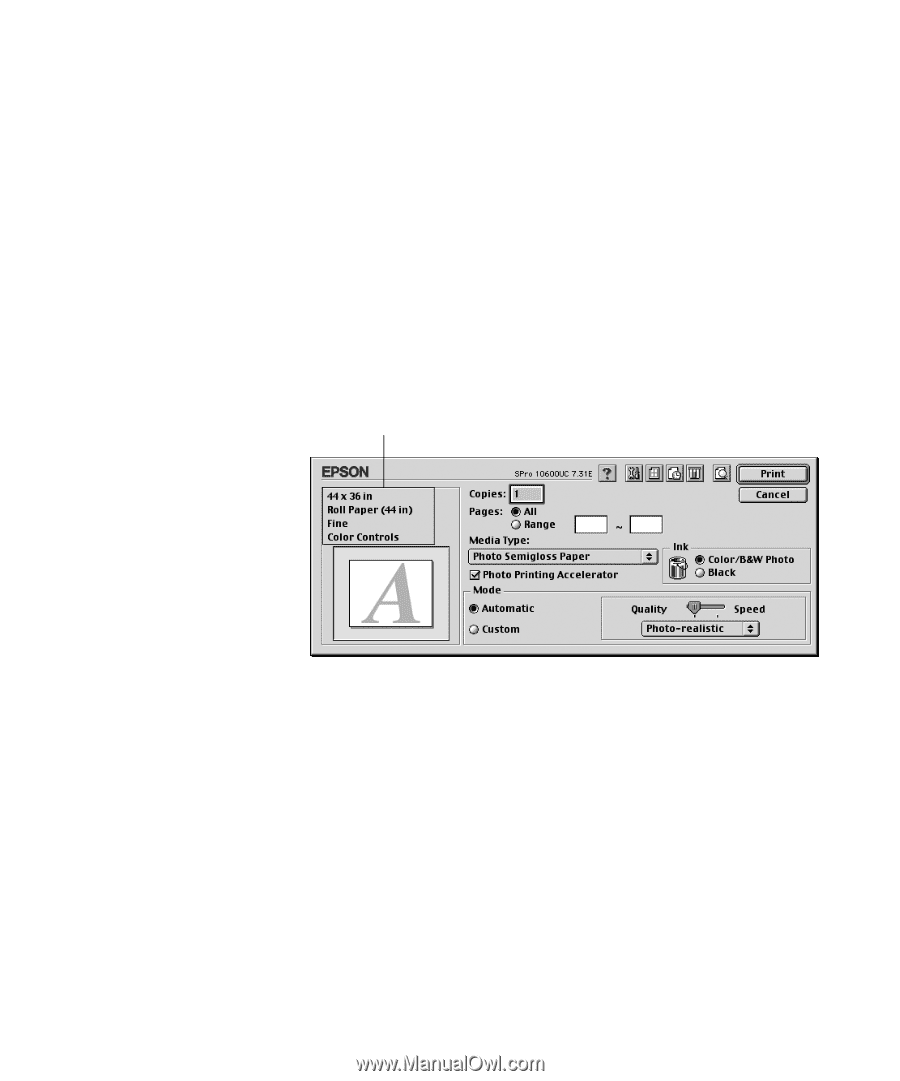
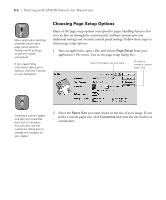
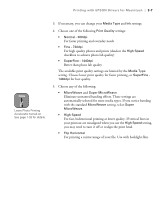
3-4 | Printing with EPSON Drivers for Macintosh Choosing Basic Print Options Once you have selected your page setup options, you need to select printing options. The EPSON driver offers automatic settings that optimize print quality and speed when you're using EPSON media. You can also choose advanced settings for more control over your printer and color management options, as described on page 3-6. Follow these steps to make basic settings: 1. Choose Print from the File menu of your application. You see a dialog box like this one: This area shows the current settings, but you can't change them from here 2. Choose the number of Copies and indicate which Pages you want to print. 3. Select a Media Type setting appropriate for the media you're printing on, as described on page 2-7. 4. For the ink type, select the correct setting for the type of image you're printing: • For color photographic images, select Color (if you have a Photographic Dye or Archival ink printer) or Color/B&W Photo (if you have an UltraChrome ink printer). • Select Black only if you're printing line drawings or other non-photographic images. 3-4
-
 1
1 -
2
-
3
-
4
-
5
-
6
-
7
-
8
-
9
-
10
-
11
-
12
-
13
-
14
-
15
-
16
-
17
-
18
-
19
-
20
-
21
-
22
-
23
-
24
-
25
-
26
-
27
-
28
-
29
-
30
-
31
-
32
-
33
-
34
-
35
-
36
-
37
-
38
-
39
-
40
-
41
-
42
-
43
-
44
-
45
-
46
-
47
-
48
-
49
-
50
-
51
-
52
-
53
-
54
-
55
-
56
-
57
-
58
-
59
-
60
-
61
-
62
-
63
-
64
-
65
-
66
-
67
-
68
-
69
-
70
-
71
-
72
-
73
-
74
-
75
-
76
-
77
-
78
-
79
-
80
-
81
-
82
-
83
-
84
-
85
-
86
-
87
-
88
-
89
-
90
-
91
-
92
-
93
-
94
-
95
-
 96
96 -
 97
97 -
 98
98 -
 99
99 -
 100
100 -
 101
101 -
 102
102 -
 103
103 -
 104
104 -
 105
105 -
 106
106 -
107
-
108
-
109
-
110
-
111
-
112
-
113
-
114
-
115
-
116
-
117
-
118
-
119
-
120
-
121
-
122
-
123
-
124
-
125
-
126
-
127
-
128
-
129
-
130
-
131
-
132
-
133
-
134
-
135
-
136
-
137
-
138
-
139
-
140
-
141
-
142
-
143
-
144
-
145
-
146
-
147
-
148
-
149
-
150
-
151
-
152
-
153
-
154
-
155
-
156
-
157
-
158
-
159
-
160
-
161
-
162
-
163
-
164
-
165
-
166
-
167
-
168
-
169
-
170
-
171
-
172
-
173
-
174
-
175
-
176
-
177
-
178
-
179
-
180
-
181
-
182
-
183
 |
 |