Fluke Ti450 User Manual - Page 26
Voice Annotation (Recording), EDIT IMAGE, Add Audio, Audio
 |
View all Fluke Ti450 manuals
Add to My Manuals
Save this manual to your list of manuals |
Page 26 highlights
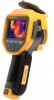
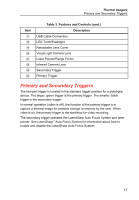
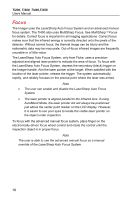
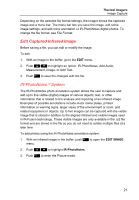
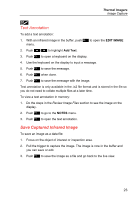
Ti200, Ti300, Ti400,Ti450 Users Manual 4. Focus the Imager on the object and pull the primary trigger. 5. Push when done. 6. Pull the primary trigger to capture additional pictures. 7. Push to save the pictures with the image. i Voice Annotation (Recording) To add a voice (audio) recording: 1. With an infrared image in the buffer, push to open the EDIT IMAGE menu. 2. Push / to highlight Add Audio. 3. Push to record up to 60 seconds of audio. The display updates to show the recorded time. 4. Push to pause the recorder. 5. Push when done. 6. Push to review the audio file or to save the audio with the image. Voice annotation is only available in the .is2 file format and is stored in the file so you do not need to collate multiple files at a later time. The voice (audio) recording replays through the Bluetooth speaker. To play back: 1. Do the steps in the Review Image Files section to see the image on the display. 2. Push . 3. Push to set Audio. 4. Push to listen to the audio. 5. Push again to pause the audio. 22
-
 1
1 -
2
-
3
-
4
-
5
-
6
-
7
-
8
-
9
-
10
-
11
-
12
-
13
-
14
-
15
-
16
-
17
-
18
-
19
-
20
-
 21
21 -
 22
22 -
 23
23 -
 24
24 -
 25
25 -
 26
26 -
 27
27 -
 28
28 -
 29
29 -
 30
30 -
 31
31 -
32
-
33
-
34
-
35
-
36
-
37
-
38
-
39
-
40
-
41
-
42
-
43
-
44
-
45
-
46
-
47
-
48
-
49
-
50
-
51
-
52
-
53
-
54
-
55
-
56
-
57
-
58
-
59
-
60
-
61
-
62
-
63
-
64
-
65
-
66
-
67
-
68
-
69
-
70
 |
 |
