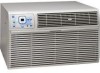
Frigidaire FAH106S1T Installation Instructions - Page 2
installation
 |
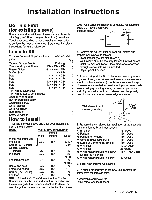
UPC - 012505273063
View all Frigidaire FAH106S1T manuals
Add to My Manuals
Save this manual to your list of manuals |
Page 2 highlights
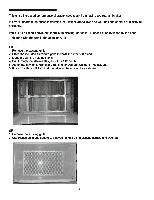
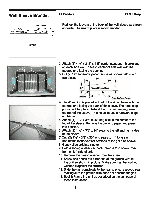
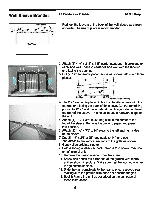
This unit's increased performance characteristics result from having two rear air intakes. It is very important that these installation instructions are followed so your unit can operate at maximum efficiency. If this is an existing sleeve, and there is an existing rear grille, it needs to be replaced by the ones shipped with the unit in the accessory kit. EITHER 1. Remove the existing grille. 2. Place the included aluminum grille towards the rear of the unit. 3. Mark through the hole positions. 4. Drill through the sleeves flanges with a 1/8" drill bit. 5. Attach the new grille with self-threading screws and washers (not included). 6. It is VERY IMPORTANT that the grille is placed exactly as shown. vir15110% ( IJ a. OR 1. Remove the existing grille. 2. Use Plastic grille and secure to sleeves flanges using existing screws and washers. ;ye j'Al0. •.4', 2
-
 1
1 -
 2
2 -
 3
3 -
 4
4 -
 5
5 -
 6
6 -
 7
7 -
 8
8 -
9
-
10
-
11
-
12
 |
 |
