Gateway GT5238E 8511625 - Gateway Computer Hardware Reference (6-Bay Micro BTX - Page 27
If you are adding a new drive not replacing an old one, remove the four
 |
View all Gateway GT5238E manuals
Add to My Manuals
Save this manual to your list of manuals |
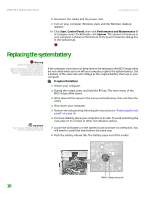
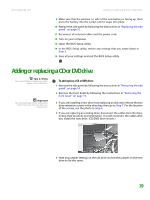
Page 27 highlights
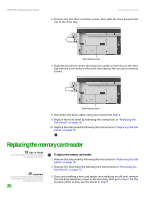
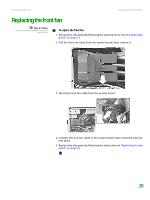
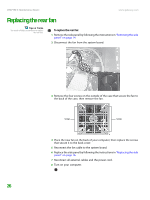
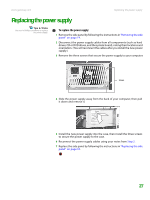
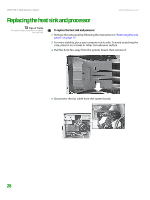
www.gateway.com 6 Remove the hard drive bay screw. Adding or replacing a hard drive Hard drive bay screw 7 Remove the hard drive bay from your computer. You may need to work the bay out of your computer by rocking the bay back and forth. 8 If you are replacing an old drive, remove the four screws that secure the hard drive to the hard drive bay, then remove the hard drive from the bay. Screws Screws 9 If you are adding a new drive (not replacing an old one), remove the four screws (two on each side) from the empty hard drive bay. 23
-
 1
1 -
2
-
3
-
4
-
5
-
6
-
7
-
8
-
9
-
10
-
11
-
12
-
13
-
14
-
15
-
16
-
17
-
18
-
19
-
20
-
21
-
 22
22 -
 23
23 -
 24
24 -
 25
25 -
 26
26 -
 27
27 -
 28
28 -
 29
29 -
 30
30 -
 31
31 -
 32
32 -
33
-
34
-
35
-
36
-
37
-
38
-
39
-
40
-
41
-
42
-
43
-
44
-
45
-
46
-
47
-
48
-
49
-
50
-
51
-
52
 |
 |

Adding or replacing a hard drive
www.gateway.com
23
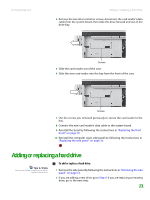
6
Remove the hard drive bay screw.
7
Remove the hard drive bay from your computer. You may need to work
the bay out of your computer by rocking the bay back and forth.
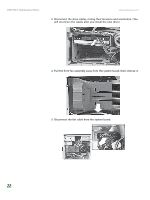
8
If you are replacing an old drive, remove the four screws that secure the
hard drive to the hard drive bay, then remove the hard drive from the bay.
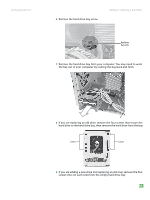
9
If you are adding a new drive (not replacing an old one), remove the four
screws (two on each side) from the empty hard drive bay.
Hard drive
bay screw
Screws
Screws