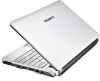
Gigabyte M1022C Manual - Page 31
Mounting The System Unit
 |
View all Gigabyte M1022C manuals
Add to My Manuals
Save this manual to your list of manuals |
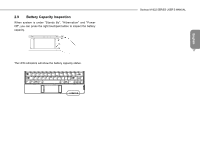
Page 31 highlights
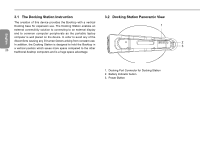
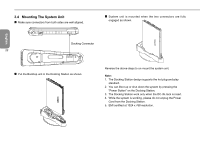
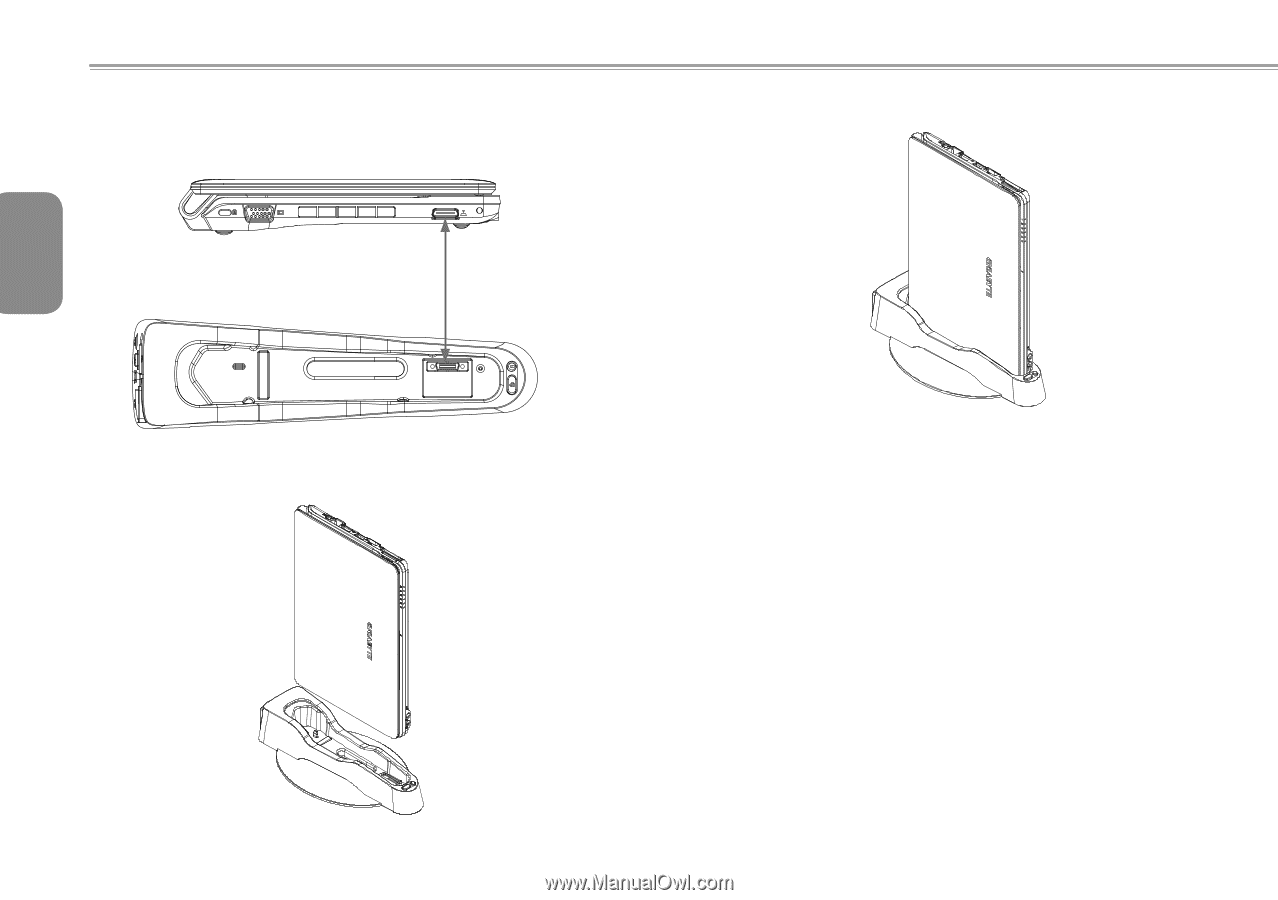
3.4 Mounting The System Unit „„ Make sure connectors from both sides are well aligned. „„ System unit is mounted when the two connectors are fully engaged as shown. English Docking Connector 22 „„ Put the Booktop unit in the Docking Station as shown. Reverse the above steps to un-mount the system unit. Note: 1. The Docking Station design supports the hot plug-and-play standard. 2. You can Boot up or shut down the system by pressing the "Power Button" on the Docking Station. 3. The Docking Station work only when the DC-IN Jack is insert. 4. While the system is working, please do not unplug the Power Cord from the Docking Station. 5. EMI certified at 1024 x 768 resolution.
-
 1
1 -
2
-
3
-
4
-
5
-
6
-
7
-
8
-
9
-
10
-
11
-
12
-
13
-
14
-
15
-
16
-
17
-
18
-
19
-
20
-
21
-
22
-
23
-
24
-
25
-
 26
26 -
 27
27 -
 28
28 -
 29
29 -
 30
30 -
 31
31 -
 32
32 -
 33
33 -
 34
34 -
 35
35 -
 36
36 -
37
-
38
-
39
-
40
-
41
-
42
-
43
-
44
-
45
-
46
-
47
-
48
-
49
-
50
-
51
-
52
-
53
-
54
-
55
-
56
-
57
 |
 |
English
22
3.4
Mounting The System Unit
±
Make sure connectors from both sides are well aligned.
±
Put the Booktop unit in the Docking Station as shown.
±
System unit is mounted when the two connectors are fully
engaged as shown.
Reverse the above steps to un-mount the system unit.
Note:
1. The Docking Station design supports the hot plug-and-play
standard.
2. You can Boot up or shut down the system by pressing the
"Power Button" on the Docking Station.
3. The Docking Station work only when the DC-IN Jack is insert.
4. While the system is working, please do not unplug the Power
Cord from the Docking Station.
5. EMI certified at 1024 x 768 resolution.
Docking Connector