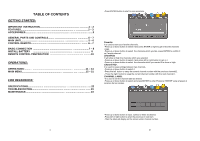
Haier HLT10 Instruction Manual - Page 7
Channel Setup, General Parts And Controls - inputs
 |
View all Haier HLT10 manuals
Add to My Manuals
Save this manual to your list of manuals |
Page 7 highlights
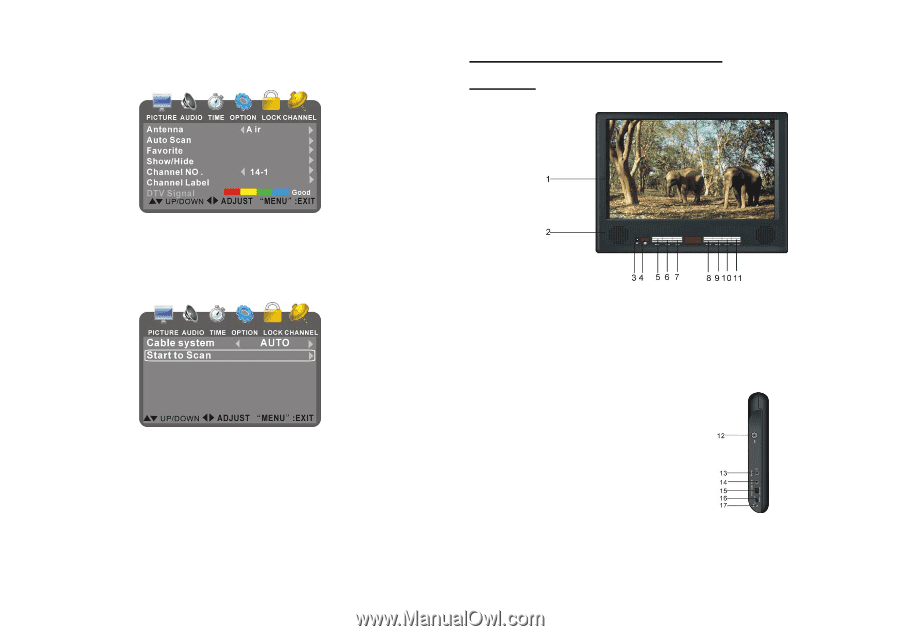
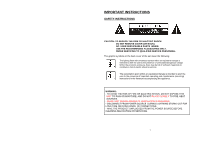
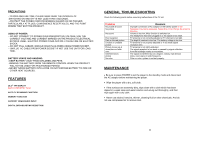
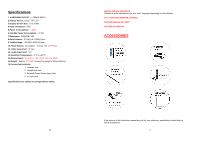
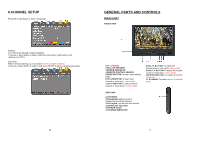
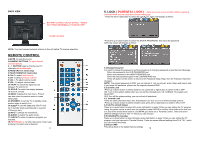
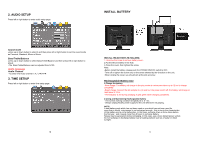
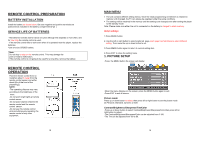
6.CHANNEL SETUP Press left or right button to enter setup page: GENERAL PARTS AND CONTROLS MAIN UNIT FRONT VIEW Antenna It is used to set the type of signal reception. -Press up or down button to select it and then press left or right button to set. -Options: Air /CATV. Auto Scan Before normal watching you must search for the available channels. -Press up or down button to select it and press ENTER to get in scanning setup page: 20 1.TFT SCREEN 2.BUILT-IN SPEAKER 3.POWER INDICATOR 4.REMOTE CONTROL SENSOR 5.MENU BUTTON-To enter menu setting page. 6.CH+/∧BUTTON-To select next channel or move up in menu mode. 7.CH-/∨ BUTTON-To select previous channel or move down in menu mode. 8.VOL-/< BUTTON- To adjust the volume lower or move left in menu mode. 9.VOL+/ > BUTTON-To adjust the volume louder or move right in menu mode. 10.ENTER BUTTON- it is used a to confirm a selection. 11. STANDBY-To switch the unit to standby mode. SIED VIEW 12.ANTENNA 13.headphone jack-Connect to headphone for private listening. 14.AV in jack- use the unit as a monitor. 15.DCIN 9-12V input jack 16.POWER switch 17.CHARGE INDICATOR 5
-
 1
1 -
 2
2 -
 3
3 -
 4
4 -
 5
5 -
 6
6 -
 7
7 -
 8
8 -
 9
9 -
 10
10 -
 11
11 -
 12
12 -
13
-
14
 |
 |