Hamilton Beach 50110 Use & Care - Page 7
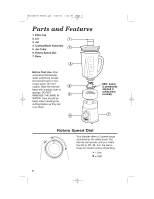
How to Assemble and Use - parts
 |
UPC - 040094501106
View all Hamilton Beach 50110 manuals
Add to My Manuals
Save this manual to your list of manuals |
Page 7 highlights
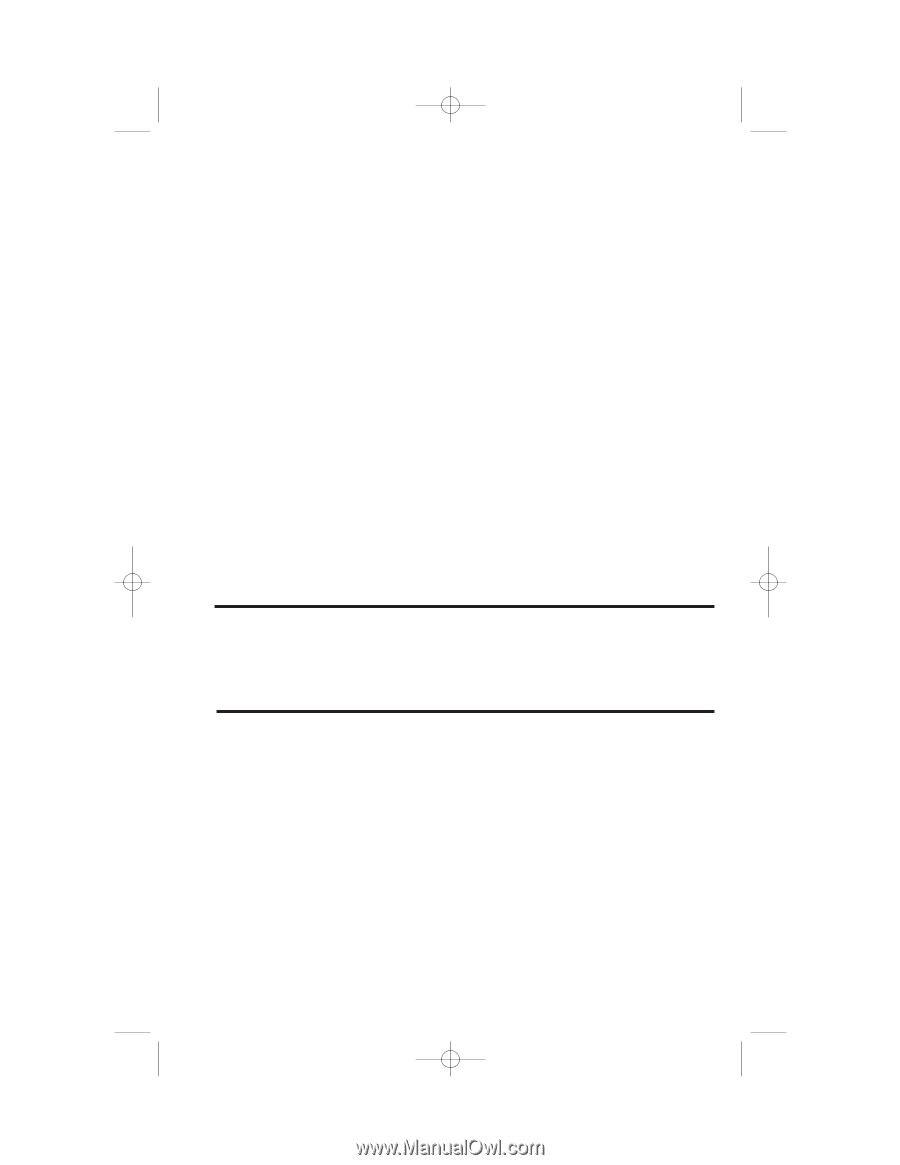
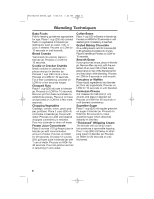
840152000 ENv02.qxd 6/26/06 1:42 PM Page 7 How to Assemble and Use IMPORTANT: Your blender jar and cutting blade assembly are subject to wear during normal use. Always inspect jar for nicks, chips, or cracks. Always inspect cutting blade assembly for broken, cracked, or loose blades. If jar or cutting blade assembly are damaged, do not use. Call our toll-free customer service number to obtain replacement parts. The gasket is permanently attatched to the cutting blade assembly. DO NOT attempt to remove it. 1. Make sure blender is unplugged. Place blender base on clean, dry surface to keep foreign particles from being pulled up into motor during operation. 2. Place cutting blade assembly in the collar. Screw collar and cutting blade assembly onto jar. 3. Make sure collar is firmly screwed onto the jar. If not, it may loosen later when motor is turned on. 4. Set jar into place on blender base, making sure it is securely seated. 5. Plug cord into outlet. 6. Put ingredients in jar; place lid on jar. 7. Process food or beverages. See the "Blending Techniques" section for speeds and processing tips. 8. ALWAYS turn blender off and wait until blades have stopped rotating before removing jar. 9. To remove jar after blending is complete, lift the jar straight up. 10. NEVER replace jar onto unit while motor is running. Crushing Ice Fill blender jar with 1 cup (250 ml) of ice cubes. Place lid on blender jar then Pulse. Allow blades to come to a complete stop between pulses. Continue until ice is crushed to desired consistency. Hints for Best Use • Processing hot foods or liquids in the blender may cause hot liquid to spurt out when the lid is removed. Always remove the filler cap of the cover before blending hot foods or liquids. When blending hot liquids, remove center piece of two-piece lid. Do not fill blender jar beyond the 3-cup (750 ml) level. Remove filler cap and, with the protection of an oven mitt or thick towel, place hand on top of the blender jar lid and hold down while blending. Always begin processing at the lowest speed setting. Ensure skin and hands are covered to reduce the risk of possible burns. • To add foods when blender is operating, remove filler cap from lid and add ingredients through the opening. • If blending action stops during blending or ingredients stick to sides of the jar, turn blender Off / O. Remove lid and use a rubber spatula to push mixture toward blades. • Do not try to mash potatoes, mix stiff dough, whip egg whites, grind raw meat, or extract juices from fruits and vegetables. The blender is not made to perform these tasks. • Do not store food or liquids in the blender jar. • Moisten lip of lid to facilitate placing lid on jar. 7
-
 1
1 -
 2
2 -
 3
3 -
 4
4 -
 5
5 -
 6
6 -
 7
7 -
 8
8 -
 9
9 -
 10
10 -
 11
11 -
 12
12 -
13
-
14
-
15
-
16
-
17
-
18
-
19
-
20
-
21
-
22
-
23
-
24
-
25
-
26
-
27
-
28
-
29
-
30
-
31
-
32
-
33
-
34
-
35
-
36
-
37
-
38
-
39
-
40
-
41
-
42
-
43
-
44
-
45
-
46
-
47
-
48
-
49
-
50
-
51
-
52
-
53
-
54
 |
 |